
If you've ever pressed the brake pedal and felt a shudder run through the steering wheel or seat, you know how unsettling it can be. That vibration isn't just uncomfortable—it's a warning sign that something in your braking system needs attention. While a shaking sensation during braking is common, especially in older vehicles, ignoring it can lead to reduced stopping power, increased repair costs, and even safety risks.
The good news is that many causes of brake-related vibrations are diagnosable at home with basic tools and a bit of mechanical awareness. Understanding what’s behind the shake allows you to make informed decisions about repairs—whether it’s a DIY fix or time to visit a trusted mechanic.
Common Causes of Brake Shaking
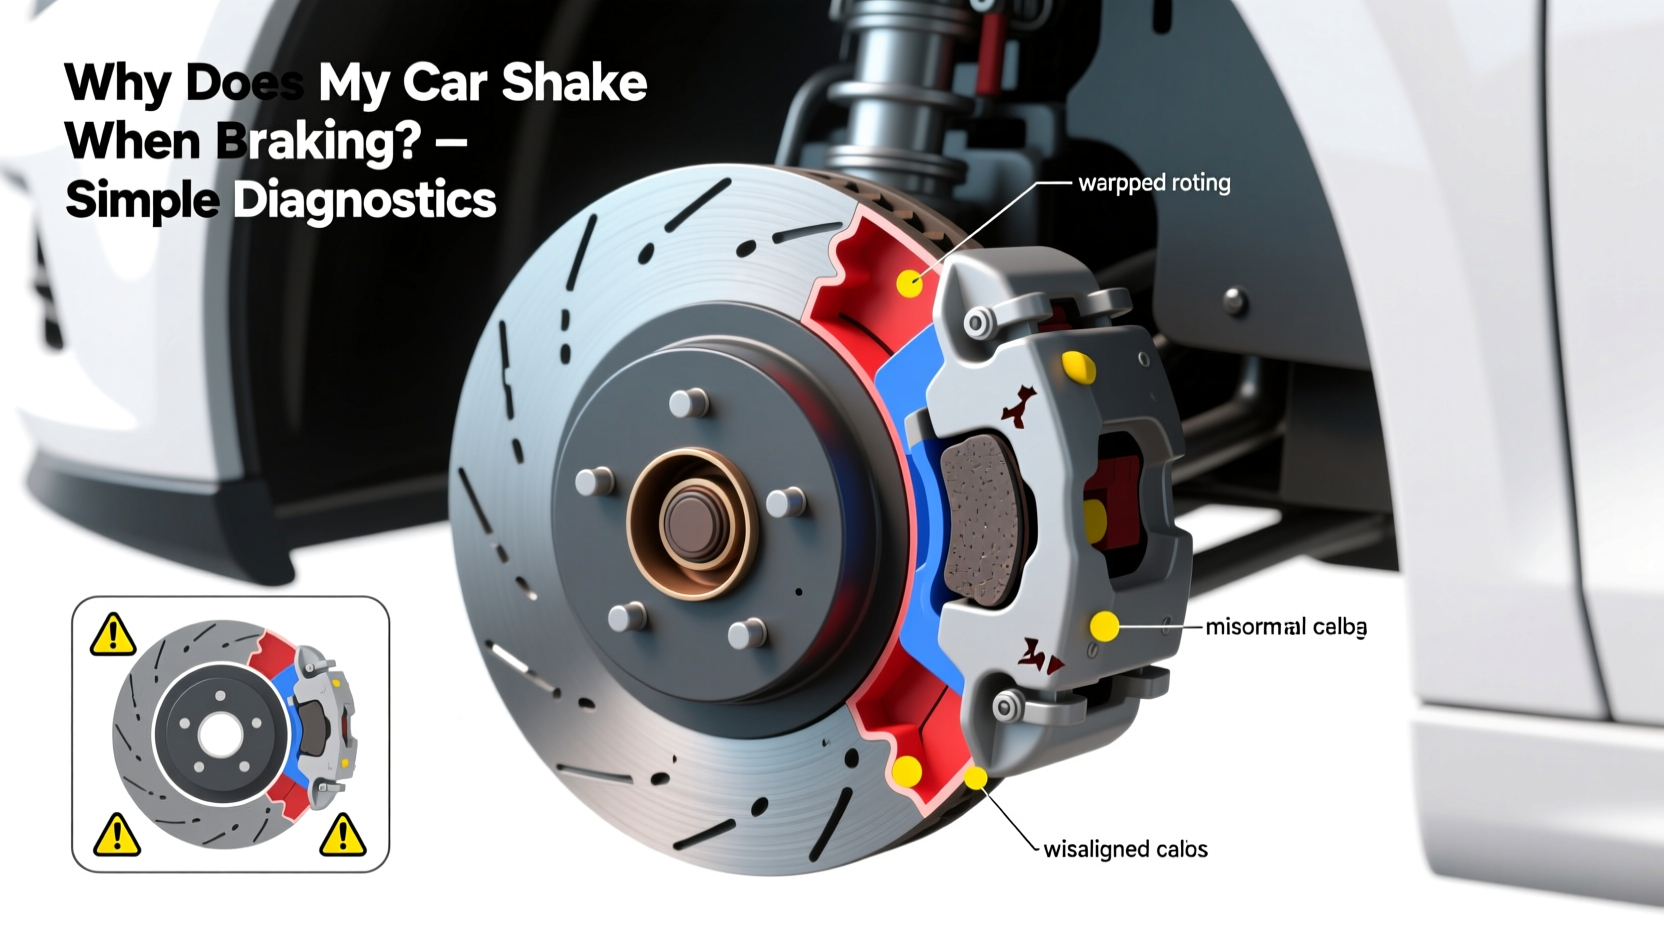
Brake-induced shaking typically stems from irregular contact between the brake pads and rotors. When this interface becomes uneven, pulsation occurs with each rotation, translating into noticeable vibrations through the pedal or steering wheel. The most frequent culprits include:
- Warped brake rotors: Overheating or improper torque on lug nuts can cause rotors to lose their flat, parallel surface.
- Uneven brake pad deposits: Glazing or material transfer from pads to rotors creates high spots that generate pulsation.
- Stuck brake caliper: A seized caliper prevents even pressure distribution, leading to uneven wear.
- Out-of-round tires or wheels: Though not brake-related, tire imbalance or bent rims can mimic brake shudder.
- Loose suspension components: Worn ball joints, control arms, or bushings allow movement under braking force.
Each of these issues produces distinct symptoms and requires different diagnostic approaches. Identifying the root cause early helps prevent cascading damage—like destroying new brake pads due to a faulty caliper.
Step-by-Step Diagnostic Process
Diagnosing brake shake doesn’t require a full garage setup. With a few tools and careful observation, you can narrow down the issue significantly before visiting a shop.
- Identify when the shake occurs: Note whether the vibration happens only at certain speeds (e.g., above 50 mph), worsens as you slow down, or persists even after releasing the brakes.
- Determine where the shake is felt:
- Steering wheel = likely front brake or wheel issue
- Floorboard or seat = often rear brakes or drivetrain involvement
- Both = possible systemic problem like alignment or multiple worn parts
- Check for visual rotor wear: Remove wheels and examine rotors for bluing (heat discoloration), deep grooves, or visible warping. Run a finger across the surface—smoothness should be consistent.
- Measure rotor thickness: Use a micrometer to check thickness at multiple points. A variation greater than 0.001 inches indicates taper wear or warping.
- Inspect caliper slides and pins: Look for rust, lack of lubrication, or binding. A stuck caliper won’t retract properly, causing constant friction.
- Examine brake pads: Ensure even wear. If one pad is significantly thinner or shows glazing (shiny surface), it suggests improper operation.
- Test suspension by wiggling the wheel: With the car jacked up and wheel off, grasp the tire top and bottom and rock it. Excessive play may indicate worn ball joints or wheel bearings.
This process helps isolate mechanical faults without expensive equipment. However, some problems—like internal hub bearing wear—may need professional diagnosis.
Do’s and Don’ts When Dealing with Brake Vibration
| Do’s | Don’ts |
|---|---|
| Replace rotors and pads in axle pairs to maintain balance | Never reuse old hardware like caliper bolts or anti-rattle clips |
| Torque lug nuts evenly using a star pattern and proper spec | Don’t assume new pads will fix an underlying mechanical fault |
| Clean rotor mounting surfaces with a wire brush before installation | Avoid touching brake pad friction material with bare hands (oil causes grabbing) |
| Lubricate caliper slide pins with high-temperature brake grease | Don’t drive extensively with known brake vibration—it accelerates wear |
| Bleed the brake system if calipers were removed | Ignore grinding noises—they signal metal-on-metal contact |
Real-World Example: Diagnosing a Persistent Front-End Shake
Mark, a DIY enthusiast with a 2013 Honda Accord, noticed his steering wheel began vibrating at highway speeds when braking. He replaced the front pads and rotors himself, assuming wear was the issue. Within 1,000 miles, the shake returned.
Instead of replacing parts again, he dug deeper. Using a dial indicator, he measured runout on the new rotor and found 0.003 inches of lateral movement—well above acceptable limits. Cleaning the hub with a wire brush and reseating the rotor reduced runout to 0.0008 inches, eliminating the vibration.
The root cause? Rust buildup between the hub and rotor had created a misalignment, distorting the rotor under clamping force. Mark learned that even new components can perform poorly if installed over contaminated surfaces.
“Most brake pulsation complaints we see stem from improper installation, not defective parts. Cleanliness and precision matter more than people think.” — Carlos Mendez, ASE-Certified Master Technician
When to Repair vs. Replace Components
Not every warped rotor needs replacement. In some cases, resurfacing (also called turning) on a lathe can restore a smooth surface—if sufficient metal remains. Mechanics typically measure minimum thickness stamped on the rotor; if current thickness exceeds that by at least 0.015 inches, machining may be viable.
However, modern vehicles often come with thinner rotors to reduce weight, leaving little room for resurfacing. Many manufacturers now recommend replacement over resurfacing for longevity and safety.
Similarly, a sticking caliper doesn’t always demand full replacement. Often, disassembling, cleaning, and lubricating the slide pins restores function. But if the piston is corroded or leaking fluid, replacement is necessary.
Comprehensive Brake Inspection Checklist
Use this checklist whenever you suspect brake-related vibration. It covers critical areas beyond just the friction components:
- ✅ Check rotor thickness at 8+ points around the circumference
- ✅ Inspect for heat cracks or deep scoring on rotor faces
- ✅ Verify lug nut torque using a calibrated torque wrench
- ✅ Confirm caliper slides move freely; clean and lubricate if needed
- ✅ Examine brake pads for even wear and absence of glazing
- ✅ Look for signs of fluid leaks around calipers and hoses
- ✅ Wiggle tire (top-to-bottom and side-to-side) to test suspension integrity
- ✅ Rotate tires and note if vibration shifts location (indicates tire/wheel issue)
- ✅ Check wheel runout with a dial indicator if vibration persists post-repair
- ✅ Inspect hub flange for rust, pitting, or debris affecting rotor alignment
Completing this list systematically increases the odds of catching hidden issues before they compromise safety or require repeat labor.
Frequently Asked Questions
Can bad alignment cause brake shudder?
No, alignment affects tracking and tire wear but does not directly cause brake vibration. However, misaligned suspension can accelerate uneven brake pad wear, indirectly contributing to pulsation over time.
I replaced my rotors and pads, but the car still shakes. What now?
This often points to improper installation. Common oversights include failing to clean the hub face, uneven lug nut torque, or reusing damaged hardware. Also consider warped hub flanges or internal wheel bearing wear. A professional inspection with a dial indicator can pinpoint subtle runout issues.
Is it safe to drive with brake vibration?
Mild vibration may not pose immediate danger, but it indicates reduced braking efficiency and potential component failure. Severe shaking, especially accompanied by noise or longer stopping distances, warrants immediate attention. Continued driving risks complete brake failure or loss of control in emergency stops.
Prevention Tips for Long-Term Brake Health
Extending brake life and avoiding vibration starts with driving habits and maintenance routines. Aggressive braking from high speed generates intense heat, increasing the risk of warping. Instead, practice progressive braking—gradually applying pressure as you slow.
Regularly washing the inside of wheels removes brake dust and road salts that contribute to corrosion. During oil changes or tire rotations, take 60 seconds to peek through the wheel spokes and look for excessive dust buildup, fluid leaks, or uneven pad wear.
Finally, never mix brake pad types on the same axle. Using semi-metallic pads on one side and ceramic on the other creates uneven friction coefficients, leading to pulling and pulsation.
Conclusion: Take Control of Your Vehicle’s Safety
Brake vibration is more than an annoyance—it’s a mechanical message demanding attention. By understanding the causes and following a logical diagnostic path, you gain control over your vehicle’s performance and safety. Whether you choose to tackle repairs yourself or consult a professional, being informed ensures you won’t pay for unnecessary parts or overlook critical faults.
Start with the basics: observe when and where the shake occurs, inspect accessible components, and apply best practices during maintenance. Small efforts today prevent costly repairs tomorrow—and keep you and your passengers safer on the road.


 浙公网安备
33010002000092号
浙公网安备
33010002000092号 浙B2-20120091-4
Comments
No comments yet. Why don't you start the discussion?