
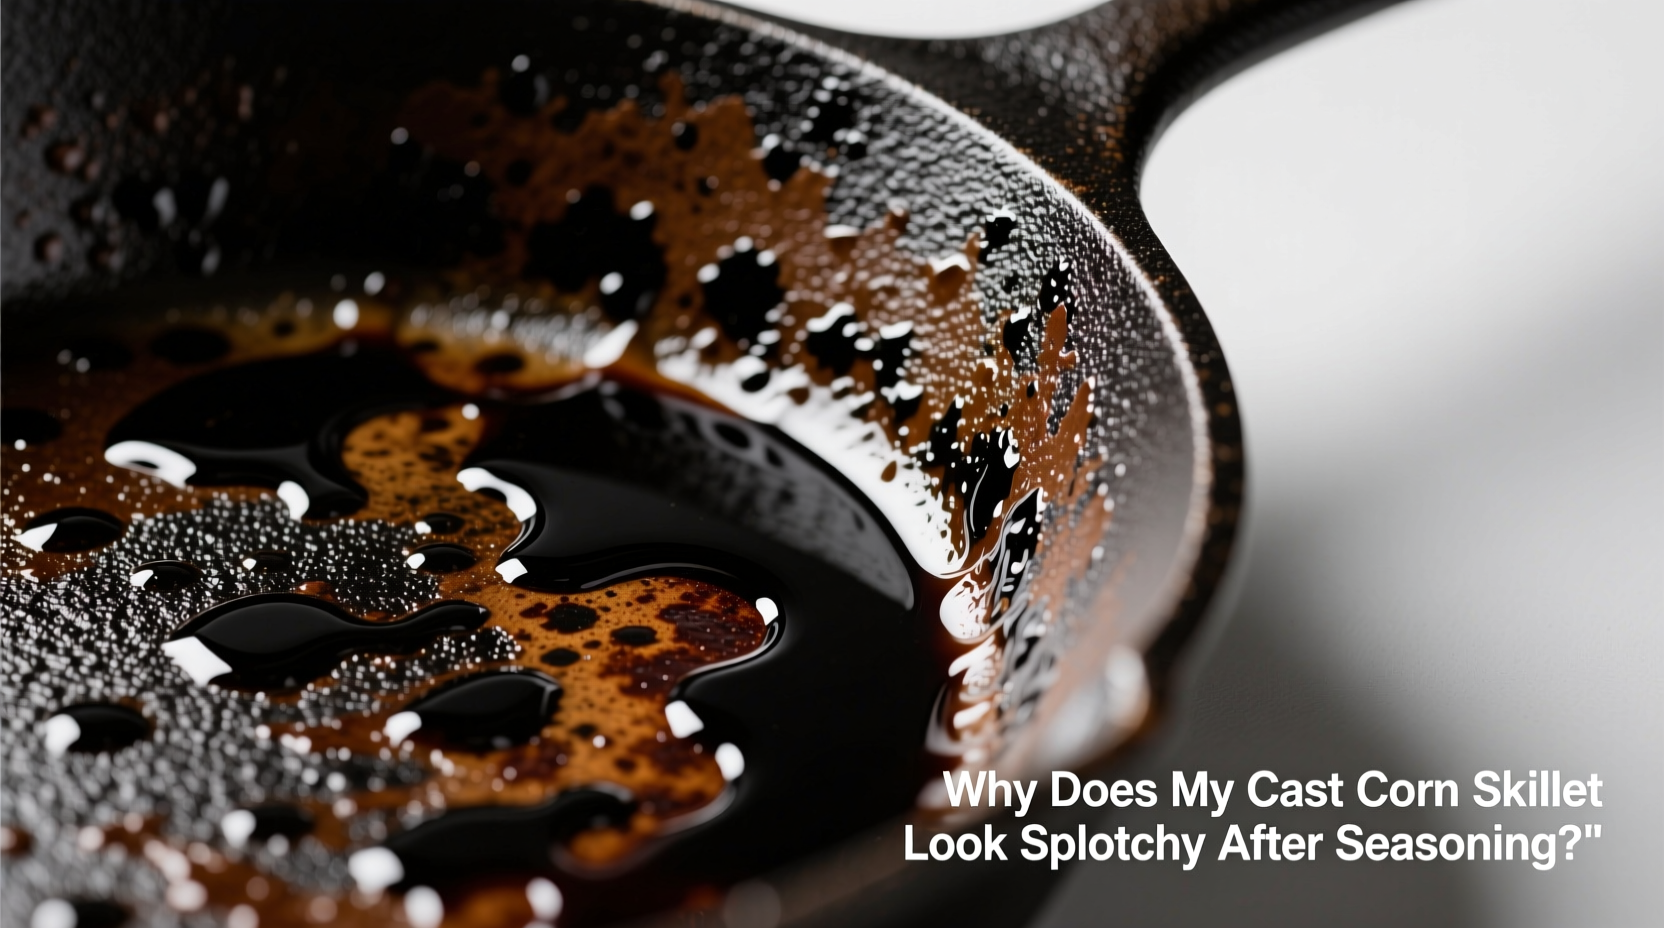
Cast iron cookware is revered for its durability, heat retention, and ability to develop a natural non-stick surface through proper seasoning. But even experienced cooks can be puzzled when their skillet emerges from the oven with an uneven, patchy, or splotchy appearance. Rather than discarding the pan or assuming failure, understanding the root causes of splotchiness empowers you to correct and prevent it. This guide dives into the science and practice behind seasoning, explains why splotches occur, and offers actionable solutions to achieve a consistent, glossy black patina that performs flawlessly on the stovetop.
Understanding Seasoning: The Science Behind the Shine
Seasoning isn’t just about coating your skillet with oil—it’s a chemical process called polymerization. When oil is heated beyond its smoke point on the metal surface, its molecules break down and re-form into a hard, plastic-like layer bonded to the iron. This layer protects against rust and creates the slick cooking surface prized by home chefs and professionals alike.
The ideal seasoned skillet has a deep, uniform black sheen—smooth to the touch and free of visible patches. Splotchiness indicates incomplete or inconsistent polymerization. It doesn’t necessarily mean the seasoning has failed, but rather that the conditions weren’t optimal during the process.
“Proper seasoning isn’t magic—it’s controlled chemistry. Temperature, oil type, and surface prep determine whether you get a flawless finish or a mottled mess.” — Dr. Alan Zhang, Materials Scientist & Culinary Equipment Consultant
Common Causes of Splotchy Seasoning
Splotchy results stem from one or more issues in preparation, application, or baking. Identifying the culprit is the first step toward correction.
1. Inadequate Cleaning Before Seasoning
If food residue, old seasoning flakes, or grease remain on the skillet, new oil won’t bond evenly. These contaminants create barriers, leading to patchy adhesion. A thorough cleaning ensures a bare-metal canvas for effective polymerization.
2. Using the Wrong Type of Oil
Oils vary in smoke point and fatty acid composition, which affects how well they polymerize. Low-smoke-point oils like olive oil or butter may burn before fully curing, leaving sticky or blotchy spots. Conversely, oils high in polyunsaturated fats (like flaxseed) can produce brittle layers that flake off, creating uneven coverage.
3. Uneven Oil Application
Applying too much oil—or failing to spread it uniformly—leads to pooling. Excess oil carbonizes instead of polymerizing, resulting in sticky, dark patches. Thin, even layers are essential for consistent results.
4. Oven Temperature Fluctuations
Inconsistent oven temperature prevents uniform curing. If parts of the pan heat faster than others (due to rack position or hot spots), some areas may over-cure while others under-cure. Convection ovens generally perform better due to even airflow.
5. Cooling Too Quickly
Rapid cooling after seasoning can cause micro-cracking in the polymerized layer, weakening adhesion and revealing lighter spots underneath. Letting the skillet cool slowly in the turned-off oven helps maintain structural integrity.
Step-by-Step Guide to Achieving Even Seasoning
Follow this detailed process to minimize splotchiness and build a resilient, uniform seasoning layer.
- Clean the Skillet Thoroughly: Strip any existing gunk using hot water and a stiff brush or chainmail scrubber. For stubborn buildup, use kosher salt as an abrasive or run it through the dishwasher (controversial but effective if followed by immediate drying and re-seasoning).
- Dry Completely: Place the skillet on the stove over medium heat for 5–10 minutes until all moisture evaporates. Any remaining water will interfere with oil bonding.
- Choose the Right Oil: Opt for refined oils with high smoke points and balanced fat profiles—such as grapeseed, sunflower, canola, or vegetable oil. Avoid flaxseed unless you're prepared for potential flaking over time.
- Apply a Micro-Thin Layer: Pour a teaspoon of oil onto the skillet. Use a lint-free cloth or paper towel to spread it across every surface. Then, take a clean towel and aggressively wipe off as much oil as possible. The goal is a barely visible film—not a greasy coat.
- Bake Upside Down: Place the skillet upside down on the middle rack of your oven. Put a foil-lined baking sheet on the lower rack to catch drips. Bake at 450°F–500°F (230°C–260°C) for one hour. This orientation prevents pooling.
- Cool Gradually: Turn off the oven and let the skillet cool inside for at least two hours. Sudden temperature changes stress the polymer layer.
- Repeat if Necessary: One round may not yield a perfect finish. Apply 2–3 additional layers, repeating the full process each time.
Do’s and Don’ts of Cast Iron Seasoning
| Do’s | Don’ts |
|---|---|
| Use high-smoke-point oils like grapeseed or canola | Use butter, olive oil, or low-smoke-point fats |
| Wipe off excess oil until the surface looks almost dry | Leave thick, glossy layers of oil before baking |
| Bake upside down with drip protection below | Place right-side up without catching drips |
| Allow slow cooling in the oven | Remove the skillet immediately after turning off heat |
| Re-season periodically based on usage | Assume one-time seasoning lasts forever |
Real Example: From Splotchy to Smooth
Sarah, a home cook in Portland, inherited her grandmother’s vintage cast iron skillet. Excited to restore it, she scrubbed it clean, applied a generous coat of flaxseed oil, and baked it at 375°F for an hour. The result? A streaky, sticky mess with dark brown blobs and shiny wet spots.
After researching, she realized three mistakes: flaxseed oil’s tendency to flake, insufficient heat for polymerization, and too much oil. She stripped the pan with steel wool, dried it thoroughly, applied a whisper-thin layer of grapeseed oil, and baked it at 475°F for one hour. After two rounds, the skillet developed a smooth, jet-black finish. Now, she uses it weekly for searing steaks and baking cornbread—without any sticking or splotching.
Troubleshooting Persistent Splotchiness
If your skillet remains uneven despite careful efforts, consider these advanced fixes:
- Strip and Restart: Use oven cleaner, electrolysis, or lye to remove all existing seasoning. This gives you a blank slate for rebuilding properly.
- Check Your Oven Calibration: Ovens often run hotter or cooler than displayed. Use an independent oven thermometer to verify accuracy.
- Avoid Overloading the Oven: Baking multiple pans at once restricts airflow and creates temperature imbalances. Season one piece at a time.
- Stove-Top Touch-Ups: After oven seasoning, heat the skillet on the stove with a drop of oil. Swirl and wipe frequently to enhance surface uniformity.
Frequently Asked Questions
Is splotchy seasoning dangerous?
No. Splotchiness is primarily cosmetic. As long as there’s no rust, peeling, or sticky residue, the skillet is safe to use. Functional performance matters more than visual perfection.
Can I fix splotchy seasoning without stripping the whole pan?
Yes. Focus on problem areas by applying another thin layer of oil and baking again. Often, one or two additional cycles improve appearance significantly.
Why does my skillet look worse after cooking acidic foods?
Acidic ingredients like tomatoes or wine can degrade seasoning, especially if it’s still developing. Stick to neutral foods during the early stages of seasoning buildup.
Maintaining a Consistent Finish Over Time
Prevention beats correction. To keep your skillet looking and performing its best:
- Never soak in water: Clean quickly with hot water and a brush; dry immediately.
- Oil after every wash: While still warm, apply a tiny amount of oil and buff lightly.
- Refrain from dishwashers and harsh detergents: These strip seasoning rapidly.
- Cook fats regularly: Frying bacon or sautéing onions naturally reinforces the seasoning layer.
“The best seasoning builds over time through use, not just oven cycles. A well-loved skillet improves with age.” — Chef Marcus Bell, Southern Heritage Cooking Instructor
Conclusion: Embrace the Process, Not Perfection
A splotchy cast iron skillet isn’t a failure—it’s part of the journey. Every cook encounters uneven seasoning at some point. What matters is understanding why it happens and knowing how to respond. With the right oil, precise application, accurate heat, and patience, you can transform a patchy pan into a kitchen heirloom with a flawless, functional finish.
Don’t aim for instant perfection. Instead, focus on consistency, care, and gradual improvement. Seasoning is both science and ritual—one that rewards attention and repetition. Pick up your skillet, give it another thin coat, and bake it with confidence. The results will come.


 浙公网安备
33010002000092号
浙公网安备
33010002000092号 浙B2-20120091-4
Comments
No comments yet. Why don't you start the discussion?