
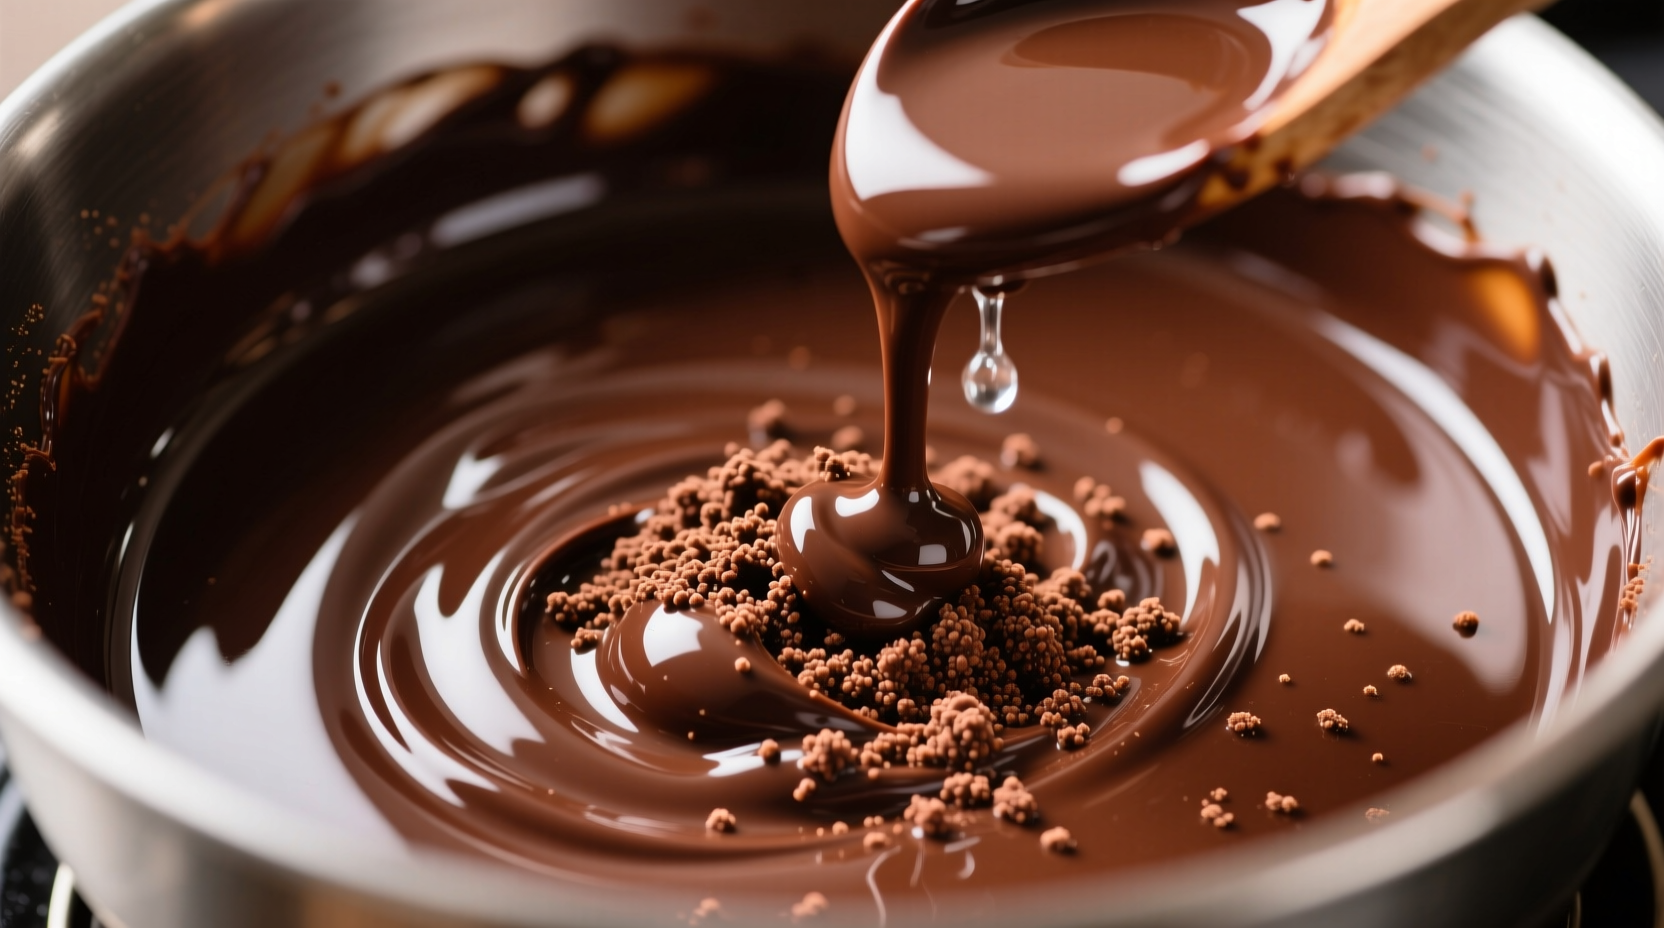
Chocolate is a kitchen staple that transforms desserts, sauces, and confections with its rich flavor and smooth texture. Yet even experienced cooks can be caught off guard when their carefully melted chocolate suddenly turns into a stiff, grainy mess. This phenomenon—known as \"seizing\"—is frustrating but not irreversible. Understanding the science behind it and knowing how to respond quickly can save your recipe and your confidence in the kitchen.
Seized chocolate doesn’t mean failure. With the right knowledge and techniques, you can often restore it to a usable state—or better yet, prevent it from happening in the first place. This guide breaks down the causes of chocolate seizing, provides immediate solutions, and shares best practices for melting chocolate safely every time.
The Science Behind Chocolate Seizing
Chocolate is an emulsion—a stable mixture of cocoa solids, cocoa butter, sugar, and sometimes milk powder. When melted properly, these components blend smoothly into a glossy, fluid consistency. But this balance is delicate. The moment moisture or excessive heat enters the equation, the structure collapses.
Seizing occurs when even a tiny amount of water comes into contact with melted chocolate. Water causes the cocoa particles to clump together, forming a thick, gritty paste. It’s not a myth: just a few drops from a damp spoon, steam from a double boiler, or condensation on a bowl can trigger the reaction. Unlike oil and water, which separate, chocolate and water bind in the worst way—creating lumps that resist stirring.
Why does this happen? Cocoa solids are hydrophilic—they attract water. When water is introduced, the solids absorb it rapidly, swell, and stick together. Meanwhile, the cocoa butter separates, leaving behind a dry, unworkable mass. The result looks like wet sand or modeling clay, not the silky liquid you expected.
“Chocolate is far more sensitive to moisture than most home cooks realize. A single splash can ruin an entire batch.” — Dr. Helen Torres, Food Scientist and Chocolate Specialist
Heat also plays a role. Overheating chocolate—even without moisture—can cause scorching or separation. Dark chocolate begins to degrade around 120°F (49°C), while milk and white chocolate are even more fragile, breaking down at 110°F (43°C). Excessive heat destabilizes the fat matrix, leading to a similar grainy texture, though technically not “seizing” in the strictest sense.
How to Fix Seized Chocolate Instantly
The good news: seized chocolate isn’t always beyond saving. Depending on the severity and what you’re making, there are several ways to reverse the damage.
Add Fat to Restore Smoothness
The most reliable fix is introducing additional fat to reintegrate the cocoa particles. Butter, vegetable oil, or neutral-flavored oils work well. Start with small amounts—one teaspoon at a time—and stir vigorously until the mixture regains fluidity.
Here’s how to do it:
- Remove the chocolate from heat.
- Add ½ to 1 teaspoon of butter or oil per ounce of chocolate.
- Stir continuously using a silicone spatula or wooden spoon.
- If needed, return to very low heat for a few seconds, then remove again.
- Repeat until the texture becomes smooth and pourable.
This method works because fat helps suspend the swollen cocoa particles, restoring flow. However, the chocolate may not be suitable for tempering or decorative drizzling—it’s best used in baked goods, brownies, or sauces where texture is less critical.
Dilute with More Chocolate
If you have additional unmelted chocolate on hand, you can use it to dilute the seized batch. This technique, called “seeding,” cools the mixture and introduces stable chocolate crystals to help re-emulsify the mass.
Chop 1–2 ounces of chocolate finely and add it to the seized mixture. Stir constantly over low heat or residual warmth. The new chocolate absorbs excess moisture and stabilizes the temperature, encouraging a smoother consistency.
Incorporate Into Batters or Sauces
If the chocolate won’t smooth out completely, don’t discard it. Fold it into cake batters, brownie mixes, or warm pudding bases. The surrounding liquid and ingredients will mask the texture, and the flavor remains intact. In fact, slightly thickened chocolate can enhance fudgy textures in baked desserts.
Best Practices to Prevent Chocolate Seizing
Prevention is always better than repair. Follow these guidelines to melt chocolate successfully every time.
Use Dry Equipment Only
Ensure all utensils, bowls, and spatulas are completely dry before use. Even a damp cloth used to wipe a bowl can leave enough moisture to cause seizing. Glass and metal bowls are preferable—they retain heat evenly and don’t harbor hidden moisture like porous materials.
Melt Gently Using a Double Boiler
The double boiler method offers the most control. Fill a saucepan with 1–2 inches of water and bring it to a simmer. Place a heatproof bowl on top, ensuring the bottom doesn’t touch the water. The steam gently heats the bowl, allowing chocolate to melt slowly and evenly.
Chop chocolate into uniform pieces for consistent melting. Stir frequently to distribute heat and prevent hot spots.
Avoid Microwave Mishaps
While microwaving is faster, it requires caution. Use 30-second bursts at 50% power, stirring between each interval. Microwaves heat unevenly, so skipping stirrings leads to scorched edges and unmelted centers. Always use a dry microwave-safe bowl.
Keep Water Away
This cannot be overstated: keep all sources of moisture away from melted chocolate. Don’t steam foods nearby. Don’t use a wet spoon to test consistency. And never add cold liquids directly into warm chocolate unless the recipe specifically calls for it (like ganache, where cream is added gradually).
Do’s and Don’ts of Melting Chocolate
| Action | Do | Don’t |
|---|---|---|
| Equipment | Use dry glass or metal bowls | Use plastic or ceramic that may retain moisture |
| Heat Source | Double boiler or low-power microwave | Direct heat or high temperatures |
| Stirring | Frequent, gentle stirring | Infrequent or vigorous mixing |
| Liquid Addition | Add warm liquids gradually (e.g., cream for ganache) | Add cold water or steam-exposed liquids |
| Storage | Cool completely before storing in airtight container | Leave exposed to humidity or temperature swings |
Real Kitchen Scenario: A Cake Disaster Turned Success
Sarah was preparing a chocolate glaze for her daughter’s birthday cake. She chopped dark chocolate and placed it over a simmering pot of water. Distracted by a phone call, she didn’t notice the water level rising. A small wave splashed into the bowl. Within seconds, the chocolate turned lumpy and dull.
Panicked, she nearly threw it out. Then she remembered reading about adding butter. She removed the bowl from heat, added one teaspoon of unsalted butter, and stirred. After 30 seconds of persistent mixing, the texture began to loosen. She added another half-teaspoon and continued stirring. The glaze wasn’t perfectly glossy, but it was fluid enough to pour over the cake.
She spread it evenly, and after chilling, the topping set beautifully. No one could tell there had been a problem. Sarah now keeps a small jar of melted butter nearby whenever working with chocolate—just in case.
Step-by-Step Rescue Guide
If your chocolate has seized, follow this timeline to recover it within minutes:
- 0–10 seconds: Remove the bowl from heat immediately to prevent further damage.
- 15 seconds: Assess the severity. Is it slightly grainy or completely clumped?
- 30 seconds: Add ½ teaspoon of butter or oil per ounce of chocolate.
- 1–2 minutes: Stir continuously with a spatula. Apply gentle pressure to break up lumps.
- 2–3 minutes: If no improvement, add another ½ teaspoon of fat and stir again.
- 3–5 minutes: If still stiff, introduce 1–2 tablespoons of warm, unmelted chocolate and stir over residual heat.
- 5+ minutes: If unfixable, repurpose into brownies, mug cakes, or mix into yogurt or oatmeal for a chocolate boost.
This sequence maximizes recovery chances while minimizing waste. Most cases resolve within the first two minutes with proper fat addition.
FAQ
Can I use milk or cream to fix seized chocolate?
Yes—but only if you’re making a sauce or ganache. Cold dairy can worsen seizing, so always use warm cream and add it gradually. For general melting, fat (butter/oil) is safer than liquid.
Why did my chocolate seize in the microwave?
Microwaves create hot spots that can burn chocolate or release trapped moisture. Additionally, steam builds inside the bowl. Always use short bursts, stir frequently, and ensure the bowl is dry before starting.
Is seized chocolate unsafe to eat?
No. Seized chocolate is safe to consume—it’s just unpleasant in texture. It can be repurposed in baking or reheated with fat to restore usability.
Expert Tips for Working with Chocolate
- Always chop chocolate finely and uniformly for even melting.
- Work in a cool, dry kitchen—high humidity increases seizing risk.
- Let ganache cool slowly at room temperature to avoid surface film or cracking.
- Never rush the melting process. Patience prevents overheating and moisture exposure.
- Use a thermometer if tempering: dark chocolate should stay below 120°F, milk and white below 110°F.
“The key to perfect melted chocolate isn’t speed—it’s control. Manage temperature and moisture, and you’ll succeed every time.” — Marco Finelli, Pastry Chef and Chocolate Artisan
Conclusion: Save Your Chocolate, Save Your Recipe
Chocolate seizing is a common kitchen setback, but it doesn’t have to end in wasted ingredients or ruined desserts. By understanding the role of moisture and heat, you gain the power to prevent and fix the issue efficiently. Whether you're making a simple dip or an elegant dessert topping, staying calm and applying the right technique can turn disaster into triumph.
Now that you know how to rescue seized chocolate and avoid it altogether, approach your next chocolate project with confidence. Keep butter nearby, use dry tools, and melt slowly. Share your own chocolate-saving tricks in the comments—your experience might help another cook in crisis.


 浙公网安备
33010002000092号
浙公网安备
33010002000092号 浙B2-20120091-4
Comments
No comments yet. Why don't you start the discussion?