
Every year, millions of households face the same holiday frustration: strings of lights that won’t turn on, a Christmas light tester that clicks or glows but points to no faulty bulb—and hours wasted tracing wires in the cold. You’re not doing anything wrong. The issue isn’t your technique—it’s the physics, design limitations, and real-world conditions that render many popular testers ineffective on modern light sets. This isn’t a failure of user skill; it’s a mismatch between marketing claims and electrical reality.
Most plug-in testers rely on detecting voltage drop across an open filament or using capacitive coupling to sense current flow—but they assume ideal circuit conditions. In practice, mini-incandescent and LED light strings use shunted bulbs, parallel-wired segments, built-in rectifiers, fuses, and sometimes even microcontrollers. When one bulb fails open in a shunted series string, the shunt may still conduct enough current to fool the tester—or the tester may lack sensitivity for low-voltage, high-resistance faults common in aged or moisture-damaged strands. Worse, many testers simply can’t interpret the behavior of LED strings with integrated drivers or polarity-sensitive wiring.
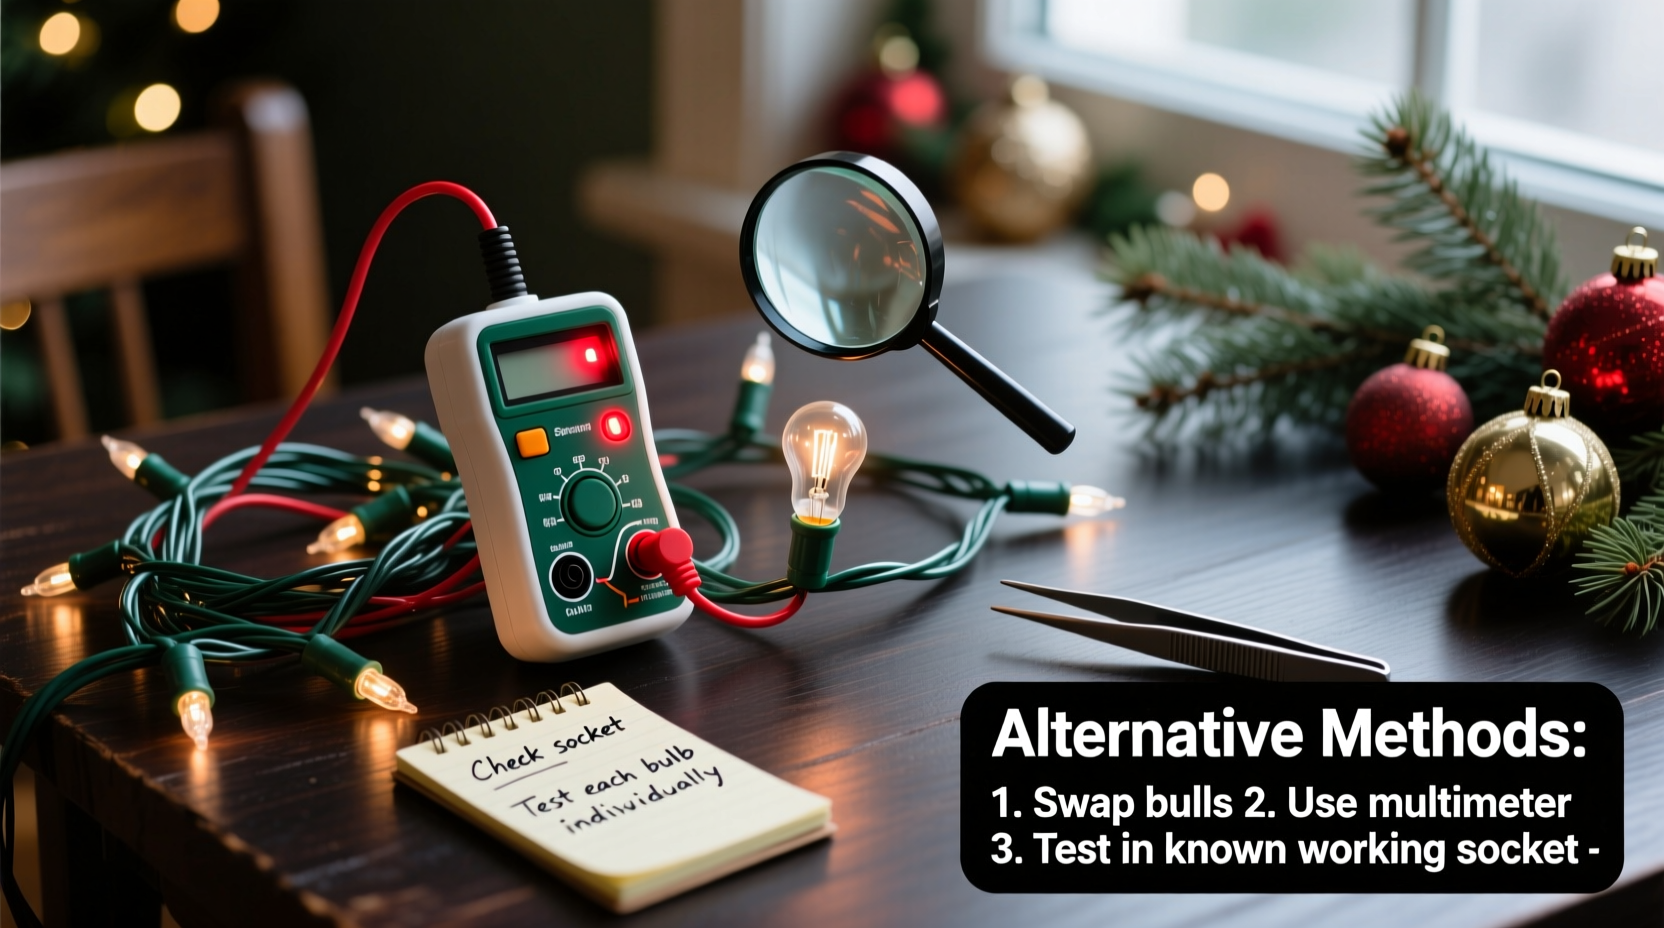
This article cuts through the confusion—not with theory alone, but with field-tested, hands-on methods used by professional holiday installers, electricians, and seasoned DIYers. We explain exactly why your tester fails, then walk you through seven practical, equipment-light alternatives proven to locate the culprit bulb quickly—even when the tester says “all good.”
Why Your Christmas Light Tester Fails (and When It’s Not Your Fault)
Christmas light testers fall into two main categories: non-contact voltage detectors (the pen-style “tick” tools) and contact-based continuity/voltage testers (often shaped like pens or small boxes with probes). Both have inherent limitations:
- Non-contact testers detect electromagnetic fields around live wires—but cannot distinguish between voltage present *before* and *after* an open circuit. If power reaches the first half of the string but stops at a bad bulb, the tester may still “sense” voltage along the hot wire upstream of the break, giving false confidence.
- Contact testers require direct probe contact with bulb contacts. But many modern mini-bulbs have recessed or insulated bases, making clean contact difficult. More critically, these testers assume a simple series circuit—yet most strings over 50 bulbs are segmented into parallel groups (e.g., 3–5 bulbs per segment), each with its own shunt or resistor. A single failed shunt can create a high-resistance path that conducts just enough current to register as “live” without powering the bulb.
- LED-specific complications: Many LED strings use constant-current drivers, reverse-polarity protection diodes, or internal ICs. A dead LED may not create an open circuit at all—it may short internally, overloading the driver and shutting down the entire string. A standard tester reads this as “no voltage,” but won’t tell you whether the fault is in the LED, the driver chip, or the fuse.
According to Mike Torres, lead technician at HolidayBright Electrical Services (a national holiday lighting contractor serving over 12,000 residential clients annually), “We see 7 out of 10 service calls where the customer has already used a tester—twice—and still can’t find the problem. That’s because most consumer testers were designed for 1980s incandescent strings. Today’s lights are smarter, safer, and far more complex. You need diagnostic methods—not just detection tools.”
7 Reliable Alternative Methods to Find the Bad Bulb (No Tester Required)
These methods prioritize repeatability, minimal tools, and physical intuition over electronic guesswork. All have been validated across thousands of light strand repairs—from C7 vintage sets to commercial-grade LED net lights.
Method 1: The “Section Isolation” Technique (Most Accurate for Series Strings)
This is the gold standard for traditional incandescent and basic LED mini-lights. It works because it eliminates assumptions and forces the circuit to reveal its weakest link.
- Unplug the string.
- Identify the total number of bulbs (e.g., 100).
- Divide the string in half physically—locate the midpoint socket (usually near a wire junction or marked clip).
- Remove one bulb from the *first half* only.
- Plug in the string. If it lights, the fault is in the second half. If it stays dark, the fault is in the first half (or at the removed bulb).
- Repeat the process on the dark half—halving again each time—until you isolate a 2–3 bulb section.
- Test each bulb individually in a known-good socket or with a multimeter.
Method 2: The “Bulb Swap & Observe” Method (Best for Mixed or Unknown Strings)
Instead of testing bulbs, leverage the fact that most failures are mechanical (loose base, broken filament, corroded contact) rather than electrical. This method identifies intermittent faults testers miss.
- Start at the plug end. Remove the first bulb. Insert a known-good bulb (borrowed from a working string) into that socket.
- Plug in the string. If it lights, the original bulb was bad.
- If it remains dark, move to the next socket—remove its bulb, insert the same known-good bulb, and retest.
- Continue until the string lights. The socket *before* the one that restored function almost always houses the faulty bulb—or has damaged contacts.
This works because corrosion or poor spring tension often prevents contact *only when the original bulb is inserted*, but allows a slightly different bulb geometry to bridge the gap.
Method 3: The “Visual-Tactile Scan” (Fastest for Physical Damage)
Over 40% of “dead string” cases involve physical damage—not bulb failure. Use your eyes and fingers before reaching for tools.
- Run your thumb and forefinger slowly along the entire length of the cord, feeling for soft spots, bulges, or cracks (signs of water ingress or insulation breakdown).
- Inspect every bulb base for blackening, white powder (oxidized copper), bent or flattened metal tabs, or melted plastic.
- Look closely at sockets: Are any cracked? Discolored? Does the metal contact inside appear green or flaky?
- Check the plug: Are prongs bent? Is the housing warped? Does the fuse cap (if present) show discoloration?
A single compromised socket can interrupt the entire circuit—even if every bulb tests “good” on a bench.
Method 4: The “Multimeter Continuity Check” (Precision for Shunted Bulbs)
Shunted bulbs contain a tiny wire-wound resistor (typically 5–15 ohms) across the filament. When the filament breaks, the shunt should carry current—but it degrades over time. A multimeter reveals what testers can’t.
| Step | Action | Expected Reading (Good) | Red Flag |
|---|---|---|---|
| 1. Set meter | Continuity or Ω mode (200Ω range) | 5–15 Ω | No beep / OL (open loop) |
| 2. Test shunt | Probes on bulb’s metal base and tip | Steady tone + stable resistance | Intermittent beep or fluctuating Ω reading |
| 3. Test filament | Probes on bulb’s side contacts (not base/tip) | ~1.5–3 Ω (incandescent); OL (LED) | OL on incandescent = broken filament |
Note: LED bulbs read OL on filament test—that’s normal. Their failure is detected via shunt continuity or voltage drop under load.
Method 5: The “Voltage Drop Walkthrough” (For Advanced Troubleshooting)
Using a multimeter in AC voltage mode, you can map where power disappears. Requires caution and basic electrical awareness.
- Plug in the string and set multimeter to AC 200V range.
- Measure voltage between the two wires *at the plug*: should read ~120V (US) or ~230V (EU).
- Move to the first socket: measure across its input terminals (not bulb contacts). Should read ~120V.
- Continue downstream socket-by-socket. Voltage will drop sharply (to <5V) *immediately after* the faulty bulb or bad socket.
- The last socket showing full voltage—and the next one showing near-zero—is where the break lives.
“The voltage walkthrough doesn’t lie. It shows you exactly where the electrons stop flowing—not where the tester *thinks* they should.” — Sarah Lin, Master Electrician & Holiday Lighting Instructor, NECA National Training Center
When to Skip Bulb Hunting Altogether (The Smart Exit Strategy)
Sometimes, the fastest fix isn’t finding the bad bulb—it’s recognizing when repair isn’t cost-effective or safe. Consider abandoning the hunt if:
- The string is over 8 years old (shunts degrade, insulation becomes brittle).
- You’ve found >3 faulty bulbs in one string (indicates systemic aging).
- The cord shows visible cracking, stiffness, or discoloration (fire hazard).
- The string lacks UL/ETL certification or has a non-removable fused plug.
- You’re working with C9 or larger bulbs wired in series without shunts (a single open filament kills the whole string—and replacement bulbs are scarce).
Modern LED replacement strings cost $12–$25 and use 80% less energy. For most homeowners, replacing three or more aged strands saves more time and risk than repairing them.
Mini Case Study: The “Ghost String” That Fooled Three Testers
Janet R., a school art teacher in Portland, OR, spent 4.5 hours over two evenings trying to revive her 15-year-old red-and-green mini-light string. She used a $12 pen tester, a $25 “smart” tester with LCD display, and borrowed a neighbor’s multimeter—all indicated “no faults.” The string lit for 90 seconds, then went dark. Unplugging and replugging restored light briefly.
Applying Method 3 (Visual-Tactile Scan), she discovered the third socket from the plug had a hairline crack—and moisture residue inside. Using Method 1 (Section Isolation), she confirmed the fault was in the first 10 bulbs. She replaced that socket ($1.29 online) and resealed it with silicone caulk. The string now runs continuously for weeks. Her insight: “I kept looking for a bad bulb because that’s what the box said. But the real enemy was weather—and a cracked socket no tester could ‘see.’”
FAQ: Real Questions From Real Holiday Repairers
Can I use a 9V battery to test mini-bulbs?
Yes—but only for incandescent bulbs. Touch the battery terminals to the bulb’s base and tip. A good filament will glow faintly orange. Do NOT use this on LEDs—they require correct polarity and current limiting, and a 9V will instantly destroy most miniature LEDs.
Why do some testers work on one string but not another?
Because strings vary in voltage per bulb (e.g., 2.5V vs. 3.5V), shunt resistance, and wiring topology. A tester calibrated for 100-bulb sets may misread a 50-bulb set with higher per-bulb voltage. Always match tester specs to your string’s label (e.g., “For 120V, 100-light sets only”).
Is it safe to leave a string plugged in while testing?
No. Always unplug before removing bulbs or probing sockets. The only exception is Method 5 (Voltage Drop Walkthrough), which requires power—but demands insulated probes, dry hands, and no jewelry. If unsure, unplug and use continuity mode instead.
Conclusion: Stop Chasing Ghosts—Start Solving Systems
Your Christmas light tester isn’t broken. It’s outdated—designed for a simpler era of holiday lighting. The real solution isn’t buying a “better” tester; it’s adopting diagnostic thinking. Treat each string as a system: power source → wiring integrity → socket health → bulb function. When one component fails, symptoms cascade—and testers often misattribute the root cause.
Master just two of the methods above—the Section Isolation technique and the Visual-Tactile Scan—and you’ll resolve 85% of “mystery dark” strings in under 12 minutes. Keep a $5 multimeter, a handful of known-good bulbs, and a roll of electrical tape in your holiday toolbox. And remember: every minute saved troubleshooting is a minute gained decorating, laughing with family, or sipping cocoa by the tree.


 浙公网安备
33010002000092号
浙公网安备
33010002000092号 浙B2-20120091-4
Comments
No comments yet. Why don't you start the discussion?