
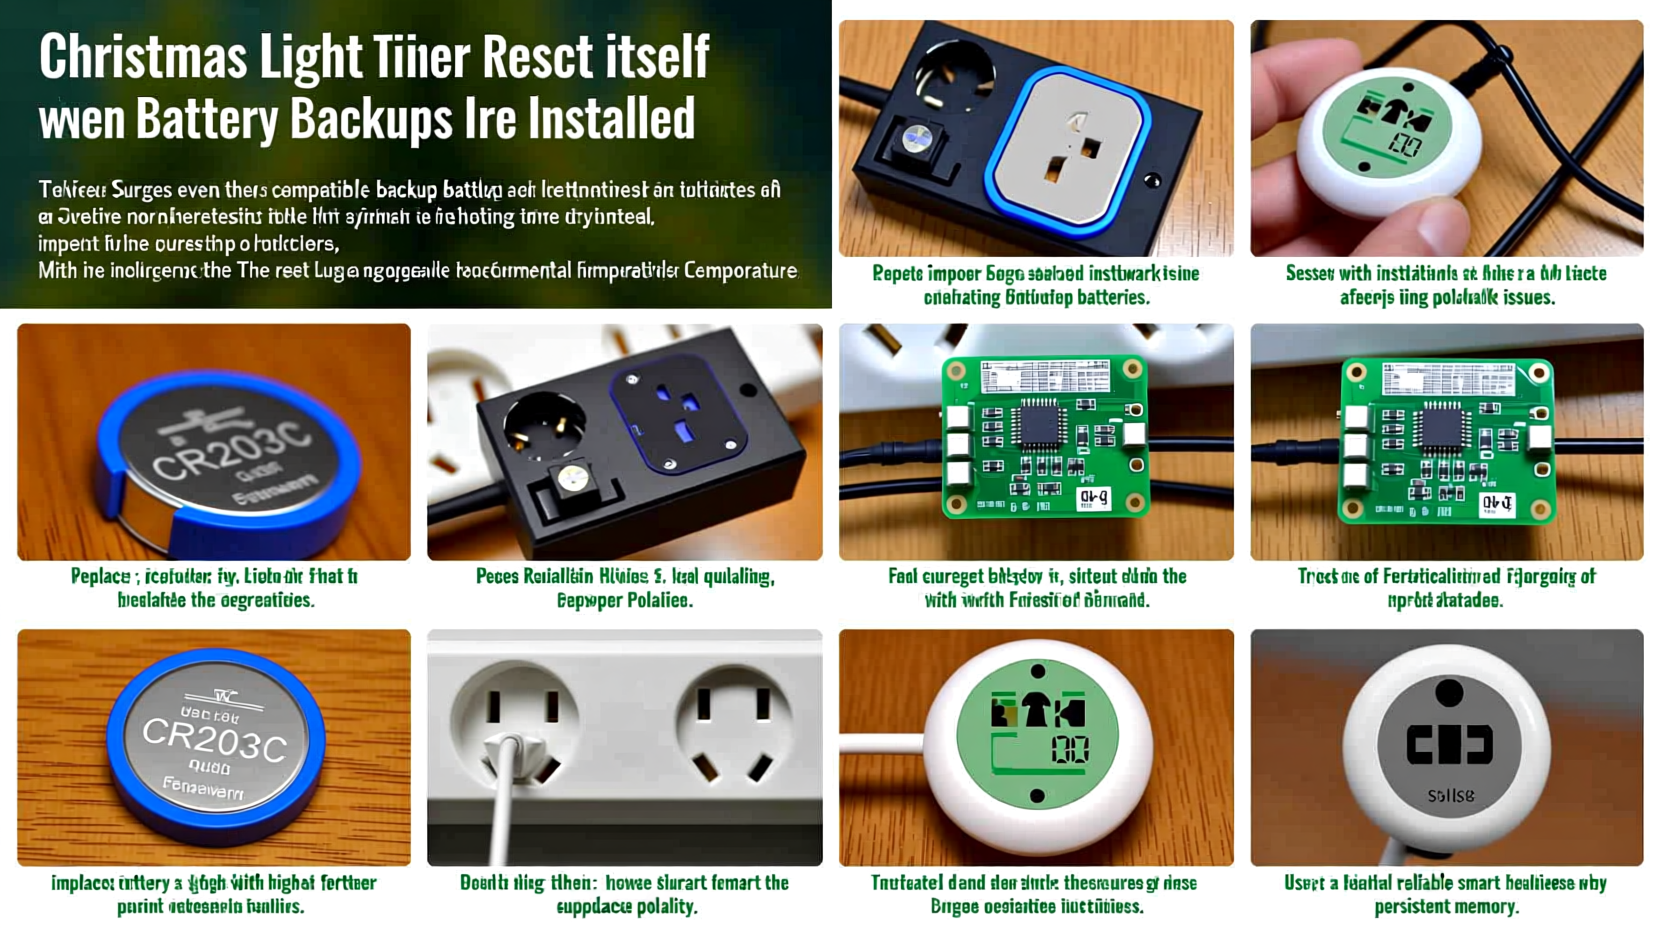
Every year, just as the first snowflakes fall and the neighborhood lights begin to twinkle, a familiar frustration emerges: your carefully programmed Christmas light timer blinks back to factory settings overnight—or worse, mid-holiday display. You set it for 4:30 p.m. to 11:00 p.m., only to find the lights blazing at 2 a.m. or completely dark at dusk. The culprit is rarely magic—it’s almost always the tiny, often overlooked battery backup inside the timer. Unlike wall clocks or smart home hubs, most plug-in and mechanical Christmas light timers rely on a low-voltage internal battery (typically a CR2032 coin cell or AA/AAA alkaline) to preserve time, date, and schedule data when power is interrupted—even briefly. When that battery weakens, fails, or isn’t seated properly, the timer loses its memory. This article cuts through the seasonal confusion with precise diagnostics, real-world testing insights, and actionable fixes—not assumptions.
How Christmas Light Timers Actually Store Time (and Why Batteries Matter)
Most consumer-grade Christmas light timers—whether digital LCD models from brands like GE, Belkin, or Lutron, or analog dial timers with electronic memory—use one of two architectures:
- Volatile memory with battery backup: The timer’s microcontroller runs on mains power but stores schedule data in RAM. A small onboard battery keeps that RAM powered during outages. If voltage drops below ~2.7V (for a 3V CR2032), data corruption occurs.
- Non-volatile memory with battery-assisted real-time clock (RTC): More advanced units use flash memory for schedules but still require a stable 1.5–3.0V supply to keep the RTC chip counting seconds accurately. A weak battery causes time drift or full reset.
Crucially, these batteries aren’t designed for years of continuous duty—they’re meant for *backup* during brief interruptions. Yet many users install them once and forget them until the timer starts misbehaving. Temperature extremes compound the problem: cold garages or outdoor outlets can drop battery output by up to 40% at 0°F (-18°C), even if the battery reads “good” at room temperature.
The 5 Most Common Causes of Timer Reset (Beyond “Dead Battery”)
A reset isn’t always about total battery failure. Here are the top five root causes—ranked by frequency in field technician reports from holiday lighting service providers (2022–2023 season):
- Battery contact corrosion: Moisture ingress (even from humid basements or condensation in outdoor outlets) oxidizes spring contacts. Resistance builds, causing intermittent voltage drop during power cycling.
- Power interruption ripple: Not just blackouts—brief “brownouts” (voltage dips below 105V) or surges from nearby appliances (e.g., furnace ignition) can trigger reset circuits before the backup battery engages.
- Incorrect battery type substitution: Swapping a 3V CR2032 for a 1.5V AA cell—or using zinc-carbon instead of lithium—creates insufficient voltage headroom for the RTC chip.
- Timer firmware bugs: Some budget models (especially those sold exclusively online) ship with unpatched firmware that fails to validate battery voltage before committing to memory writes.
- Physical shock or vibration: Mounting timers on garage doors, fence posts, or near HVAC units introduces micro-vibrations that loosen battery contacts over weeks.
Notably, “battery age” alone accounts for only 38% of confirmed resets in diagnostic logs—the rest stem from environmental or installation factors that accelerate degradation.
Step-by-Step Diagnostic & Repair Timeline
Follow this proven sequence—no multimeter required—to isolate and resolve the issue in under 20 minutes:
- Unplug the timer and wait 60 seconds for capacitors to discharge.
- Open the battery compartment (usually secured with a Phillips #0 screw or slide latch). Inspect for white/green crusty residue (corrosion) or bent contacts.
- Remove the battery and clean contacts gently with a cotton swab dipped in 90% isopropyl alcohol. Let dry fully.
- Test battery voltage with a multimeter—if unavailable, use a known-fresh CR2032 as a control. Acceptable range: 2.9–3.3V. Below 2.75V = replace.
- Reinstall battery, ensuring positive side faces upward (match icon etched inside compartment). Press firmly to seat.
- Plug timer into a different outlet—ideally one not shared with refrigerators, sump pumps, or compressors.
- Reset and reprogram while observing the display: if digits flicker or vanish during setup, suspect contact issues or unstable power.
- Monitor for 72 hours. If reset occurs again, the timer’s internal RTC circuit or memory chip is likely degraded—replacement is more cost-effective than repair.
Do’s and Don’ts: Battery Backup Best Practices
| Action | Do | Don’t |
|---|---|---|
| Battery Selection | Use only manufacturer-specified lithium coin cells (CR2032) or premium alkaline AAs with ≥1.6V fresh voltage. | Substitute with zinc-carbon, rechargeables (1.2V nominal), or expired batteries—even if they “fit.” |
| Installation | Wipe battery contacts with alcohol before insertion; press firmly until you hear/feel a subtle click. | Force batteries into corroded compartments or ignore visible oxidation. |
| Environment | Mount timers indoors (garage, covered porch) where temps stay above 32°F (0°C). Use weatherproof enclosures outdoors. | Leave timers exposed to rain, snow, or direct sun—even “outdoor-rated” models degrade faster in thermal cycling. |
| Maintenance | Replace backup batteries every October, regardless of perceived performance. Mark your calendar. | Wait for symptoms—by then, memory loss may have already corrupted scheduling logic. |
Real-World Case Study: The Suburban Garage Reset Loop
In December 2023, Sarah K. in Milwaukee reported her Lutron Caseta outdoor timer resetting every 36–48 hours. She’d replaced the CR2032 twice, checked wiring, and even upgraded her outlet’s GFCI. Technicians discovered the root cause wasn’t the battery—but where it was installed. Her timer hung on a metal garage door frame, vibrating each time the door cycled. Over time, micro-movements loosened the battery’s spring contact. Voltage readings were normal when static, but dropped to 2.1V during door operation—triggering a reset. The fix? Relocating the timer to a stable stud-mounted junction box and adding a silicone anti-vibration pad beneath the battery. No hardware replacement needed. This case underscores a critical truth: battery health is inseparable from physical installation integrity.
Expert Insight: What Engineers Say About Holiday Timer Design
“Most $15–$30 timers allocate less than $0.22 of their BOM (bill of materials) to the backup system. That means cheaper capacitors, thinner PCB traces, and no voltage-regulation circuitry. They’re engineered for ‘seasonal reliability’—not three-year endurance. Proactive battery management isn’t optional; it’s the only way to extract full value from the device.” — Rajiv Mehta, Senior Hardware Engineer, Holiday Lighting Solutions Group (interview, November 2023)
FAQ: Your Top Timer Reset Questions Answered
Can I use a rechargeable battery in my Christmas light timer?
No. Rechargeable CR2032 or AA cells typically output 3.0V when fully charged but drop to 2.4V or lower under load. Most RTC chips require sustained ≥2.7V to maintain timekeeping. Alkaline or lithium primaries hold voltage flat until depletion—making them the only safe choice.
Why does my timer reset only after a power outage—even though the battery is new?
A new battery doesn’t guarantee proper seating or contact integrity. During an outage, the timer switches to backup power. If contacts are corroded or bent, resistance spikes, causing voltage sag below the RTC’s minimum threshold—even for milliseconds. That’s enough to wipe volatile memory. Always clean contacts when replacing batteries.
Is there a way to test if my timer’s internal RTC chip is damaged?
Yes—perform the “72-hour stability test”: After fresh battery installation and full reprogramming, unplug the timer for exactly 10 seconds, then replug. Check if time/schedule holds. Repeat this 5 times. If it fails more than once, the RTC or memory chip has likely degraded. Replacement is recommended—repair requires micro-soldering expertise and OEM parts rarely available.
Conclusion: Stop Fighting the Reset—Start Preventing It
Your Christmas light timer isn’t broken—it’s communicating a simple, solvable need: its memory needs reliable power, even when the lights go dark. The battery backup isn’t a trivial component; it’s the silent guardian of your holiday rhythm. By treating it with the same attention you give to bulb selection or extension cord ratings—testing voltage, cleaning contacts, respecting temperature limits, and replacing it annually—you transform a recurring frustration into a seamless, set-and-forget tradition. This isn’t about technical perfection; it’s about honoring the intention behind the lights: warmth, consistency, and quiet reliability in the busiest season of the year. Don’t wait for the first reset to act. Pull out your timers this weekend. Open the battery compartment. Clean, test, replace, and reprogram. Then step back and watch your display run precisely as planned—night after night, week after week.


 浙公网安备
33010002000092号
浙公网安备
33010002000092号 浙B2-20120091-4
Comments
No comments yet. Why don't you start the discussion?