
A freshly cut Christmas tree should last four to six weeks with proper care. Yet many homeowners find their tree shedding needles, turning brittle, and losing its scent within just three days. This rapid deterioration isn’t inevitable—it’s usually a sign of compromised hydration from the moment the tree was harvested. Understanding the science behind tree drying and implementing practical fixes can dramatically extend your tree’s lifespan and preserve its festive charm.
The Science Behind Rapid Tree Drying
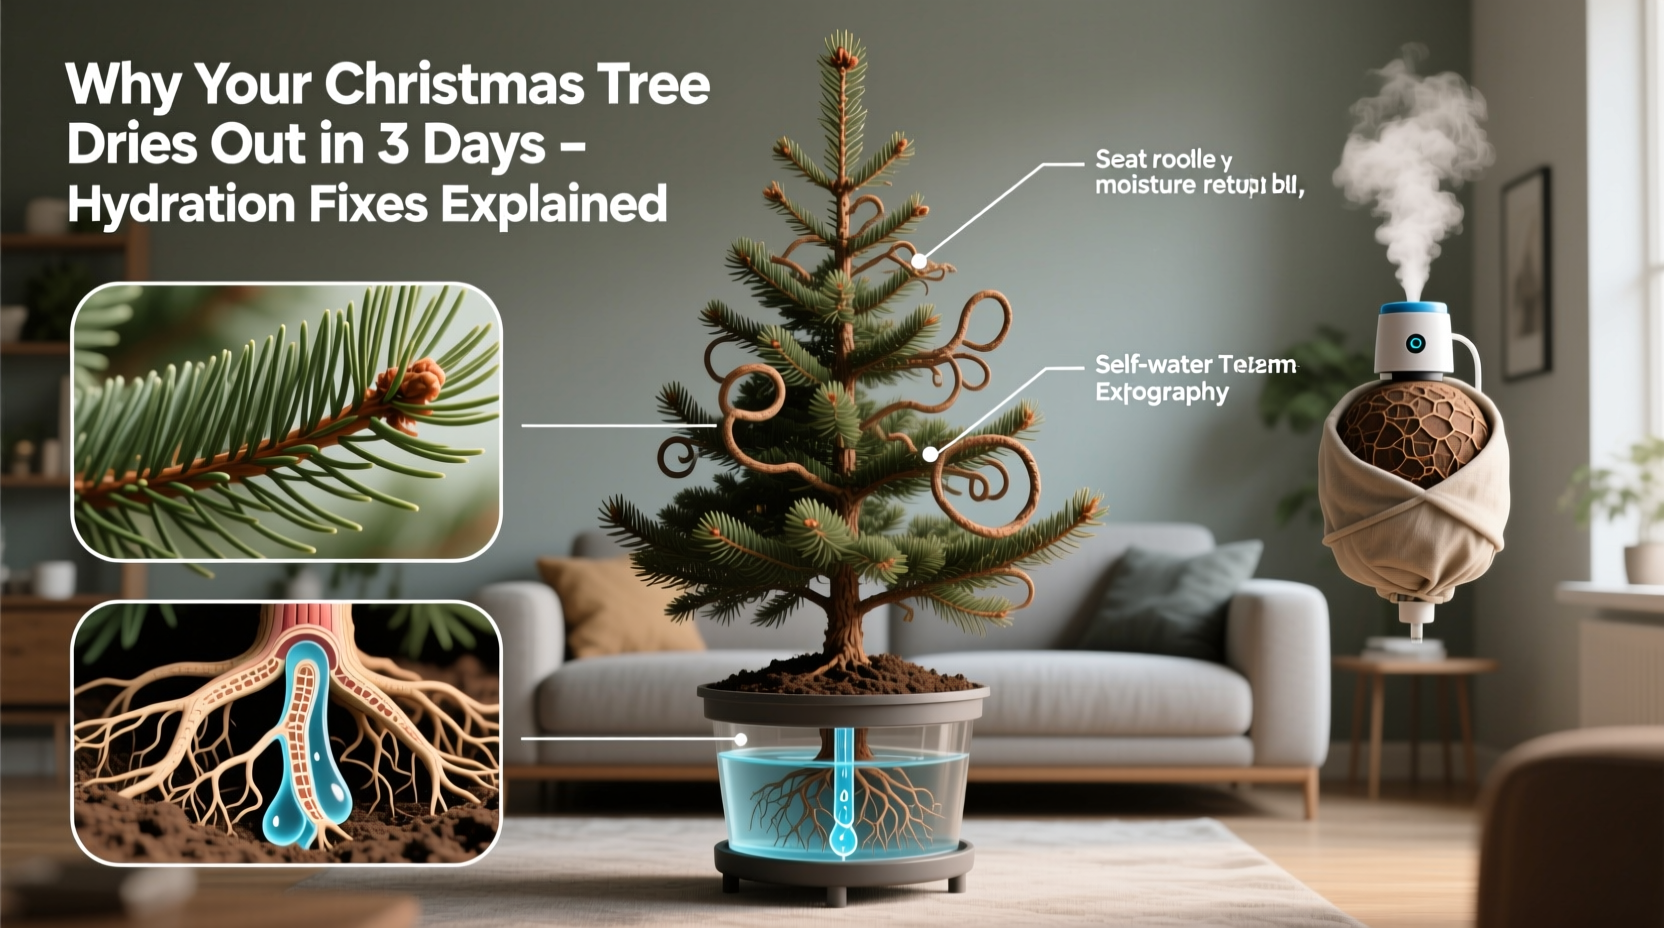
Christmas trees are typically evergreen conifers like Fraser fir, Balsam fir, or Douglas fir. Once cut, they lose access to root-based water absorption. Instead, they rely entirely on capillary action through the freshly cut base to draw water from the stand. The problem begins when this water uptake is blocked or delayed.
When a tree is cut, sap quickly oxidizes and forms a resinous seal over the cut surface—especially in warmer conditions. This seal prevents water from entering the trunk, effectively starving the tree of moisture. Within hours, dehydration sets in, accelerating needle drop and increasing flammability.
Indoor environments worsen the issue. Central heating reduces relative humidity, often dropping indoor levels below 30%. Warm air pulls moisture from the tree’s needles faster than the trunk can replenish it. Combine poor initial hydration with dry heat, and a tree can deteriorate in under 72 hours.
“An unwatered cut tree can lose up to 50% of its moisture in the first 24 hours. Immediate and sustained hydration is non-negotiable.” — Dr. Laura Simmons, Arborist & Holiday Tree Specialist, University of Vermont Extension
Common Causes of Premature Drying
Several factors contribute to early tree decline. Identifying them helps prevent recurrence:
- Late watering: Waiting more than two hours after cutting to place the tree in water allows sap sealing.
- Insufficient water depth: Stands that hold less than a quart per inch of trunk diameter fail to meet daily needs.
- Poor cut angle: Angled cuts reduce surface area for water uptake compared to straight, horizontal cuts.
- Delayed setup: Leaving the tree in a garage, porch, or vehicle overnight before placing it indoors increases stress.
- Dry indoor climate: Heating systems create desert-like conditions that accelerate transpiration.
- Dirty water: Dust, sap, or microbial growth in the stand clogs water absorption pathways.
Step-by-Step Hydration Fix Protocol
Reviving a drying tree is difficult, but preventing dehydration is straightforward with timely intervention. Follow this timeline for optimal results:
- Day 0 – Purchase & Transport (Within 2 Hours)
After selecting your tree, have the vendor make a fresh, straight cut. If transporting in a vehicle, keep it horizontal and shielded from wind. Avoid leaving it in a hot car or exposed to sun. - Day 0 – Home Preparation (Immediate Action)
Re-cut 0.5–1 inch off the base before bringing it indoors. Use a handsaw—never an axe. Do not drill holes or split the trunk; these do not improve uptake and may damage vascular tissue. - Day 0 – First Immersion (Within 30 Minutes)
Place the tree immediately into a clean stand filled with room-temperature water. Ensure the reservoir holds at least one gallon for every inch of trunk diameter. Let it soak overnight before decorating. - Day 1 – Daily Monitoring Begins
Check water levels twice daily for the first week. A healthy tree can drink over a gallon per day initially. Refill with plain water—no additives unless recommended by research. - Day 2+ – Environmental Control
Position the tree away from vents, fireplaces, radiators, and direct sunlight. Maintain room temperature below 70°F (21°C) to slow moisture loss.
Do’s and Don’ts: Hydration Best Practices
| Do | Don't |
|---|---|
| Re-cut the trunk before placing in stand | Use an angled cut or wedge the trunk |
| Use a large-capacity stand (1+ gallon) | Let the water level drop below the cut base |
| Refill with plain tap water daily | Add bleach, aspirin, sugar, or commercial mixes without evidence |
| Keep tree away from heat sources | Place near HVAC vents or fireplace |
| Mist needles lightly if air is very dry | Over-mist—this promotes mold and doesn’t hydrate the tree |
Evaluating Water Additives: What Works?
Many people believe adding substances like sugar, aspirin, or floral preservatives improves water uptake. However, peer-reviewed studies from North Carolina State University and the Christmas Tree Research Council show mixed or negative results.
Sugar feeds bacteria that clog water-conducting tracheids. Aspirin lowers water pH but offers no measurable benefit. Bleach kills microbes but can damage plant tissues at high concentrations. Commercial “tree preservatives” vary widely in formulation and efficacy.
The best practice? Plain tap water. If microbial growth becomes visible (cloudy water, odor), change the water completely and re-cut the base. Some researchers suggest a dilute solution of 1 teaspoon household bleach per gallon of water may help maintain cleanliness without harming the tree—but only as a secondary measure.
Real Example: The Johnson Family’s 3-Day Dry-Out
The Johnsons bought a 7-foot Fraser fir from a roadside lot on a Saturday afternoon. Excited to decorate, they stored the tree in their garage overnight, planning to set it up Sunday morning. By then, the cut had sealed. They placed it in a small stand holding just 1.5 quarts of water—far below the recommended capacity.
They added a mix of sugar, soda, and a splash of bleach, believing it would “feed” the tree. Within 48 hours, needles were brittle and falling. On day three, they noticed the water hadn’t been touched—the tree couldn’t absorb it.
After calling a local extension office, they re-cut the base, transferred the tree to a larger stand, and filled it with plain water. Though recovery was partial, the tree stabilized and lasted through Christmas. The lesson? Immediate hydration and correct stand size are critical.
Preventive Checklist for Long-Lasting Trees
Use this checklist each holiday season to ensure your tree stays hydrated and vibrant:
- ☐ Buy the freshest tree possible—bend a branch; it should spring back, not snap.
- ☐ Confirm the vendor makes a fresh cut at purchase.
- ☐ Transport the tree covered and upright or horizontal, never dragging.
- ☐ Re-cut 0.5–1 inch off the base before placing in stand.
- ☐ Use a stand rated for your tree’s trunk diameter and water capacity.
- ☐ Fill with room-temperature tap water immediately—within 30 minutes.
- ☐ Check water twice daily for the first week.
- ☐ Keep the tree away from heat sources and direct sunlight.
- ☐ Avoid hanging heavy ornaments low on branches, which can block water flow.
- ☐ Discard the tree when water uptake stops or needles shed excessively.
Frequently Asked Questions
Can I revive a completely dry Christmas tree?
Once a tree has fully dehydrated, revival is nearly impossible. The vascular system collapses, and needles lose structural integrity. Prevention is far more effective than attempted recovery. If your tree is still slightly flexible and hasn’t shed most needles, try a fresh cut and immediate immersion—but success is not guaranteed.
How much water should my tree drink daily?
A healthy tree drinks approximately one quart of water per inch of trunk diameter per day during the first week. For example, a tree with a 2-inch diameter trunk may consume up to two gallons in 24 hours. After the first few days, consumption slows but should remain consistent. Never let the water level fall below the cut surface—even for a few hours.
Does misting the tree help with hydration?
Misting provides minimal benefit. While it briefly increases local humidity and may reduce static, it does not supply internal hydration. Water absorbed through needles is negligible compared to uptake through the trunk. Misting too frequently can encourage mold growth on ornaments or nearby walls. Use a humidifier instead to improve ambient moisture levels.
Expert-Backed Longevity Tips
Beyond hydration, several expert-recommended practices enhance tree freshness:
- Cooler display areas: Place the tree in the coolest room available. Every 10°F reduction in temperature can double its lifespan.
- LED lights: Use LED holiday lights, which emit significantly less heat than incandescent bulbs, reducing localized drying.
- Water sensors: Consider a floating water alarm for the stand—available online—that beeps when levels get too low.
- Timed lighting: Use a timer to limit light usage to 6–8 hours per day, further reducing heat exposure.
“The single biggest factor in tree longevity is water availability. Everything else—additives, lights, location—is secondary to whether the tree can drink.” — Dr. Robert Kender, Louisiana State University AgCenter
Conclusion: Start Fresh, Stay Wet
A Christmas tree drying out in just three days is a common but avoidable problem. The culprit is rarely the tree itself—it’s the break in the hydration chain between harvest and home care. By making a fresh cut, using a properly sized stand, and maintaining consistent water levels, you can keep your tree lush, fragrant, and safe for the entire season.
This year, treat your tree like a bouquet of flowers: time-sensitive, water-dependent, and deserving of immediate attention. With the right steps, your holiday centerpiece can stay vibrant from setup to takedown.


 浙公网安备
33010002000092号
浙公网安备
33010002000092号 浙B2-20120091-4
Comments
No comments yet. Why don't you start the discussion?