
Controller drift—when your character moves on screen without input—is one of the most frustrating issues gamers face. It can turn a smooth gaming session into an erratic struggle, especially during competitive play. While commonly associated with certain brands, stick drift affects controllers across platforms, from PlayStation to Xbox and Nintendo Switch. The root causes are often mechanical or environmental, but knowing whether to repair or replace depends on several factors: severity, warranty status, repair cost, and long-term usability.
This guide breaks down the science behind drift, outlines practical diagnostic steps, and provides a clear decision framework for when to fix versus when to upgrade.
What Causes Controller Stick Drift?
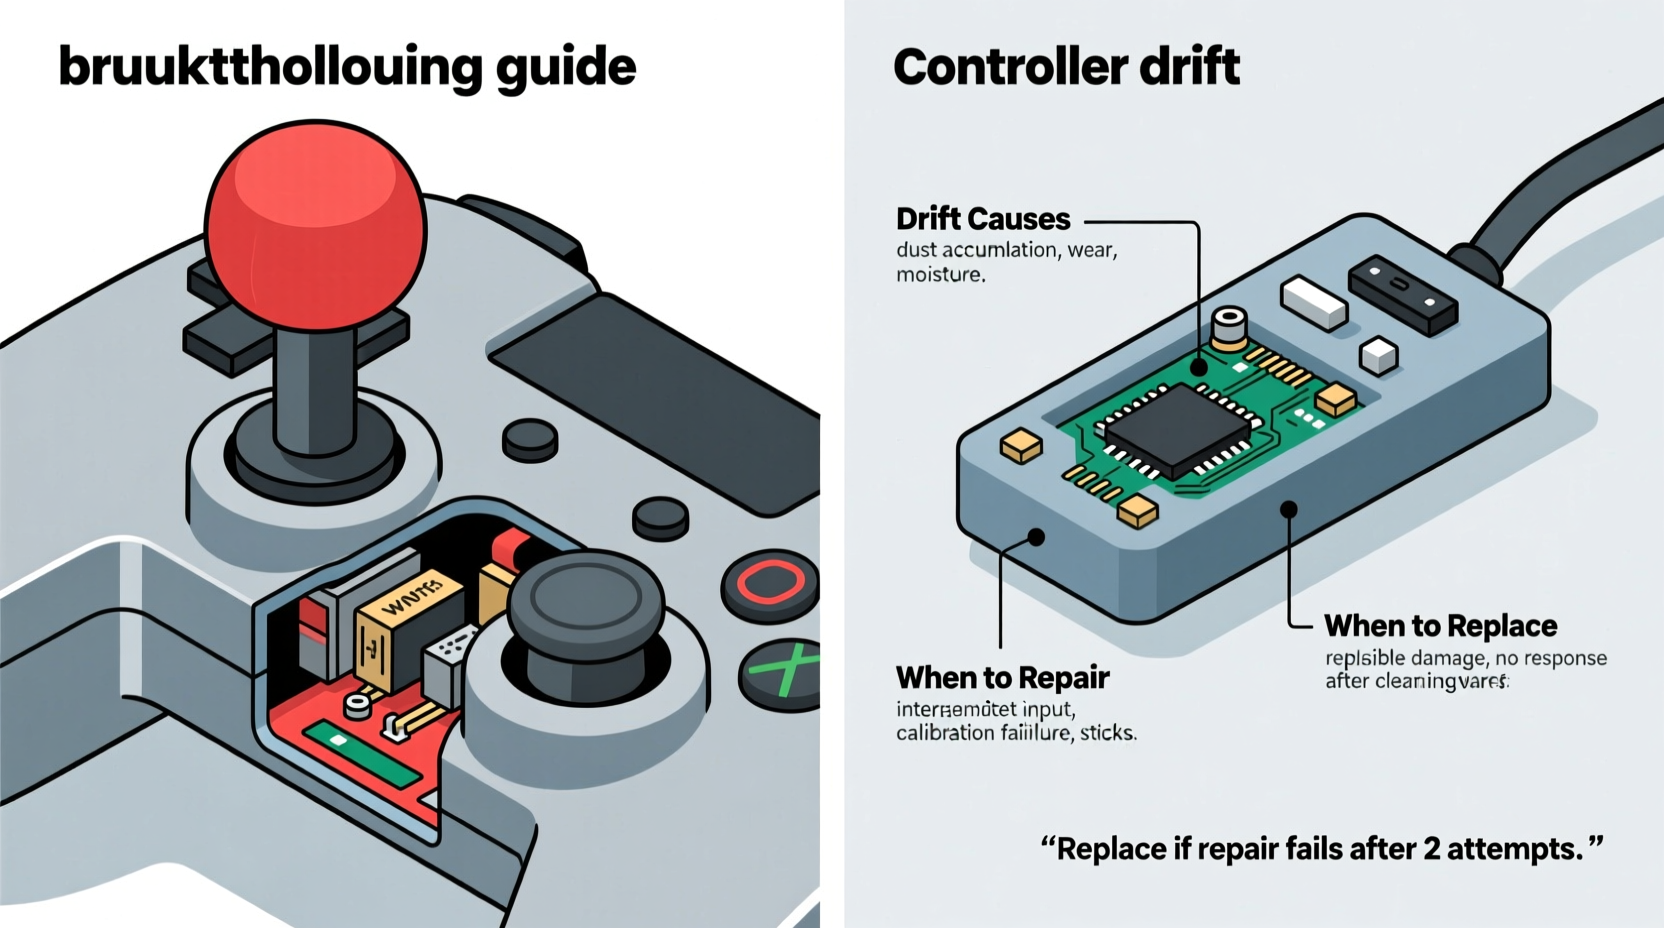
Stick drift occurs when the analog stick sends incorrect positional data to the console or PC. This happens even when the stick is at rest, causing unintended movement in games. Several underlying mechanisms contribute to this malfunction:
- Wear and tear on potentiometers: Most analog sticks use small components called potentiometers (pots) to measure direction and tilt. Over time, these wear out, leading to inaccurate readings.
- Dust, debris, or moisture: Particles from hands, pockets, or environments can infiltrate the stick mechanism, interfering with internal sensors.
- Spring degradation: The springs that center the stick weaken with repeated use, preventing full return to neutral position.
- Faulty calibration: Sometimes, software misreads the stick’s default position due to calibration errors.
- Manufacturing defects: Some controllers ship with subpar components, leading to early-onset drift—a known issue with certain models like the original Nintendo Switch Joy-Con.
The combination of physical stress and microscopic contamination accelerates degradation. Even careful users aren’t immune; regular gameplay over months or years will eventually strain internal components.
Diagnosing Drift: Step-by-Step Assessment
Before deciding between repair and replacement, confirm that the issue is actual hardware drift—not a temporary glitch or software bug. Follow this diagnostic sequence:
- Test in multiple games: Launch titles that rely heavily on precise movement (e.g., first-person shooters). If drifting persists across all, it's likely hardware-related.
- Use built-in calibration tools: Both PlayStation and Xbox offer stick recalibration options in system settings. On Nintendo Switch, go to System Settings > Controllers and Sensors > Calibrate Control Sticks.
- Check for firmware updates: Outdated firmware may cause input lag or false signals. Update your controller via the console or manufacturer’s app.
- Inspect visually: Look for loose sticks, wobbling, or uneven positioning. A visibly off-center stick often indicates spring failure.
- Try another controller: Swap in a known-working unit. If the problem disappears, the original controller is at fault.
If drift remains after these checks, the issue is almost certainly hardware-based. At this point, evaluate whether repair is viable.
Repair vs Replace: Key Decision Factors
Deciding whether to fix or replace a drifting controller hinges on four main considerations: cost, skill level, warranty coverage, and usage frequency.
| Factor | Repair Is Better When… | Replace Is Better When… |
|---|---|---|
| Cost | Repair kit costs under $20 and you can DIY | New controller is only slightly more than repair parts + tools |
| Warranty Status | Out of warranty or voided (no free options) | Still under warranty—manufacturer may cover replacement |
| Skill Level | You’re comfortable with small electronics and soldering | You lack tools or experience with micro-repairs |
| Controller Age | Relatively new with otherwise excellent condition | Older model with other issues (battery drain, button lag) |
| Usage Frequency | Casual use—less pressure for perfect performance | Competitive play—demand zero input error |
For example, repairing a mid-tier third-party controller might make sense if you enjoy tinkering. But for a primary competition controller, reliability trumps cost savings. In high-stakes scenarios, even minor inconsistencies can affect performance.
“Analog stick drift isn’t just about comfort—it impacts precision. In esports, a drifting stick can mean losing by millimeters.” — Marcus Lin, Professional Peripheral Technician and Console Repair Specialist
How to Repair a Drifting Controller (DIY Guide)
If you decide to repair, here’s a realistic timeline and step-by-step process. Note: This applies primarily to common controllers like DualSense, Xbox Wireless, and Joy-Con.
🕒 Step-by-Step Timeline
- Day 1: Gather Tools & Parts (~30 minutes)
- Purchase a repair kit (includes replacement sticks, cleaning swabs, lubricant)
- Acquire precision screwdriver set (Phillips #00, JIS for Japanese models)
- Get isopropyl alcohol (90%+), cotton swabs, tweezers
- Day 1: Disassembly (~45–60 minutes)
- Power off and disconnect controller
- Remove screws (some hidden under rubber grips or labels)
- Open casing carefully—plastic clips are fragile
- Disconnect battery ribbon if accessing inner board
- Day 1: Clean or Replace Sticks (~30 minutes)
- Use alcohol-dipped swab to clean around potentiometer base
- Blow out debris with compressed air
- If cleaning fails, desolder old stick module and install new one
- Day 1: Reassemble & Test (~20 minutes)
- Reconnect all ribbons and secure battery
- Reattach casing and screws
- Pair with console and test in-game movement
Success rate varies. Cleaning works in about 40% of mild cases. Full stick replacement resolves ~85% of persistent drift. However, improper reassembly can lead to unresponsive buttons or Bluetooth issues.
Real-World Example: Fixing a Drifting Joy-Con
Consider Sarah, a college student who uses her Nintendo Switch daily for classes and gaming. After eight months, her right Joy-Con began drifting upward in *Animal Crossing* and *Splatoon 3*. She tried recalibration and blowing into the stick (ineffective and not recommended), but the issue persisted.
She researched repair kits online and found a $18 option with replacement thumbsticks and tools. With YouTube tutorials as guidance, she spent two hours replacing the stick module. Post-repair, the drift stopped completely. Total cost: $18. Replacement Joy-Con would have cost $70+.
However, three months later, the same issue returned. Upon inspection, she realized dust had re-entered through the gap around the new stick. She applied a silicone sealant around the base, which extended functionality for another six months.
Sarah’s case illustrates both the viability and limitations of DIY repairs. For budget-conscious users, it’s a smart short-to-mid-term solution—but not always permanent.
When Replacement Makes More Sense
Despite the appeal of saving money, replacement is often the better long-term choice in specific situations:
- Multiple failing components: If buttons also feel sticky or wireless sync is spotty, the entire unit may be degrading.
- Lack of spare time: Not everyone has hours to troubleshoot and reassemble tiny parts.
- High-performance needs: Competitive players need guaranteed consistency, not experimental fixes.
- Newer models available: Upgraded controllers often include drift-resistant designs. Sony’s DualSense Edge, for instance, features modular sticks designed for easy swaps.
Additionally, some manufacturers now offer official repair programs. Nintendo launched a free Joy-Con repair service in 2022 due to widespread drift complaints, even for out-of-warranty units. Always check the manufacturer’s website before assuming replacement is the only paid option.
Preventing Future Drift: Best Practices
While no controller lasts forever, good habits delay drift onset:
- Wash hands before playing to reduce oil transfer.
- Avoid extreme temperatures—heat warps plastic and damages circuits.
- Store controllers in protective cases when not in use.
- Use skin covers or caps to shield sticks from direct contact.
- Power off and unpair when idle for long periods.
“Think of your controller like a precision instrument. Treat it gently, keep it clean, and it’ll respond accurately for far longer.” — Lena Park, Senior Hardware Engineer at a major gaming peripheral firm
FAQ: Common Questions About Controller Drift
Can I prevent drift entirely?
No solution guarantees 100% prevention, but regular maintenance, using stick caps, and avoiding excessive force during gameplay significantly extend lifespan. High-end aftermarket sticks with hall-effect sensors (magnetic instead of resistive) are nearly drift-proof but require modding.
Does warranty cover stick drift?
It depends. Nintendo offered free repairs despite no formal admission of defect. Sony and Microsoft typically honor standard one-year warranties, but recurring drift after repair may not be covered. Third-party brands vary widely—check terms before purchase.
Are third-party controllers more prone to drift?
Generally, yes. Lower-cost materials and looser quality control increase failure rates. However, reputable brands like PowerA or 8BitDo use higher-grade components and perform reliably for most users.
Conclusion: Make the Smart Move for Your Setup
Controller drift is inevitable for many gamers, but it doesn’t have to mean immediate replacement. Understanding the mechanics behind the malfunction empowers smarter decisions. For minor cases, cleaning or recalibration may suffice. For advanced users, DIY repair offers cost savings and learning value. But when performance matters most—whether in ranked matches or immersive single-player adventures—investing in a reliable new or refurbished controller ensures uninterrupted play.
Assess your situation honestly: weigh the time, risk, and cost of repair against the peace of mind that comes with a fresh, fully functional device. Whether you choose to fix or replace, proactive care going forward will protect your investment and keep your gameplay smooth.


 浙公网安备
33010002000092号
浙公网安备
33010002000092号 浙B2-20120091-4
Comments
No comments yet. Why don't you start the discussion?