
Drones have revolutionized photography, surveying, agriculture, and even delivery services. But one of the most common frustrations among both hobbyists and professionals is an unexpectedly short control range. One moment your drone is soaring smoothly above a field, and the next, it vanishes from the app with a flashing “Signal Lost” warning. This isn’t just inconvenient—it can be dangerous. Understanding why signal loss happens and how to prevent it is essential for safe, reliable flights.
Signal degradation isn’t always due to equipment failure. Environmental factors, interference, hardware limitations, and user error all play critical roles. The good news? Most range issues can be mitigated or even solved with informed adjustments and upgrades.
Understanding Drone Signal Transmission
Drones communicate with their remote controllers using radio frequency (RF) signals, typically in the 2.4 GHz or 5.8 GHz bands. These frequencies are widely used because they offer a balance between data transmission speed and penetration through obstacles. However, this popularity also means congestion—Wi-Fi routers, Bluetooth devices, and other drones may be competing for the same spectrum.
The 2.4 GHz band travels farther and penetrates obstacles better but carries less data. The 5.8 GHz band offers higher bandwidth, ideal for video streaming, but has shorter range and weaker obstacle penetration. Many modern drones use both frequencies simultaneously through technologies like DJI’s OcuSync, which dynamically switches between bands to maintain stable connections.
Despite these advancements, physical and environmental factors still limit effective range. RF signals weaken over distance due to free-space path loss—the natural dissipation of energy as waves spread out. Obstacles such as trees, buildings, hills, and even heavy rain absorb or reflect signals, causing multipath interference or complete dropouts.
Common Causes of Rapid Signal Loss
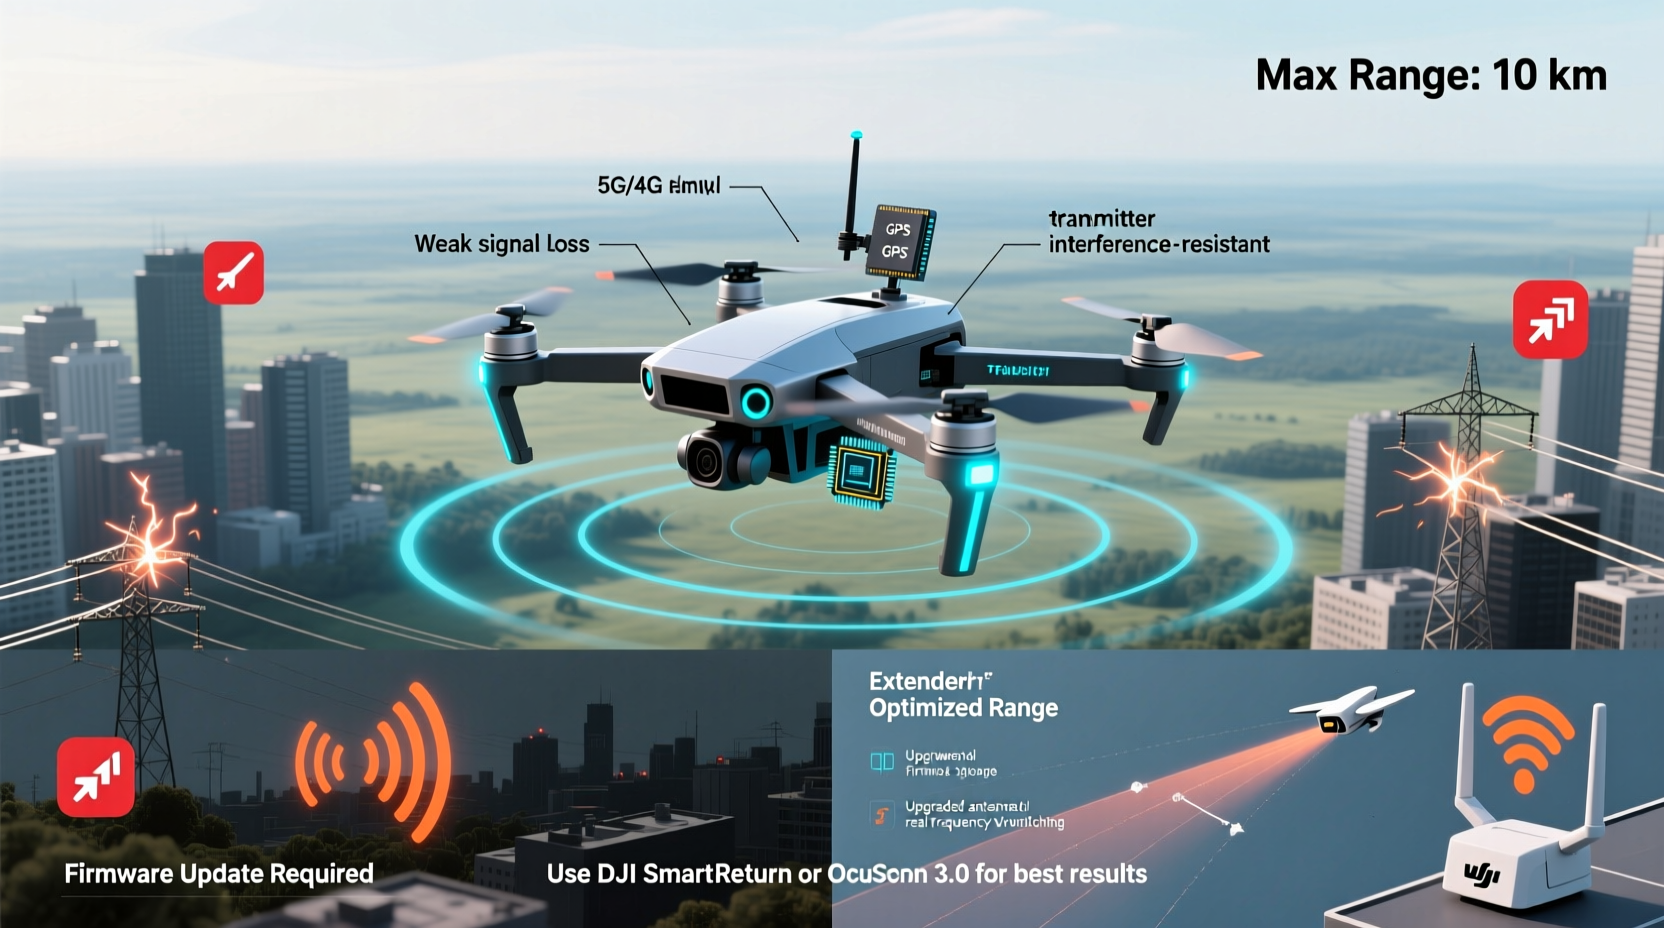
Many users assume that if their drone claims a 10-kilometer range, they should expect that under any condition. In reality, advertised ranges are achieved in ideal, open environments with no interference. Here are the top reasons drones lose signal faster than expected:
- Physical Obstructions: Trees, walls, hills, and large structures block line-of-sight, scattering or absorbing RF signals.
- Electromagnetic Interference: Power lines, cell towers, and urban Wi-Fi networks emit noise that disrupts communication.
- Poor Antenna Orientation: Directional antennas on controllers must face the drone; improper positioning reduces signal strength.
- Battery Levels: Low battery in either the drone or controller can reduce transmission power.
- Firmware Issues: Outdated software may contain bugs affecting signal stability or fail to optimize frequency switching.
- Environmental Conditions: Humidity, fog, and temperature extremes can attenuate RF signals.
Urban areas are particularly challenging. A study by the FAA found that drone signal reliability drops by up to 70% in dense city environments compared to rural zones due to RF congestion and structural interference.
“Line-of-sight isn’t just a recommendation—it’s a technical necessity for maintaining strong, uninterrupted drone signals.” — Dr. Alan Reyes, RF Communications Engineer, MIT Lincoln Laboratory
How to Extend Your Drone’s Range Safely
Extending your drone’s operational range doesn’t mean pushing beyond legal or safe limits. It means maximizing performance within responsible boundaries. Below are proven strategies to improve signal retention and flight distance.
1. Optimize Controller and Drone Positioning
Always keep your drone within visual line-of-sight (VLOS), as required by aviation authorities like the FAA and EASA. Position yourself so that the controller’s antennas point directly at the drone. For drones with omnidirectional antennas, elevation helps—stand on higher ground when possible.
2. Use Signal-Boosting Accessories
Some manufacturers offer extended-range antennas or amplifier modules. For example, third-party vendors sell high-gain antennas compatible with DJI controllers. These focus signal energy in a specific direction, increasing range—but only if aligned correctly.
3. Fly During Optimal Conditions
Mornings with low humidity and minimal wind provide cleaner air for signal travel. Avoid flying near thunderstorms or during heavy precipitation, which scatter RF waves. Cooler temperatures also help electronics perform more efficiently.
4. Minimize Onboard Transmitters
If you're using FPV goggles or additional telemetry systems, ensure they operate on non-conflicting frequencies. Stacking multiple 2.4 GHz devices increases channel contention and raises the risk of desynchronization.
5. Update Firmware Regularly
Manufacturers frequently release firmware updates that improve signal algorithms, enhance interference resistance, and fix connectivity bugs. Check for updates monthly, especially before long-distance flights.
Step-by-Step Guide to Maximizing Signal Strength
Follow this sequence before every flight to ensure optimal signal performance:
- Inspect Equipment: Check propellers, battery levels, and antenna integrity on both drone and controller.
- Verify Firmware: Confirm both drone and remote are running the latest software version via the manufacturer’s app.
- Select Frequency Band: If your system allows manual selection, choose 2.4 GHz for longer range in open areas, or 5.8 GHz for better video quality in clear line-of-sight.
- Conduct Signal Test: Power on both devices and check the signal strength indicator in the app. Walk 10–20 meters away and verify consistency.
- Position Strategically: Stand in an elevated, open area facing the intended flight path. Rotate controller antennas vertically for omnidirectional coverage.
- Begin Flight Conservatively: Ascend to 40–60 meters first—higher altitude reduces ground clutter and improves line-of-sight.
- Monitor Signal in Real-Time: Watch for fluctuations in the app. If signal dips below 70%, consider reducing distance or changing position.
This routine not only extends range but also reduces the likelihood of sudden disconnections.
Do’s and Don’ts of Drone Signal Management
| Do | Don't |
|---|---|
| Keep firmware updated | Use unauthorized signal amplifiers |
| Fly in open, rural areas when testing range | Fly behind large buildings or hills |
| Use high-gain antennas designed for your model | Modify internal radio components yourself |
| Check local RF environment before flight | Ignore weather warnings or interference alerts |
| Carry spare batteries for longer missions | Push beyond visual line-of-sight to test limits |
Real-World Example: Overcoming Urban Signal Challenges
Mark, a real estate photographer in Chicago, struggled with frequent signal drops while capturing aerial shots of downtown properties. His DJI Mavic Air 2 would disconnect within 300 meters, despite advertising a 10-km range. After consulting a drone technician, he discovered two main issues: his controller’s antenna was often pointed downward while walking, and he was flying near a cluster of rooftop HVAC units emitting electromagnetic noise.
He adjusted his technique—using a tripod mount to stabilize the controller with antennas upright—and began pre-scanning locations with an RF analyzer app. By shifting takeoff points to park areas with clearer sightlines and updating his drone’s firmware, he doubled his reliable range. He now completes shoots without interruption and files fewer RTH (Return-to-Home) incidents.
Expert Tips and Maintenance Checklist
Sustaining strong signal performance requires ongoing attention. Use this checklist before each flight session:
- ✅ Inspect all antennas for damage or looseness
- ✅ Confirm full charge on drone and controller batteries
- ✅ Launch the companion app and verify signal bars
- ✅ Disable nearby Bluetooth/Wi-Fi devices that may interfere
- ✅ Choose flight zones with minimal obstructions
- ✅ Set Return-to-Home (RTH) altitude higher than surrounding structures
- ✅ Log signal behavior after each flight for pattern analysis
Regular maintenance prevents gradual degradation. Clean antenna contacts with isopropyl alcohol every few months, and store your drone in a dry, temperature-controlled space to preserve electronic integrity.
Frequently Asked Questions
Can I legally modify my drone to increase range?
No. Modifying transmission power or frequency output typically violates FCC (U.S.) and CE (Europe) regulations. Such changes can interfere with emergency communications and result in fines. Always use manufacturer-approved accessories and settings.
Why does my drone lose signal even when I can still see it?
Visual line-of-sight doesn’t guarantee radio line-of-sight. Terrain, building materials, or atmospheric conditions may block RF signals even when the drone appears visible. Additionally, polarization mismatch between antennas can degrade reception despite proximity.
Does flying higher really improve signal range?
Yes—up to a point. Elevating your drone reduces ground-based interference and provides a clearer path to the controller. However, extreme altitudes introduce new challenges like wind turbulence and reduced GPS accuracy. Stay within legal altitude limits (usually 400 feet / 120 meters).
Conclusion: Take Control of Your Drone’s Performance
Signal loss isn’t inevitable. With a deeper understanding of radio dynamics, disciplined pre-flight preparation, and smart operational choices, you can significantly extend your drone’s effective range—safely and legally. The key lies not in chasing maximum distance, but in optimizing reliability across real-world conditions.
Whether you’re capturing cinematic footage, conducting inspections, or exploring nature from above, a stable connection ensures not only better results but also peace of mind. Start applying these insights today: update your gear, refine your habits, and fly with confidence.


 浙公网安备
33010002000092号
浙公网安备
33010002000092号 浙B2-20120091-4
Comments
No comments yet. Why don't you start the discussion?