
If you've found yourself running your dryer twice just to get clothes dry, you're not alone—and more importantly, it's not normal. A properly functioning dryer should remove moisture in a single cycle. When it doesn't, something is hindering its performance. The good news? Most causes are preventable, easy to diagnose, and even easier to fix without calling a technician.
Drying inefficiency isn’t just frustrating—it’s costly. Extended drying times increase energy consumption, wear out the machine faster, and can damage fabrics over time. Understanding the root causes allows you to act quickly and restore your appliance to peak condition.
Common Reasons Your Dryer Needs Two Cycles
The most frequent culprits behind inefficient drying fall into three categories: airflow restriction, heat delivery issues, and user habits. While some problems require professional repair, many stem from simple oversights that homeowners can address immediately.
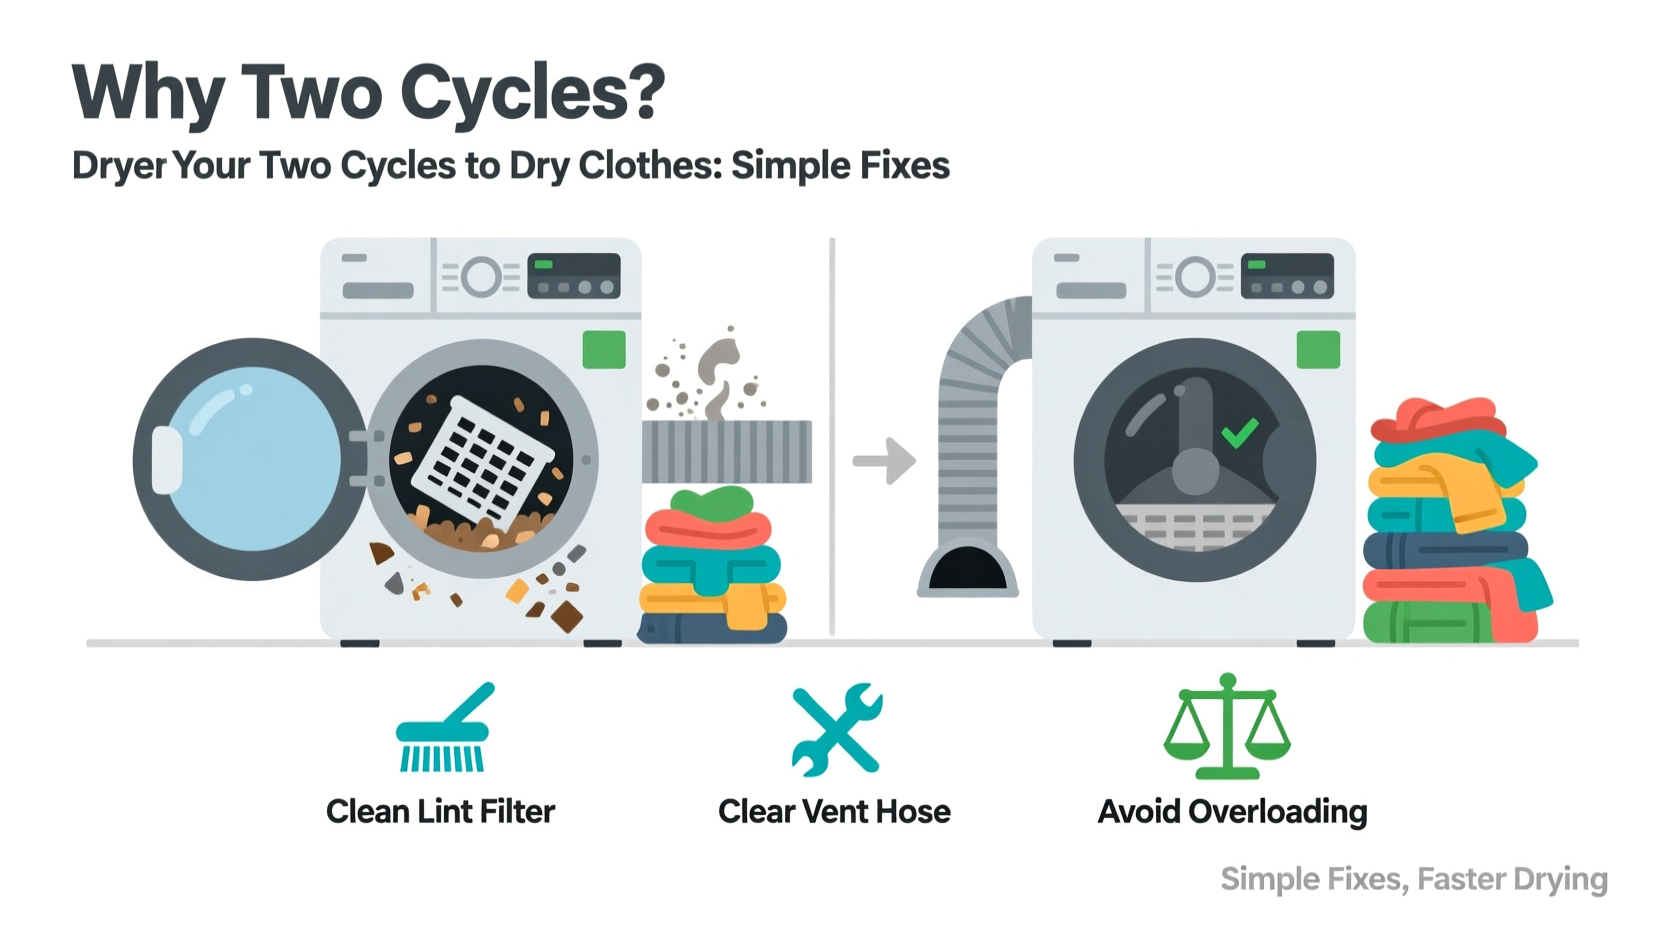
A blocked vent or clogged lint trap drastically reduces airflow, which is essential for carrying moisture away from clothes. Without proper ventilation, hot air circulates but cannot escape, leaving dampness trapped inside. Similarly, if the heating element isn’t reaching optimal temperature—due to age, dust buildup, or electrical faults—the drum may feel warm but not hot enough to evaporate water efficiently.
User-related factors also play a role. Overloading the dryer, mixing heavy and lightweight fabrics, or using incorrect settings can all extend drying time. These behaviors don’t damage the machine directly, but they compound existing inefficiencies.
Step-by-Step Guide to Diagnose and Fix Drying Problems
Follow this practical sequence to identify and resolve what’s making your dryer underperform. This process takes less than an hour and requires only basic tools like a screwdriver, vacuum, and measuring tape.
- Inspect and clean the lint filter: Remove the filter and wash it with warm, soapy water. Let it dry completely before reinstalling. Soap residue and lint oils can clog mesh pores.
- Check the dryer drum area: Open the dryer cabinet (unplugged) and examine the space behind the drum. Use a vacuum to remove accumulated lint. Buildup here blocks exhaust flow.
- Test the exhaust vent outside: Go to the exterior vent. During a drying cycle, place your hand near the outlet. You should feel strong, warm airflow. Weak or cool air indicates blockage.
- Inspect the vent hose: Disconnect the hose from the back of the dryer. Look inside for kinks, sagging, or lint clumps. Replace flexible plastic hoses with rigid or semi-rigid metal ducts—they resist crushing and collect less lint.
- Measure vent length and bends: Long runs with multiple elbows restrict airflow. The maximum recommended length is 25 feet, reduced by 5 feet for each 90-degree bend.
- Run a test cycle: After cleaning, dry a medium load on high heat. It should finish within 45–60 minutes. If not, proceed to internal components.
- Examine the moisture sensor (if applicable): On sensor-dry models, wipe the two metal strips inside the drum with rubbing alcohol. Dust and fabric softener residue impair accuracy.
This diagnostic path addresses over 80% of drying inefficiencies. If performance doesn’t improve, internal parts such as the heating element, thermostat, or thermal fuse may need replacement.
Do’s and Don’ts: Ventilation Best Practices
| Do | Don’t |
|---|---|
| Use rigid or aluminum flexible vent ducts | Use plastic or foil accordion-style vents |
| Keep vent runs as short and straight as possible | Install vents longer than 25 feet or with excessive bends |
| Clean the entire vent system annually | Ignore the exterior vent flap or forget to check for bird nests |
| Secure connections with metal clamps, not screws | Drive screws through ducts, creating lint traps |
| Ensure outdoor vent flaps open freely | Block the vent with landscaping or snow |
Proper venting is the single most impactful factor in dryer performance. According to the U.S. Fire Administration, clogged dryer vents cause over 2,900 home fires annually. Regular maintenance prevents hazards while improving efficiency.
Expert Insight: What Technicians See Most Often
“Nine times out of ten, when a dryer takes two cycles, it’s not the machine—it’s the vent. Homeowners clean the lint screen but never check the pipe behind the wall. That hidden section collects years of lint, pet hair, and even small toys. One client had a raccoon nest inside their exhaust duct.” — Carlos Mendez, Appliance Repair Technician with 18 years of field experience
Real Example: How One Family Fixed Their Two-Cycle Problem
The Thompson family in Columbus, Ohio, had grown accustomed to running their dryer twice per load. Towels stayed damp, and jeans took hours to dry. They assumed the 12-year-old machine was failing and budgeted for a replacement.
Before buying new, they followed the step-by-step guide above. Cleaning the lint trap revealed minor buildup, but the real issue emerged at the exterior vent. The aluminum hood was stuck shut, coated in paint from a recent siding job. Behind it, the vent pipe was half-filled with compacted lint and nesting material from a squirrel.
After replacing the damaged section with a rigid metal duct and installing a pest-resistant vent cap, they tested a mixed load. The dryer completed the cycle in 52 minutes—38% faster than before. Not only did they avoid a $900 purchase, but their energy bill dropped noticeably over the next two months.
This case underscores how external factors, often overlooked, can cripple appliance function. A few hours of inspection saved significant money and hassle.
Essential Checklist: Restore Your Dryer in One Afternoon
- ✅ Clean the lint filter with soap and water
- ✅ Vacuum the lint trap housing and drum opening
- ✅ Disconnect and inspect the vent hose for kinks or blockages
- ✅ Clear the exterior vent opening and ensure the flap moves freely
- ✅ Measure total vent length and reduce bends where possible
- ✅ Replace plastic or foil ducts with UL-rated metal venting
- ✅ Wipe moisture sensors with alcohol-soaked cloth (if equipped)
- ✅ Run a timed high-heat cycle with a towel to verify airflow
Completing this checklist ensures every common failure point is addressed. Set a calendar reminder to repeat key steps—especially vent cleaning—every six to twelve months.
Frequently Asked Questions
Why does my dryer feel hot but still not dry clothes?
A hot drum without drying power typically indicates poor airflow. Even if the heating element works, moist air can’t escape if the vent is blocked. The machine recirculates humid air, preventing evaporation. Check the entire exhaust path—from the lint trap to the outdoor exit.
Can fabric softener sheets cause long drying times?
Yes. Over time, chemical residues from dryer sheets coat the lint filter and moisture sensors, reducing their effectiveness. The waxy buildup acts like a barrier, slowing moisture release. Wash the filter monthly with mild detergent, and consider switching to wool dryer balls for a residue-free alternative.
Is it worth repairing an older dryer that needs two cycles?
It depends on the cause. If the issue is lint buildup or venting—which costs little to fix—repairing makes sense. However, if the heating element, control board, or motor is failing, repairs may exceed half the cost of a new ENERGY STAR model. Modern dryers use up to 20% less energy and often include moisture sensors for precise drying.
Conclusion: Take Action Before It Costs More
Your dryer shouldn’t need two cycles. Persistent inefficiency signals a correctable problem, not inevitable decline. By focusing on airflow, cleanliness, and proper setup, you can restore performance, cut energy waste, and extend the life of your appliance.
Most fixes take under an hour and cost nothing but effort. Ignoring the issue risks higher bills, fire hazards, and premature replacement. Start today: pull out the lint filter, head to the backyard vent, and run a quick inspection. The difference could be immediate.


 浙公网安备
33010002000092号
浙公网安备
33010002000092号 浙B2-20120091-4
Comments
No comments yet. Why don't you start the discussion?