
Gaming laptops are engineered for high-performance tasks, but their compact design often comes at a cost: heat buildup. Even when using a cooling pad—marketed as a fix-all solution—many users still experience overheating issues. The reality is that while cooling pads help, they don’t address the root causes of thermal throttling, reduced performance, or fan strain. Understanding why your laptop still runs hot despite external cooling is essential for maintaining longevity, stability, and optimal gameplay.
This article dives into the technical and practical reasons behind persistent overheating, explains how cooling pads work (and where they fall short), and provides actionable steps to significantly reduce temperatures. Whether you're battling FPS drops during intense sessions or noticing frequent shutdowns, these insights will help you regain control of your machine’s thermal performance.
The Cooling Pad Myth: What They Actually Do
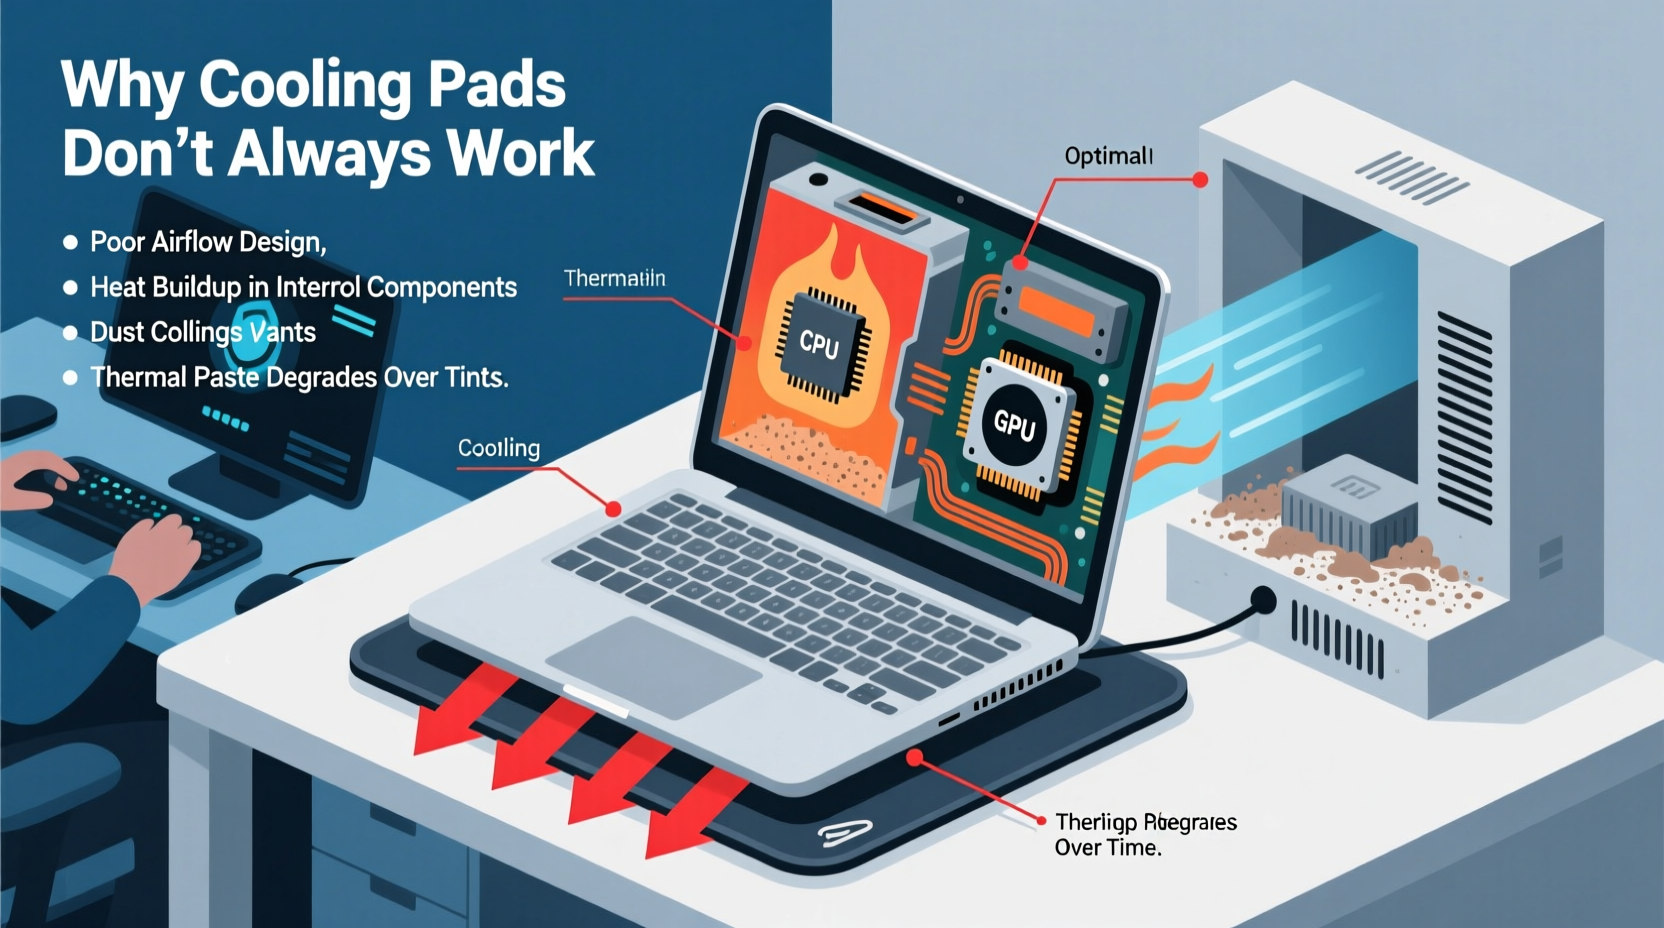
Cooling pads are widely recommended accessories for gaming laptops, often assumed to be a cure-all for overheating. In practice, they serve a more limited role. Most cooling pads use one or more fans to increase airflow beneath the laptop, helping dissipate heat from the bottom chassis and exhaust vents. However, their effectiveness depends on several factors:
- Laptop Vent Placement: If your laptop vents heat from the sides or rear, a bottom-mounted cooling pad may do little to assist airflow.
- Fan Power and Alignment: Many cooling pads have weak fans or poor positioning relative to the laptop’s intake zones.
- Ambient Air Temperature: Cooling pads pull in surrounding air. If the room is already hot, the added airflow won't effectively lower internal temperatures.
In essence, cooling pads can provide a modest temperature reduction—typically 3°C to 8°C—but cannot compensate for internal hardware limitations or poor thermal management within the laptop itself.
Internal Causes of Overheating: Beyond the Surface
Even with external cooling, internal factors are often the primary culprits behind excessive heat. These include dust accumulation, degraded thermal paste, inadequate factory cooling design, and power-hungry components crammed into tight spaces.
Dust Buildup in Vents and Fans
Over time, dust clogs air intakes and coats internal fans and heatsinks. This restricts airflow and insulates heat-generating components like the CPU and GPU. A heavily dusted heatsink can reduce cooling efficiency by up to 30%, making even minor loads trigger thermal spikes.
Thermal Paste Degradation
Thermal paste transfers heat from the processor to the heatsink. Factory-applied paste is often low-quality and dries out after 1–2 years, increasing thermal resistance. When this happens, temperatures rise even under light usage.
Poor Internal Cooling Design
Many gaming laptops prioritize thinness and aesthetics over thermals. Some models use undersized heat pipes, single-fan designs, or shared cooling for both CPU and GPU, leading to heat saturation during extended sessions.
“Most gaming laptops operate near thermal limits by design. Without proper maintenance, even a high-end model can throttle within months.” — David Lin, Hardware Engineer at ThermTech Labs
Solutions That Actually Work: A Step-by-Step Guide
To truly combat overheating, a multi-pronged approach is required. Below is a comprehensive, step-by-step strategy to reduce heat generation and improve dissipation.
- Power Down and Clean Internally
Shut down the laptop, disconnect the battery (if possible), and open the back panel. Use compressed air to blow out dust from fans, heatsinks, and vents. Focus on intake grills and any visible fins. For heavy buildup, consider using a soft brush to gently dislodge particles. - Replace Thermal Paste
After cleaning, remove the heatsink and wipe off old thermal paste from the CPU and GPU using isopropyl alcohol. Apply a pea-sized amount of high-quality thermal paste (e.g., Arctic MX-6, Noctua NT-H2). Reattach the heatsink carefully to avoid uneven pressure. - Elevate the Laptop for Better Airflow
Use a stand or risers to tilt the laptop 10°–15°. This improves natural convection and allows intake fans to draw cooler air more efficiently than when placed flat on a desk. - Optimize Power Settings
In Windows, switch to “Balanced” or create a custom power plan limiting maximum processor state to 95% under battery and plugged-in modes. This reduces heat without significantly impacting gaming performance. - Undervolt CPU and GPU (Advanced)
Using tools like Intel XTU (for CPUs) or MSI Afterburner (for GPUs), slightly reduce voltage to lower power consumption and heat output. Even a 50–100mV reduction can drop temperatures by 5°C–10°C with no performance loss.
Do’s and Don’ts of Laptop Cooling
| Do’s | Don’ts |
|---|---|
| Use a hard, flat surface for optimal airflow | Place the laptop on soft surfaces like beds or pillows |
| Clean internal components every 6–12 months | Ignore warning signs like fan noise or sudden shutdowns |
| Update BIOS and drivers for better thermal management | Block exhaust vents with walls or objects |
| Use software like ThrottleStop to prevent overheating | Run multiple GPU-intensive apps simultaneously without monitoring temps |
| Adjust game settings to reduce GPU load (e.g., lower resolution scaling) | Assume a cooling pad alone will solve all thermal issues |
Real-World Example: Recovering a Throttling Gaming Rig
Consider Mark, a competitive gamer using an older ASUS ROG Zephyrus G14. Despite using a premium cooling pad with dual 120mm fans, his laptop regularly hit 95°C during matches, causing frame rate drops and automatic throttling. Frustrated, he assumed the device was failing.
After opening the unit, he found thick layers of dust blocking the fan and heatsink. He cleaned it thoroughly and replaced the dried-out thermal paste with Arctic MX-6. He also adjusted his power plan to cap CPU usage at 90% during long sessions and began using a laptop stand to improve airflow.
The results were immediate: idle temps dropped from 55°C to 38°C, and gaming loads stabilized at 78°C—well below throttling thresholds. His FPS became consistent, and fan noise decreased significantly. The cooling pad now contributed meaningfully because the internal system could actually transfer heat efficiently.
This case illustrates that external cooling only works when the internal thermal pathway is unobstructed and functioning properly.
When Hardware Upgrades Make Sense
Some laptops are simply not designed for sustained high loads. If you’ve followed all maintenance steps and still face overheating, consider targeted upgrades:
- Add More RAM: Reduces reliance on swap files, which can spike disk and CPU usage.
- Switch to SSD: If still using HDD, upgrading eliminates mechanical heat and improves system responsiveness.
- Upgrade Cooling Pads Strategically: Choose models with adjustable fan speeds, USB passthrough, and vent alignment guides. Look for pads with honeycomb designs that match your laptop’s intake pattern.
However, note that component upgrades won’t fix fundamental thermal design flaws. High-TDP processors in ultra-thin chassis will always run hot. In such cases, managing expectations and workload is key.
Frequently Asked Questions
Can a cooling pad damage my laptop?
No, a quality cooling pad will not damage your laptop. However, poorly made pads with unstable motors or electrical faults could pose risks. Always choose reputable brands with surge protection and stable construction.
Is it safe to use my gaming laptop on my lap?
It’s not recommended, especially during intensive tasks. Soft surfaces block intake vents, trap heat, and can cause burns. Use a lap desk or table instead to maintain airflow and safety.
How hot is too hot for a gaming laptop?
Sustained temperatures above 90°C for the CPU or GPU indicate a problem. While modern chips can handle brief spikes up to 100°C, prolonged exposure reduces lifespan and triggers throttling. Aim to keep loads under 85°C for optimal performance and durability.
Final Checklist: Beat Laptop Overheating for Good
- Monthly Maintenance
- • Dust exterior vents with compressed air
- • Check task manager for abnormal background processes
- Every 6–12 Months
- • Open and clean internal fans and heatsinks
- • Reapply thermal paste if temps are rising
- Ongoing Optimization
- • Use a laptop stand or riser for elevation
- • Monitor temps with HWMonitor or similar tools
- • Adjust in-game graphics settings to balance visuals and heat
- Advanced Tweaks
- • Undervolt CPU/GPU using trusted software
- • Limit max processor state in power plans
Conclusion: Take Control of Your Laptop’s Temperature
Overheating isn’t inevitable—even in powerful gaming laptops. Relying solely on a cooling pad is like putting a bandage on a deeper issue. True thermal control comes from understanding your hardware, performing regular maintenance, and optimizing both physical setup and software settings.
You don’t need to replace your laptop to fix overheating. With the right knowledge and a few simple interventions, you can restore smooth performance, extend your device’s lifespan, and enjoy uninterrupted gameplay. Start with cleaning, reassess your environment, and fine-tune your settings. The difference will be noticeable—not just in temperature readings, but in reliability and confidence.


 浙公网安备
33010002000092号
浙公网安备
33010002000092号 浙B2-20120091-4
Comments
No comments yet. Why don't you start the discussion?