
Baking homemade bread is one of the most satisfying kitchen endeavors—there’s nothing quite like the aroma of fresh loaves filling your home. But when your beautifully risen dough suddenly caves in during or after baking, it can be deeply frustrating. A collapsed loaf isn’t just visually unappealing; it often signals structural weakness, dense crumb, or poor oven spring. Understanding the root causes behind this common issue is key to mastering consistent, reliable results.
Bread collapse typically occurs due to a mismatch between internal structure development and gas expansion. The crust sets too early, the gluten network fails, or excess moisture creates instability—all leading to deflation. The good news? Most of these problems are preventable with proper technique, attention to detail, and an understanding of the science behind bread baking.
Understanding Bread Structure: What Holds It Up?
Bread relies on two primary structural components: gluten and starch. During mixing and fermentation, gluten proteins (glutenin and gliadin) form an elastic network that traps carbon dioxide produced by yeast. This network expands as the dough rises. In the oven, heat causes a final burst of gas production (oven spring), followed by gelatinization of starch and coagulation of proteins, which set the crumb and crust.
If any part of this process is compromised—whether due to weak gluten, overproofing, or improper heat—the structure may fail. Collapse can happen mid-bake, right after removal from the oven, or even hours later as the loaf cools.
“Bread structure is a delicate balance between expansion and stabilization. When the oven heat doesn’t match the dough’s readiness, collapse becomes inevitable.” — Dr. Emily Tran, Food Scientist & Artisan Baker
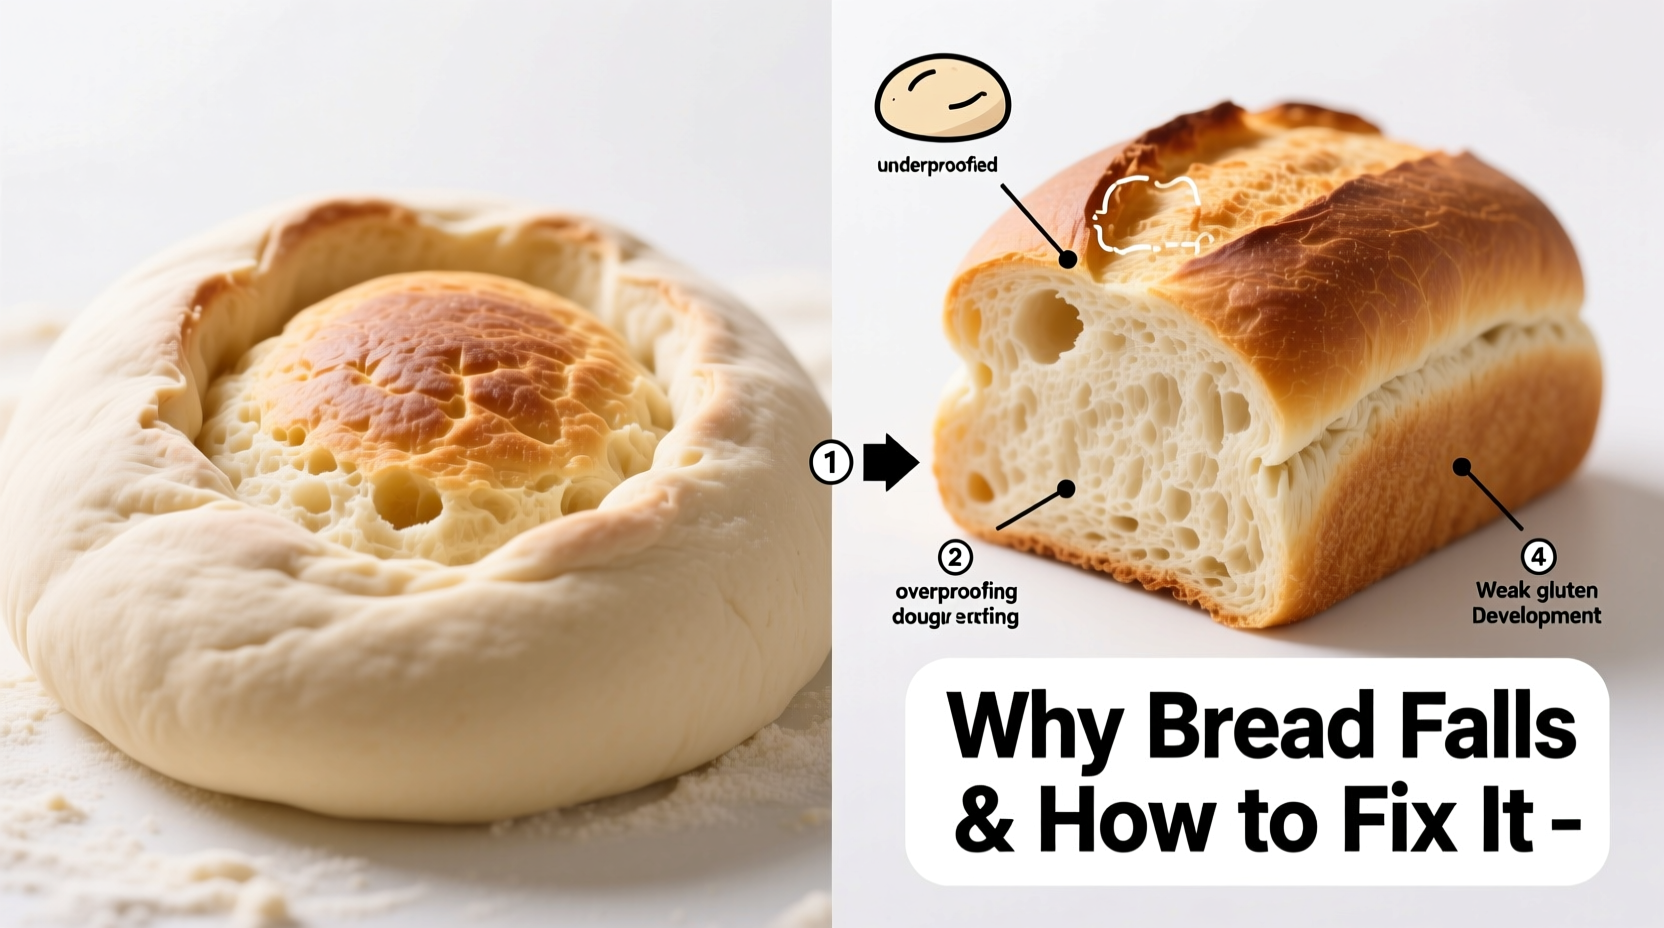
Common Causes of Bread Collapse (and How to Fix Them)
1. Overproofing the Dough
One of the most frequent culprits behind collapsed bread is overproofing. When dough proofs too long, the gluten network stretches beyond its capacity. Gas bubbles grow excessively large and thin-walled. Once in the oven, the weakened structure can’t support further expansion and bursts, causing the loaf to sink.
How to test for proper proofing: Gently press your fingertip into the dough. If the indentation slowly springs back halfway, it’s ready. If it springs back quickly, it needs more time. If it doesn’t spring back at all and leaves a deep dent, it’s overproofed.
2. Weak Gluten Development
Gluten gives bread its strength. Under-mixed dough lacks sufficient gluten formation, resulting in a fragile structure unable to hold gas. Conversely, over-mixing can damage the gluten network, making it brittle.
This is especially common in high-hydration or whole-grain doughs, where gluten development is naturally more challenging. Using low-protein flour (like cake flour) without adjustment also contributes to structural failure.
Solution: For most white breads, mix until the dough passes the “windowpane test”—a small piece stretched thin should transmit light without tearing. For whole grain or sourdough loaves, use autolyse (resting flour and water before adding yeast and salt) and perform stretch-and-folds during bulk fermentation to strengthen the network gradually.
3. Excessive Moisture or Hydration Imbalance
High hydration doughs (above 75%) are trendy for their open crumb, but they require advanced handling. Too much water weakens gluten and increases steam pressure inside the loaf. If the crust forms too quickly while the interior remains wet and unstable, the loaf may collapse as internal pressure drops upon cooling.
Additionally, underbaked loaves retain too much moisture, which continues to evaporate after baking. As steam escapes, the soft crumb can cave in under its own weight.
4. Oven Temperature Issues
Temperature plays a critical role in setting the structure. An oven that’s too hot causes the crust to harden prematurely, trapping expanding gases inside. When those gases cool and contract, they create negative pressure, pulling the center down.
Conversely, an oven that’s too cool delays starch gelatinization and protein coagulation, prolonging the period when the dough is vulnerable to collapse. Uneven heating—common in older or poorly calibrated ovens—can cause one side to set faster than the other, leading to lopsided collapse.
5. Lack of Steam or Poor Scoring
Steam in the first 10–15 minutes of baking keeps the dough surface moist and flexible, allowing maximum oven spring. Without steam, the crust dries too fast and cracks unpredictably, restricting expansion and increasing the risk of blowouts or collapse.
Improper scoring—cuts made on the dough surface before baking—also contributes. Deep, strategic slashes act as controlled vents for steam and gas. If scoring is too shallow, too few, or in the wrong direction, pressure builds internally and forces the dough to split unevenly, destabilizing the loaf.
Prevention Checklist: Steps to Avoid Collapse
- ✅ Use a thermometer to verify oven temperature accuracy
- ✅ Perform the poke test to confirm optimal proofing
- ✅ Mix dough until strong gluten develops (windowpane test)
- ✅ Adjust hydration based on flour type and experience level
- ✅ Preheat oven and baking vessel (Dutch oven, stone, or steel) for at least 45 minutes
- ✅ Create steam using a pan of water, spray bottle, or closed pot
- ✅ Score dough deeply (½ inch) with a sharp blade at a 30° angle
- ✅ Bake to internal temperature: 190–210°F (88–99°C), depending on loaf type
- ✅ Cool completely on a wire rack before slicing
Step-by-Step Guide to Baking Stable, High-Rising Loaves
- Mix and develop gluten: Combine ingredients and mix until smooth. Let rest 20–30 minutes (autolyse), then add salt and knead or perform stretch-and-folds every 30 minutes for 2–3 hours during bulk fermentation.
- Monitor bulk fermentation: Ferment at room temperature (75–78°F) until dough has risen 50–75%, shows bubbles, and jiggles like jelly when shaken.
- Shape gently: Pre-shape, rest 20 minutes, then final shape with tension on the surface. Avoid degassing excessively.
- Final proof: Proof in a banneton or bowl for 1–2 hours at room temp, or refrigerate overnight for better flavor and control. Use the poke test to check readiness.
- Preheat thoroughly: Heat oven and Dutch oven or baking stone at 450–475°F for at least 45 minutes.
- Score and load: Transfer dough to parchment, score decisively, and lower into hot vessel.
- Bake with steam: Cover for first 20–25 minutes to trap steam, then uncover and bake another 20–25 minutes until deep golden brown.
- Check doneness: Internal temperature should reach at least 198°F for standard loaves.
- Cool properly: Let cool on a wire rack for 1–2 hours. Slicing too early releases steam and can cause collapse.
Do’s and Don’ts: Table Summary
| Do | Don’t |
|---|---|
| Use bread flour for stronger gluten (especially for beginners) | Use all-purpose or cake flour without adjusting hydration |
| Proof in a draft-free, warm spot (75–80°F) | Leave dough near cold windows or heat sources |
| Preheat baking vessel for full oven stability | Place dough in a cold or underheated oven |
| Score with a razor blade or lame | Use a dull knife or skip scoring altogether |
| Let bread cool completely before cutting | Slice into hot bread immediately after baking |
Real Example: From Collapse to Confidence
Sarah, an enthusiastic home baker in Portland, struggled for months with her sourdough loaves collapsing in the center. She followed recipes closely but still ended up with flat, dense bread. After tracking her process, she realized two issues: her oven ran 50°F hotter than displayed, and she was proofing her dough overnight at room temperature in summer heat, leading to overfermentation.
She invested in an oven thermometer and began refrigerating her final proof. She also started scoring deeper and preheating her Dutch oven longer. Within two weeks, her loaves were rising higher and holding their shape. “I didn’t need a new recipe,” she said. “I needed better control over the basics.”
Frequently Asked Questions
Why does my bread rise beautifully in the oven but collapse when I take it out?
This usually means the crust set too early while the interior was still underbaked. The structure hadn’t fully stabilized, so when the external heat source was removed, the steam condensed and the weak crumb couldn’t support itself. Ensure your bread reaches at least 198°F internally and consider extending the uncovered baking time slightly.
Can I fix overproofed dough?
Yes, to some extent. Gently deflate the dough, reshape it, and let it proof again—but monitor closely, as it will proof faster the second time. While it won’t be perfect, you can often salvage the loaf. Better yet, refrigerate the shaped dough to slow fermentation and regain control.
Does altitude affect bread collapse?
Absolutely. At higher elevations, water boils at lower temperatures, yeast ferments faster, and gases expand more readily. This combination increases the risk of overexpansion and collapse. Bakers above 3,000 feet should reduce yeast by 25%, lower oven temperature by 25°F, and shorten proofing times. Increasing flour slightly can also help strengthen the structure.
Expert Tips for Long-Term Success
Conclusion: Build Confidence Through Consistency
Bread collapse isn’t a sign of failure—it’s feedback. Each loaf teaches you something about timing, temperature, and technique. By understanding the science behind gluten, fermentation, and heat transfer, you gain the power to adjust and improve with every bake.
Start by mastering one variable at a time: proofing, scoring, or oven temperature. Small, deliberate changes lead to dramatic improvements. Soon, you’ll pull perfectly domed, golden-crusted loaves from the oven with confidence, knowing exactly why they turned out so well.


 浙公网安备
33010002000092号
浙公网安备
33010002000092号 浙B2-20120091-4
Comments
No comments yet. Why don't you start the discussion?