
Handmade soap is a rewarding craft that blends science and artistry. Yet even experienced soap makers occasionally face issues like cracking bars or inconsistent batches—often rooted in temperature fluctuations or inaccurate lye measurements. Understanding the causes behind cracked soap and mastering precise lye calculations can transform your results from unpredictable to professional-grade. This guide dives deep into the science of soap making, offering actionable insights to prevent defects and ensure every batch turns out perfectly.
Why Does Homemade Soap Crack?
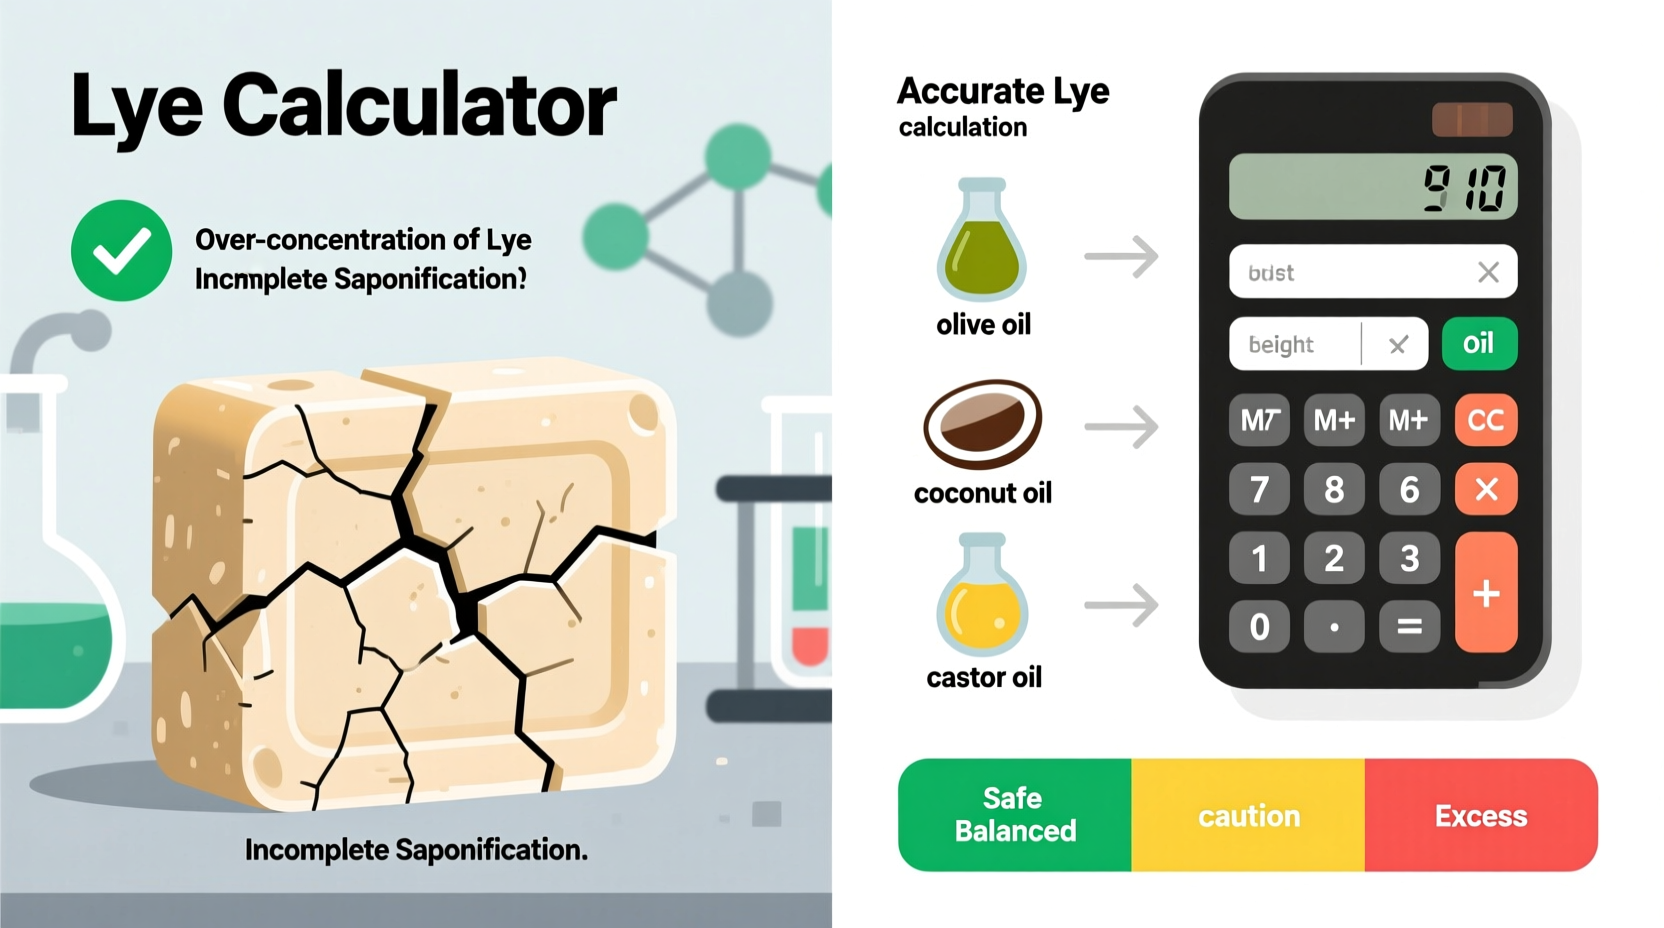
Cracks in handmade soap typically appear during the first 24 to 72 hours after pouring, especially around the center or edges of the loaf. While they don’t ruin the soap’s functionality, they can affect appearance and indicate underlying formulation or process issues.
The primary cause of cracking is **rapid heat generation during saponification**, particularly when using molds without adequate insulation or when ambient temperatures are too high. As the chemical reaction between oils and lye accelerates, the core of the soap heats up faster than the outer layers. This uneven expansion creates internal stress, leading to fissures as the bar cools and contracts.
Additional contributing factors include:
- High superfat percentages — Excess oils can delay saponification, increasing the chance of overheating later in the gel phase.
- Large mold sizes — Larger volumes retain more heat, amplifying thermal gradients within the soap.
- Insulating too aggressively — Wrapping molds in towels or placing them in ovens traps heat excessively, encouraging overheating.
- Using certain additives — Herbs, clays, or exfoliants may create weak points where cracks initiate.
“Cracking often signals thermal imbalance. It’s not just cosmetic—it’s a clue that your saponification process isn’t proceeding uniformly.” — Dr. Linda Park, Cosmetic Chemist & Soap Formulation Specialist
How to Prevent Soap Cracking: Proven Methods
Preventing cracks starts with managing heat throughout the saponification cycle. Here’s how to maintain thermal stability:
1. Control Gel Phase Intentionally
The gel phase occurs when the soap reaches an internal temperature of about 160–180°F (71–82°C), turning translucent before cooling back to opaque. While some recipes benefit from full gelling (especially those with butters), others perform better with a partial or no-gel approach.
To minimize cracking:
- Pour soap at lower trace (medium rather than thick).
- Cool molds slightly before use by placing them in the refrigerator for 10–15 minutes.
- Store poured soap in a cool, draft-free area—never near heaters or direct sunlight.
2. Use Smaller Molds or Cut Sooner
Larger molds trap more heat. Consider switching to smaller loaf molds or silicone trays. Alternatively, cut your soap earlier—within 12–18 hours—to release built-up heat through increased surface exposure.
3. Avoid Over-Insulation
Unless you're working in a cold environment (<65°F/18°C), skip wrapping the mold. If insulation is necessary, use a thin towel instead of heavy blankets, and check internal temperature after 12 hours.
4. Adjust Your Recipe
Fatty acid profiles impact heat retention. High olive oil soaps (like Castile) generate less heat and rarely crack. In contrast, recipes rich in coconut or palm oil tend to heat up quickly. Balance these with harder-to-saponify oils like avocado or shea butter to moderate reaction speed.
Mastering Lye Calculations: Why Accuracy Matters
One of the most critical—and intimidating—aspects of cold process soap making is calculating the correct amount of sodium hydroxide (lye) needed for your chosen oils. Too much lye leaves a caustic, skin-irritating bar; too little results in overly soft, greasy soap prone to rancidity.
Lye reacts with triglycerides in oils via saponification, converting them into soap and glycerin. Each oil has a unique **saponification value (SAP value)**, which indicates how many milligrams of KOH or NaOH are required to saponify one gram of fat. These values must be precisely applied based on your total oil weight.
For example:
| Oils | SAP Value (NaOH) | Lye Needed per 100g Oil |
|---|---|---|
| Coconut Oil | 0.183 | 18.3g |
| Olive Oil | 0.134 | 13.4g |
| Palm Oil | 0.141 | 14.1g |
| Shea Butter | 0.128 | 12.8g |
To calculate total lye:
- Multiply each oil’s weight by its SAP value.
- Sum all individual lye amounts.
- Apply a superfat percentage (typically 5%) by reducing total lye accordingly.
Example: A batch with 500g olive oil (0.134 × 500 = 67g lye) and 300g coconut oil (0.183 × 300 = 54.9g lye) requires 121.9g lye before superfatting. With a 5% superfat, multiply 121.9 × 0.95 = 115.8g lye.
Easy Ways to Fix and Simplify Lye Calculations
You don’t need to memorize SAP values or manually crunch numbers every time. Modern tools make accurate lye calculation accessible—even for beginners.
1. Use Trusted Lye Calculators
Online calculators eliminate human error and support multiple oils, water discounts, and superfat adjustments. Recommended platforms include:
- Bramble Berry Lye Calculator – User-friendly interface with mobile compatibility.
- SoapCalc.net – Advanced features including fatty acid profiling and predicted bar qualities (hardness, lather, conditioning).
- Kalboney.com – Offline downloadable tool ideal for batch planning.
2. Save Templates for Common Recipes
Create digital templates for your favorite formulations. Store them in spreadsheets with pre-filled weights, SAP values, and calculated lye/water amounts. Update only when modifying ingredients.
3. Weigh Ingredients Precisely
Use a digital scale accurate to 0.1g, especially for small batches. Volume measurements (cups, spoons) introduce unacceptable variance.
4. Understand Water Discounting
Reducing water content speeds up trace and reduces cure time but increases risk of overheating. A standard water-to-lye ratio ranges from 2:1 to 3:1. For sensitive recipes, stick closer to 2.5:1.
5. Test pH After Cure
Even with perfect math, always verify safety. After four weeks of curing, test soap pH using the “zap test” (touch tongue lightly—if it tingles, it’s still caustic) or pH strips (safe range: 8–10).
“Consistency in soap making begins with precision. One gram too much lye can turn luxury into liability.” — Rebecca Tran, Master Artisan Soaper & Instructor
Step-by-Step Guide: Fixing a Cracked Batch & Recalculating Lye
If you’ve already made a cracked or failed batch, here’s how to troubleshoot and improve next time:
- Evaluate the damage: Are cracks deep or superficial? Is the soap hard and usable, or soft and oily?
- Check lye accuracy: Review your original recipe. Did you measure oils and lye correctly? Was the scale calibrated?
- Analyze environmental conditions: Was the room above 75°F? Were molds insulated unnecessarily?
- Recalculate using a trusted tool: Input exact oil weights into SoapCalc or Bramble Berry’s calculator. Confirm lye and water amounts.
- Adjust formulation: Reduce fast-saponifying oils (coconut) or increase slow ones (olive). Lower superfat if previous batch felt greasy.
- Modify cooling method: Pour into cooled molds, skip insulation, or place in a well-ventilated area.
- Document changes: Keep a log noting temperature, timing, mold type, and outcome for future reference.
Mini Case Study: From Cracked Loaves to Consistent Quality
Jessica, a home crafter in Texas, struggled for months with cracked soaps despite following popular recipes. Her 2-pound loaves would develop deep central fissures within 24 hours, sometimes splitting entirely.
After tracking her process, she realized two key issues: she was insulating molds with thick towels during summer (indoor temps reached 82°F), and she had been using volume measures for coconut oil, leading to inconsistent ratios.
She switched to weighing all ingredients, reduced her coconut oil from 35% to 25%, poured into chilled molds, and stopped insulating altogether. Within three batches, her soaps set evenly with no cracking. By recalculating lye via SoapCalc and applying a consistent 5% superfat, her bars hardened properly and passed pH tests reliably.
Today, Jessica sells her soap locally—her biggest lesson being that control beats tradition.
Essential Checklist for Flawless Soap Making
- ✔️ Weigh all oils and lye using a calibrated digital scale
- ✔️ Verify SAP values for each oil from a trusted source
- ✔️ Run your recipe through a lye calculator and cross-check results
- ✔️ Cool molds briefly before pouring (especially in warm climates)
- ✔️ Pour at medium trace to allow easier heat dissipation
- ✔️ Avoid over-insulating unless ambient temperature is below 65°F
- ✔️ Cut soap within 18–24 hours to promote even curing
- ✔️ Label and date each batch for quality tracking
FAQ: Common Questions About Cracking and Lye
Can I still use cracked soap?
Yes. Cracks do not affect performance. Simply cut around large splits or rebatch the pieces using the hot process method to restore uniformity.
Is it safe to reduce lye below calculator recommendations?
No. Reducing lye arbitrarily increases superfat beyond intended levels, potentially causing poor shelf life and soft texture. Only adjust superfat using calculator settings—not manual reductions.
Why did my low-coconut-oil soap still crack?
Even mild recipes can crack if poured too hot or insulated heavily. Ambient temperature and mold size play major roles regardless of oil composition.
Conclusion: Turn Mistakes Into Mastery
Cracked soap isn’t failure—it’s feedback. Each irregularity tells a story about temperature, timing, or formulation. By learning to read those signs and applying precise lye calculations, you gain control over the entire saponification process.
Start small: weigh everything, use digital tools, and keep records. Refine one variable at a time. Whether you’re crafting for personal use or building a brand, consistency builds trust—with yourself and your customers.


 浙公网安备
33010002000092号
浙公网安备
33010002000092号 浙B2-20120091-4
Comments
No comments yet. Why don't you start the discussion?