
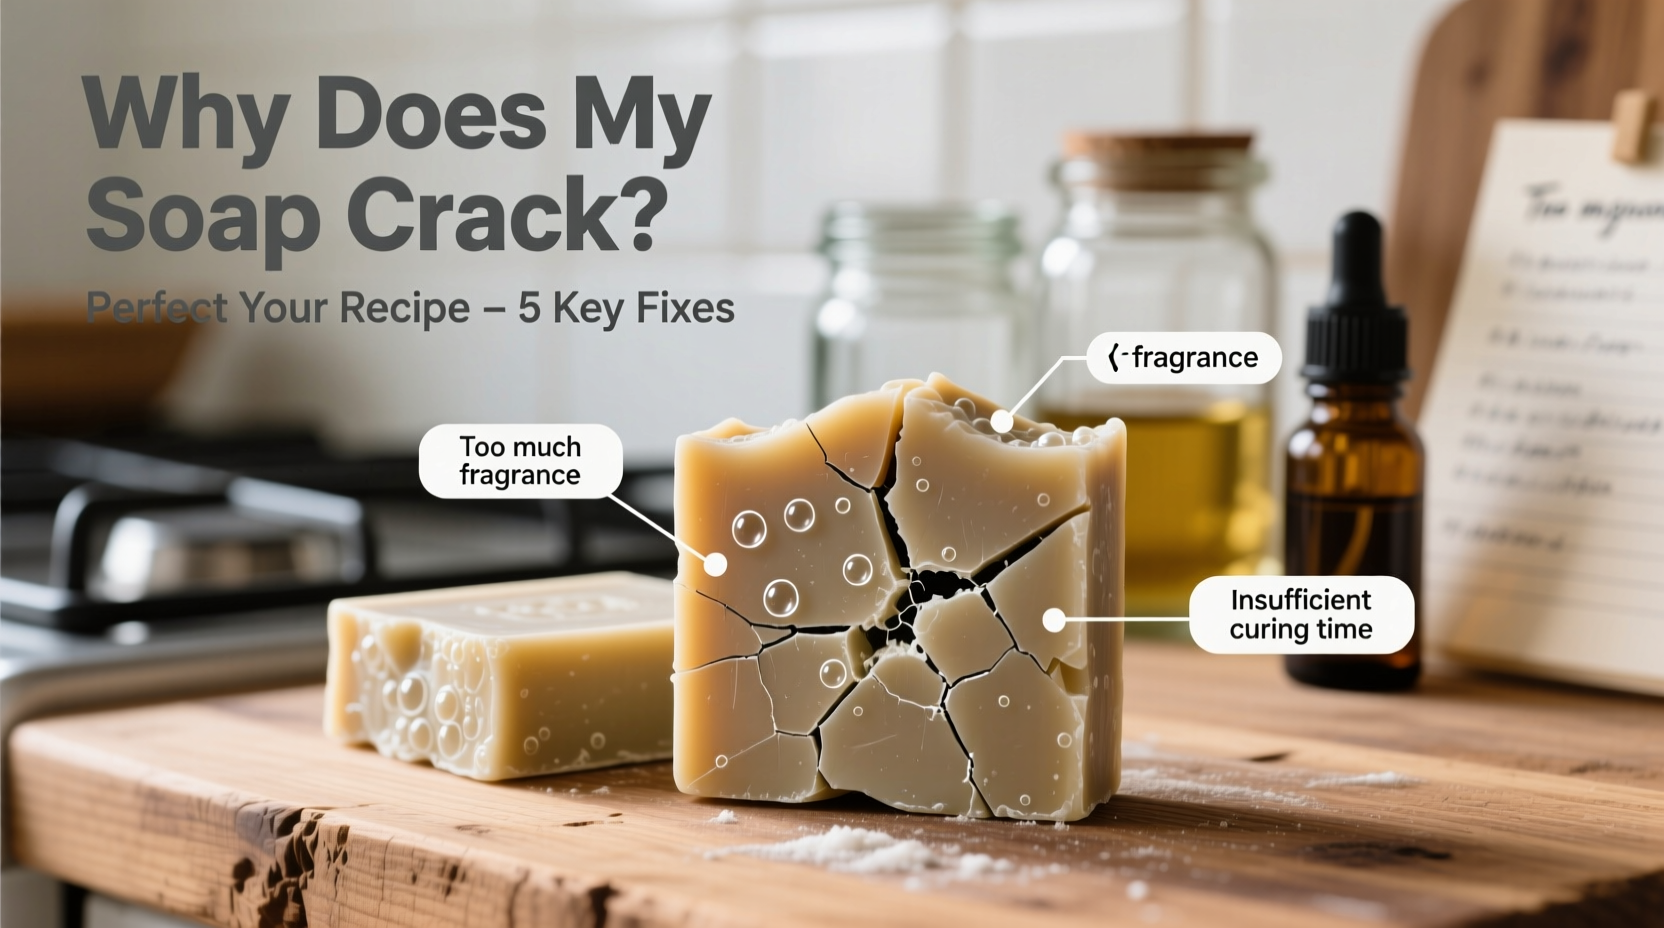
Handmade soap is a rewarding craft that blends chemistry, creativity, and care. But nothing is more frustrating than pulling a batch from the mold only to find deep fissures running through the bars. Cracking isn’t just unsightly—it can weaken the structure of the soap, cause pieces to break apart prematurely, and signal deeper issues in your process. The good news? Most causes of cracking are preventable with the right knowledge and adjustments. Understanding the science behind saponification, temperature control, and ingredient balance will not only stop cracks but elevate your entire soap-making game.
The Science Behind Soap Cracking
Soap cracking occurs when internal stresses develop during the curing or cooling phase. These stresses stem from uneven contraction, rapid temperature shifts, or imbalances in moisture and hardness. When soap cools too quickly on the outside while remaining hot inside, it forms a rigid shell that traps expanding heat and moisture. As the center continues to react and then contracts, it pulls away from the hardened exterior, creating cracks—often starting at the top center where heat escapes most rapidly.
This phenomenon is especially common in larger batches or recipes high in hard oils like coconut or palm. These oils accelerate trace and generate more heat during gel phase, increasing the risk of thermal shock. Additionally, water-heavy formulations take longer to evaporate, leading to prolonged expansion and contraction cycles that strain the bar’s integrity.
Common Causes of Cracking and How to Fix Them
1. Overheating During Gel Phase
The gel phase is a natural part of cold process soap making where the soap heats up internally, turning translucent before cooling back to opacity. While some soapers encourage full gel for vibrant colors, uncontrolled overheating leads to dramatic temperature swings that stress the bar.
If your soap reaches temperatures above 180°F (82°C), especially in thick molds, the center expands aggressively while the surface hardens. As it cools, differential contraction creates tension and cracks.
“Temperature management is the single most overlooked factor in successful artisan soap production.” — Dr. Lena Patel, Cosmetic Chemist & Formulation Consultant
2. Too Much Hard Oil in Your Recipe
Oils like coconut, palm, and cocoa butter contribute hardness and lather but also increase the likelihood of overheating. A recipe with more than 30% coconut oil, for example, generates significant heat during saponification and accelerates trace, leaving little time to work and increasing thermal buildup.
While these oils are valuable, an imbalance makes the soap prone to brittleness and cracking. Adjusting your oil profile can dramatically improve stability.
3. High Water Content
Using full water (or higher water-to-lye ratios) slows trace and gives more working time, but it also means more moisture must evaporate during curing. As water leaves the bar over days or weeks, shrinkage occurs. Uneven drying—especially if one side dries faster than another—can pull the soap apart internally.
High water content also prolongs the gel phase and increases the chance of post-molding overheating, both contributing to cracking.
4. Pouring Too Thick or Trapped Air
When soap batter is poured at very thick trace (like pudding or mashed potatoes), air pockets become trapped, particularly around additives like oats or seeds. As the soap heats and expands, these pockets create pressure points. Once the heat dissipates, the air collapses, and the surrounding material sinks or splits.
Additionally, thick batter doesn’t flow smoothly into corners, creating weak structural zones that crack under thermal stress.
5. Rapid Cooling or Draft Exposure
Placing freshly poured soap near a draft, air conditioner, or open window causes the surface to cool and contract too quickly. This skin forms while the interior remains reactive and hot, setting up the perfect conditions for top-down cracking.
Even moving the mold too soon after pouring can disturb the even distribution of heat and initiate microfractures.
Step-by-Step Guide to Preventing Cracks
Follow this timeline-based approach to eliminate cracking and produce consistently stable bars.- Design a Balanced Oil Profile
Start with a moderate blend: 20–25% coconut oil, 10–15% palm or tallow, 50–60% olive or sunflower oil, and 5–10% soft butters like shea or mango. Run your recipe through a lye calculator to ensure proper saponification values and superfat (recommended: 5–7%). - Use Water Reduction
Reduce water by 10–20% from the default lye calculator output. For example, if your recipe calls for 12 oz of water, use 9.5–10.5 oz instead. This minimizes shrinkage and speeds up trace slightly, giving better control. - Control Mixing Temperature
Pour your soap at medium trace and aim for oil and lye temperatures between 95°F and 105°F (35–40°C). Avoid extreme differences—never mix ingredients more than 10–15°F apart. - Pour at Thin to Medium Trace
Work efficiently to pour before the batter becomes too thick. Use stick blenders judiciously; over-blending accelerates trace and reduces flexibility. - Minimize Insulation
After pouring, cover the mold lightly with a sheet of cardboard or towel—never wrap tightly in blankets unless you're intentionally avoiding gel phase. For large molds, consider placing the soap in a cool room (68–72°F) to slow the reaction. - Avoid Disturbance
Leave the mold undisturbed for at least 24–48 hours. Do not tap, move, or uncover it prematurely. Sudden changes disrupt heat distribution. - Cut at the Right Time
Unmold after 3–5 days, depending on hardness. Cut with a sharp, straight knife using smooth strokes. If the soap is too soft, it will tear; too hard, and it may chip. Ideal cutting consistency feels firm but yields slightly under pressure. - Cure Properly Place cut bars on a rack in a well-ventilated area with space between each. Cure for 4–6 weeks, rotating occasionally for even drying. Humidity above 60% slows curing; below 40%, drying may be too rapid and cause surface checking.
Do’s and Don’ts: Quick Reference Table
| Do’s | Don’ts |
|---|---|
| Use moderate coconut oil (≤25%) | Use >30% coconut oil without adjusting water or cooling |
| Reduce water by 10–20% | Use full water for large or complex batches |
| Pour at 95–105°F (35–40°C) | Mix hot oils with cold lye solution |
| Cover loosely with cardboard | Insulate heavily with towels or foam |
| Cure in dry, airy space (40–60% humidity) | Stack or store uncured soap in plastic bins |
| Add clays or milks at light trace | Overload with exfoliants that trap air |
Real Example: From Cracked Failures to Flawless Bars
Sophie, a home crafter in Vermont, struggled for months with cracked lavender-oatmeal soap. Her recipe used 35% coconut oil, full water, and was poured at thick trace into a wooden loaf mold. She insulated it overnight with wool blankets to “ensure a good gel.” Every batch cracked deeply down the center.
After researching thermal dynamics in soap, she adjusted her method: reduced coconut oil to 22%, decreased water by 15%, poured at lighter trace, and left the mold uncovered in a climate-controlled room. She also switched to individual silicone molds for smaller test batches. Within two weeks, she produced smooth, crack-free bars with improved lather and longevity. Her key insight? “I was trying to force a perfect gel, but I was actually forcing stress into the soap.”
Expert-Approved Checklist for Crack-Free Soap
- ✅ Run your recipe through a reliable lye calculator (e.g., Bramble Berry or Soapee)
- ✅ Limit coconut oil to 25% or less unless counterbalanced with castor or avocado oil
- ✅ Reduce water by 10–20% from full amount
- ✅ Mix lye and oils within 10°F of each other
- ✅ Pour at thin to medium trace—before it gets pudding-thick
- ✅ Avoid heavy insulation; use breathable covers only
- ✅ Keep soap away from drafts, vents, and direct sunlight
- ✅ Allow 24–48 hours of undisturbed rest before unmolding
- ✅ Cure bars on ventilated racks with space between them
- ✅ Monitor humidity; ideal range is 45–55% during cure
Frequently Asked Questions
Can I save soap that’s already cracked?
Yes. Minor surface cracks won’t affect performance. For deep cracks, rebatching is an option: grate the soap, add a small amount of water or milk, and gently re-melt in a slow cooker. Pour into molds and allow to set. The final bar will be rustic but functional.
Does gel phase always cause cracking?
No. Controlled gel phase does not inherently cause cracks. It’s the *unmanaged heat* during gel that’s problematic. Many soapers achieve beautiful, crack-free gelled soap by monitoring temperature and avoiding excessive insulation.
Is cracking worse in winter?
It can be. Cold rooms increase the temperature gap between the warm soap and its environment, promoting rapid surface cooling. Also, indoor heating reduces humidity, accelerating drying and shrinkage. Maintain a stable room temperature (68–75°F) and avoid placing molds near heaters.
Perfecting Your Craft Starts Today
Cracking doesn’t mean failure—it’s feedback. Each batch teaches you more about the delicate balance of oils, water, and temperature. By understanding the root causes and applying precise adjustments, you’ll move from inconsistent results to mastery. The goal isn’t just crack-free soap, but soap that performs beautifully: creamy lather, long-lasting bars, and a professional finish.
Revisit your favorite recipe with fresh eyes. Tweak one variable at a time—reduce water, adjust oils, change your pouring technique. Document your changes and outcomes. Over time, you’ll develop an intuitive sense for what your soap needs. That’s the mark of a true artisan.


 浙公网安备
33010002000092号
浙公网安备
33010002000092号 浙B2-20120091-4
Comments
No comments yet. Why don't you start the discussion?