
Homemade soap making is both an art and a science. While many crafters fall in love with the creative freedom of blending oils, colors, and scents, few realize how precise the chemistry must be to achieve a durable, smooth bar. If your handmade soap keeps crumbling—breaking apart during use or even while curing—you're not alone. This common frustration often stems from imbalances in formulation, technique, or timing. The good news? With the right adjustments, you can consistently produce a hard, long-lasting bar that lathers beautifully and holds its shape.
The Chemistry Behind Solid Soap
Soap forms through a chemical reaction called saponification, where fats (oils and butters) react with an alkali (sodium hydroxide, or lye) to create soap and glycerin. For the bar to be solid and stable, this reaction must complete fully, and the resulting mixture must contain enough hardening fatty acids. Oils like coconut, palm, and tallow contribute to hardness, while softer oils like olive or sunflower add moisturizing qualities but reduce firmness if used excessively.
When the balance tips too far toward soft oils, or when saponification is incomplete, the resulting soap lacks structural integrity. It may feel greasy at first, then dry out and disintegrate prematurely. Humidity, improper curing, and inaccurate measurements also play critical roles.
“Even a 5% error in lye concentration can turn a promising batch into a brittle mess.” — Dr. Linda Chen, Formulation Chemist & Artisan Soap Educator
Top 5 Reasons Your Soap Crumbles
1. Imbalanced Oil Selection
Using too many soft or liquid oils without enough hardening components is the most frequent cause of weak bars. Olive oil, while luxurious, produces a very soft soap unless blended with harder fats. A high percentage of castor oil, though excellent for lather, can also weaken structure if overused.
2. Inaccurate Lye Measurement
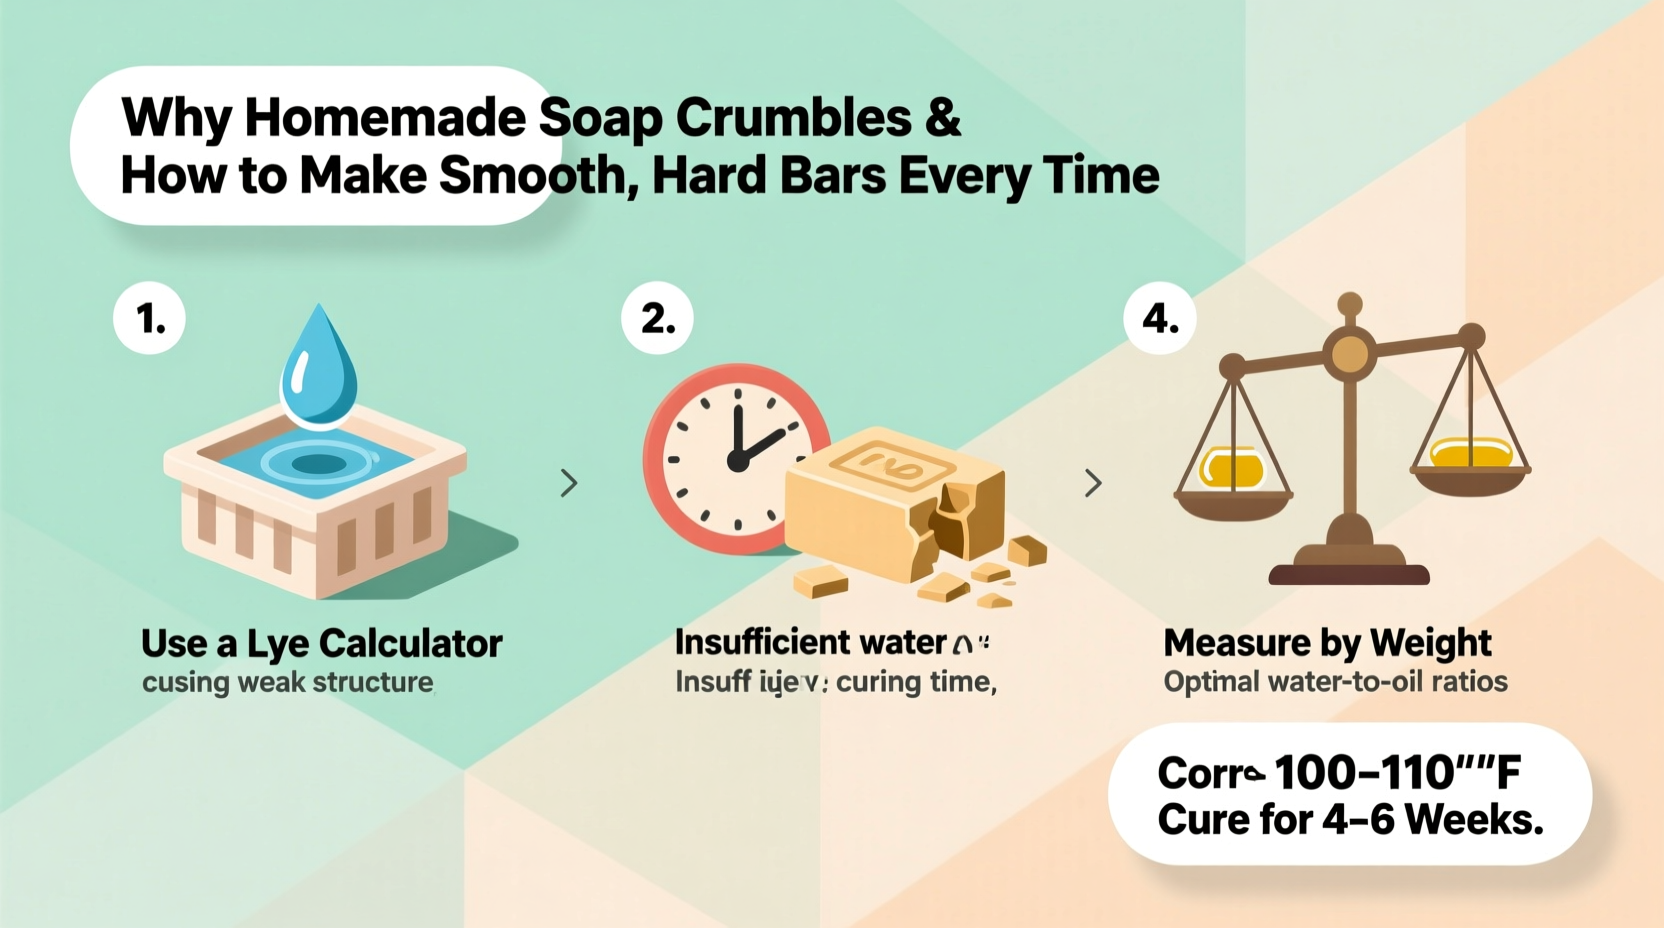
Lye (sodium hydroxide) must be measured precisely. Too little lye means excess unsaponified oils that never turn into soap, leading to softness and eventual rancidity. Too much lye creates a brittle, caustic bar that breaks down quickly. Always use a digital scale accurate to 0.1 grams and double-check calculations with a reliable lye calculator.
3. Poor Mixing or False Trace
If the soap batter hasn’t reached true emulsion before pouring, the oils and lye water can separate. This leads to pockets of unreacted ingredients, creating weak spots. Similarly, rushing to mold before full trace results in inconsistent texture and poor binding.
4. Insufficient Curing Time
Many beginners cut and use their soap too soon. Freshly made soap still contains excess water and incomplete saponification. A proper cure—typically 4 to 6 weeks—allows water to evaporate and the bar to harden naturally. Skipping this step leaves the soap soft and fragile.
5. High Humidity or Improper Storage During Cure
Humid environments prevent moisture from escaping, trapping water in the bars. This delays hardening and encourages mold or mushiness. Bars stacked too closely or stored in sealed containers before fully cured will sweat and degrade.
How to Formulate a Hard, Smooth Bar: A Step-by-Step Guide
To consistently make a strong, non-crumbling soap, follow this structured approach from formulation to curing.
- Choose a Balanced Oil Blend: Use a combination of hard and soft oils. A classic beginner-friendly recipe includes:
- 30% coconut oil – for hardness and lather
- 30% palm oil – for stability (use sustainable sources)
- 40% olive oil – for mildness and conditioning
- Run the Recipe Through a Lye Calculator: Use tools like Soapee or Bramble Berry’s calculator to determine exact lye and water amounts. Always enter SAP values correctly and confirm superfat between 5–7%.
- Weigh All Ingredients Precisely: Use a calibrated digital scale. Never measure oils or lye by volume.
- Mix Thoroughly to True Trace: Blend until the batter reaches a pudding-like consistency where drizzled soap leaves a visible trail on the surface. This ensures full emulsification.
- Pour and Insulate (if needed): Pour into molds and cover lightly with cardboard or a towel if promoting gel phase, which enhances hardness. Avoid overheating.
- Wait Before Unmolding: Allow 24–48 hours before cutting, depending on size and ingredients. Overheated or under-saponified soap may need longer.
- Cure Properly: Place cut bars on a rack in a cool, dry, well-ventilated area. Turn weekly for even drying. Cure for minimum 4 weeks.
Do’s and Don’ts for Durable Handmade Soap
| Do | Don't |
|---|---|
| Use a digital scale for all ingredients | Measure lye or oils by cups or spoons |
| Superfat between 5–7% | Superfat above 10% unless making a specialty soft bar |
| Cure soap for 4–6 weeks | Use soap within 1–2 weeks of making |
| Store curing bars on ventilated racks | Stack bars directly on top of each other |
| Add sodium lactate (1–2 tsp per pound of oils) to boost hardness | Overuse additives like clays or exfoliants that disrupt structure |
Real Example: From Crumbly Failures to Award-Winning Bars
Sarah, a home crafter from Oregon, struggled for months with soap that cracked as she cut it and disintegrated after two uses. Her original recipe was 70% olive oil, 20% coconut, and 10% sweet almond oil, with no palm or tallow. She measured lye using kitchen spoons and cut her soap after 24 hours, storing it in plastic bins.
After consulting a local soap-making guild, she adjusted her formula to 40% olive, 30% coconut, 30% sustainably sourced palm. She invested in a digital scale, began using sodium lactate, and extended her cure to five weeks. The difference was immediate: her next batch unmolded cleanly, sliced smoothly, and hardened into a long-lasting bar with rich lather. Within six months, she launched a small online shop selling her now-famous “Forest Grove Olive & Cedar” bar.
Enhancing Hardness Without Compromising Quality
Hardness doesn’t have to come at the expense of mildness or luxury. Consider these advanced strategies:
- Incorporate Animal Fats: Tallow or lard (rendered beef or pork fat) produce exceptionally hard, stable bars with creamy lather. When properly processed, they’re gentle and eco-friendly.
- Use Beeswax Sparingly: Adding 1–3% beeswax increases hardness and adds a glossy finish, but too much can inhibit lather.
- Reduce Water Content: Using a water discount (reducing water by 10–20%) speeds up trace and evaporation, leading to faster curing and harder bars. Ideal for humid climates.
- Avoid Overloading Additives: Botanicals, clays, and essential oils are valuable, but exceeding 6% total additives can interfere with matrix formation.
“Balanced formulation beats brute-force hardeners. A well-calculated blend of coconut, olive, and tallow outperforms any single-oil shortcut.” — Marcus Reed, Master Soapmaker & Instructor at the Cold Process Academy
Frequently Asked Questions
Can I fix a batch of crumbly soap?
Yes, but only partially. If the soap has fully saponified (no lye or oily smell), you can rebatch it. Grate the crumbles, add a small amount of water or milk, and gently heat in a slow cooker until melted. Stir frequently, then remold and allow to cure again. The texture will be rustic, but usable.
Why did my soap crack on top after pouring?
Surface cracks usually indicate overheating during gel phase. This happens when insulation is too heavy or ambient temperatures are high. While cosmetic, deep cracks can weaken structure. To prevent this, avoid excessive insulation and consider soaping at cooler temperatures (around 100–110°F).
Does palm oil really make a difference in hardness?
Yes. Palm oil is rich in palmitic acid, which contributes significantly to bar hardness and stability. Alternatives like shea butter or cocoa butter help, but they’re softer and more expensive. If avoiding palm, substitute with lard, tallow, or babassu oil, adjusting the recipe accordingly in a lye calculator.
Essential Checklist for Every Batch
Before starting your next soap project, run through this checklist to prevent crumbling and ensure quality:
- ✅ Weigh all oils, lye, and liquids with a digital scale
- ✅ Verify recipe in a trusted lye calculator
- ✅ Confirm superfat is between 5–7%
- ✅ Mix to full trace—batter should leave ridges
- ✅ Pour into mold and insulate lightly (optional)
- ✅ Wait 24–48 hours before cutting
- ✅ Place bars on a drying rack with airflow on all sides
- ✅ Cure for at least 4 weeks in a dry, ventilated space
- ✅ Label and date each batch for tracking
Conclusion: Mastery Through Precision and Patience
Crumbly soap isn’t a lost cause—it’s a signal that one or more elements in your process need refinement. Whether it’s an unbalanced oil profile, inaccurate measurements, or rushed curing, each issue is solvable with attention to detail. The journey from fragile fragments to a smooth, hard bar is built on consistent technique, reliable tools, and respect for the chemistry involved.
Every batch teaches something new. By applying these principles—measuring accurately, balancing oils, and allowing proper cure—you’ll transform your soap making from unpredictable trial-and-error into a repeatable craft. Start with a simple, balanced recipe, follow the steps diligently, and give your soap the time it deserves. The result will be bars that not only last longer but feel luxurious in hand and perform beautifully in the shower.


 浙公网安备
33010002000092号
浙公网安备
33010002000092号 浙B2-20120091-4
Comments
No comments yet. Why don't you start the discussion?