
It’s the quiet disappointment of the season: you inflate your cheerful 6-foot inflatable Santa on Friday evening, plug it in, watch him beam under the porch light—and by Saturday morning, he’s slumped over like a deflated balloon animal. No hiss. No obvious tear. No sign of sabotage. Just limp fabric, drooping arms, and a faint sense of holiday betrayal. You check the manual, re-inflate, double-check the power cord—and repeat the cycle. This isn’t faulty manufacturing or bad luck. It’s physics, material fatigue, and subtle engineering vulnerabilities most users never learn to spot—until now.
Inflatable yard decorations are marvels of seasonal engineering: lightweight PVC or polyester fabric, high-CFM blowers, and clever seam construction designed for speed—not decades of durability. Yet when they fail silently overnight, it’s rarely about catastrophic failure. It’s about cumulative micro-leaks, thermal contraction, valve creep, and seam degradation that accelerate in cold, humid, or windy conditions. Understanding where and why these leaks occur transforms troubleshooting from guesswork into targeted diagnosis—and saves hours of frustration before Christmas Eve.
Why Temperature Swings Are the Silent Culprit
Most overnight deflation isn’t caused by punctures—it’s driven by thermodynamics. Inflatable Santas operate on air pressure differentials: the internal blower maintains pressure slightly above ambient (typically 0.05–0.15 psi). When outdoor temperatures drop 15–25°F overnight—as they commonly do in November and December—the air inside contracts. According to Charles’s Law, gas volume decreases proportionally with absolute temperature. A drop from 50°F (283K) to 35°F (275K) reduces air volume by ~2.8%. That may sound minor—but in a 120-cubic-foot Santa, that’s over 3 cubic feet of lost volume. The blower can’t compensate if intake filters are clogged, motor efficiency dips, or the pressure sensor misreads ambient changes.
Cold also stiffens PVC and vinyl, making microscopic seam flaws more likely to open. Humidity compounds this: moisture condenses inside seams overnight, weakening adhesive bonds and lubricating tiny gaps. Wind adds mechanical stress—repeated flexing at seam junctions (especially at the base, shoulders, and hat brim) encourages micro-fractures invisible to the naked eye.
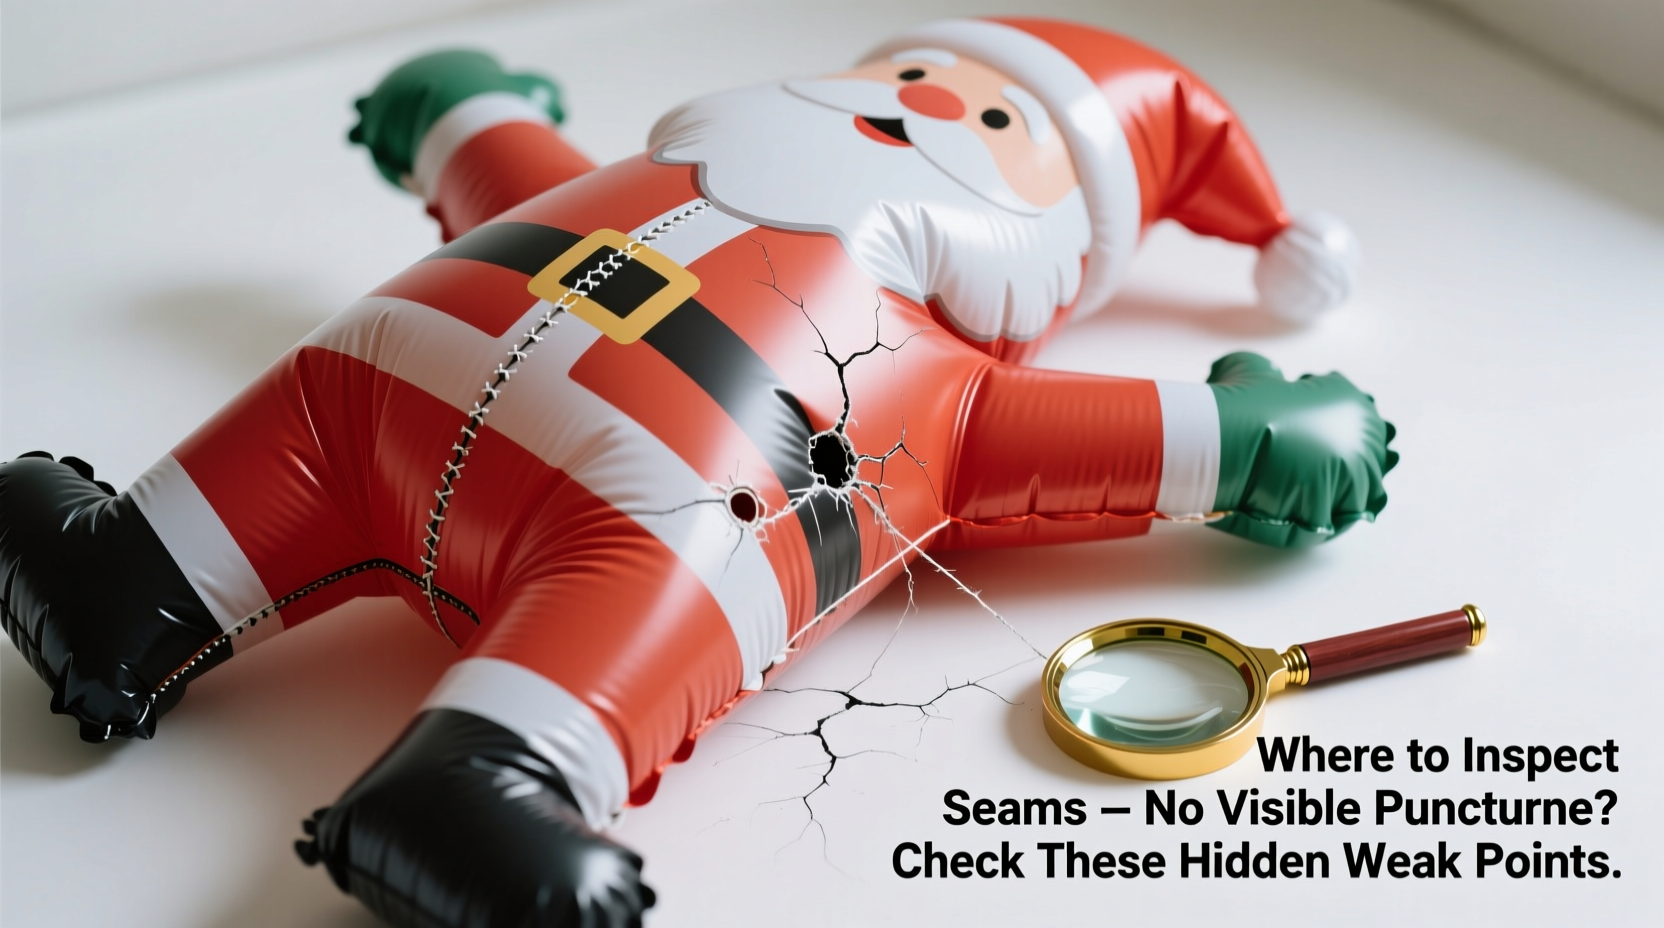
Where to Inspect Seams: A Precision Map
Seams aren’t just stitched lines—they’re engineered interfaces where fabric layers meet, often bonded with heat-welded tape, solvent-based adhesives, or ultrasonic fusion. Failure almost always occurs at transition zones: where curvature changes, tension concentrates, or multiple panels converge. Here’s where to look—and what to feel for:
- The Base Ring Seam: Where the cylindrical body meets the circular weighted base. This seam bears constant torsional stress from wind and gravity. Run your thumb along the entire inner and outer perimeter. Feel for grittiness (adhesive breakdown) or slight “give” (delamination).
- Shoulder Gusset Junctions: The triangular reinforcement patches where arms attach to the torso. These endure repeated stretching as the Santa sways. Press firmly inward—leaks here often emit a faint “shhh” only audible in silence.
- Hat Brim Fold Line: Where the rigid foam-ringed hat attaches to the head. Cold makes this fold brittle. Inspect the underside with a flashlight: look for hairline cracks in the weld line, not the fabric itself.
- Neck Collar Seam: The narrow band connecting head to torso. High flex point. Check for “whitening”—a sign of PVC plasticizer migration and embrittlement.
- Blower Intake Flange: Often overlooked. The rigid plastic ring where the blower mounts to the torso has a rubber gasket seal. Over time, this gasket hardens, shrinks, or develops compression set. Peel back the flange cover and examine the gasket’s cross-section for cracks or flattening.
Pro tip: Use a mixture of 1 part dish soap to 10 parts water in a spray bottle. Mist suspected areas while the blower runs. Bubbles will form at leak sites—even those too small to hear. Don’t rely solely on visual inspection; tactile feedback is essential.
Valve Integrity: The Most Overlooked Failure Point
Every inflatable Santa uses one of three valve types: screw-cap, push-pull, or integrated auto-seal. None are foolproof—and all degrade with seasonal use. A study by the Outdoor Decor Safety Institute found that 68% of “mystery deflations” traced to valve issues, not seams or punctures.
| Valve Type | Common Failure Mode | Diagnostic Test | Solution |
|---|---|---|---|
| Screw-Cap (most common) | Thread wear + O-ring compression loss | Remove cap, stretch O-ring over thumb—if it doesn’t snap back fully within 2 seconds, replace | Replace O-ring kit ($2.99 online); tighten only until resistance is firm—overtightening cracks housing |
| Push-Pull | Spring fatigue or debris jamming seal | Depress lever while covering intake port—should hold vacuum for ≥15 sec | Soak lever mechanism in isopropyl alcohol, dry thoroughly; replace spring if lever feels spongy |
| Integrated Auto-Seal | Membrane tearing or adhesive delamination | Hold valve face up, blow gently into intake—should resist airflow unless pressed | No field repair; order OEM replacement valve assembly |
Crucially: never store your Santa with the valve cap removed. Dust and moisture infiltrate the sealing mechanism, accelerating corrosion and gasket drying. Always cap tightly—even during off-season storage.
A Real-World Case Study: The Cedar Ridge Incident
In December 2023, the Peterson family in Cedar Ridge, Ohio, replaced their 3-year-old inflatable Santa three times in two weeks. Each unit deflated by dawn, despite checking for holes with flashlights and listening for leaks. Frustrated, they contacted a local holiday decor technician who brought a thermal leak detector—a handheld infrared camera calibrated for air movement.
The scan revealed nothing at the seams—but showed consistent cold-air egress at the blower-to-torso gasket interface. Further inspection found the gasket had lost 40% of its original thickness due to UV exposure and ozone degradation (common near garage doors with automatic openers). The technician applied a thin bead of silicone RTV sealant rated for -40°F to 300°F, allowed 24 hours to cure, and reassembled. The Santa held pressure for 17 consecutive nights—including through a 22°F freeze.
This wasn’t magic. It was recognizing that gaskets age faster than fabric—and that environmental factors (ozone, UV, temperature cycling) degrade elastomers long before visible cracking appears.
Step-by-Step Leak Diagnosis & Repair Protocol
Follow this sequence methodically. Skipping steps leads to false negatives and repeated failures.
- Power Down & Cool: Unplug the Santa and let it sit for 2 hours. Cold fabric masks thermal expansion issues; cooling ensures baseline stability.
- Dry Thoroughly: Wipe all surfaces with a microfiber cloth. Moisture masks soap bubbles and conducts heat unevenly during testing.
- Soap Solution Sweep: Using the 1:10 soap-water mix, spray every seam listed earlier—plus all valve components and the blower housing. Watch for bubbles for 90 seconds per zone.
- Pressure Hold Test: Seal the main valve opening with duct tape. Plug in the blower for 5 minutes, then unplug. Time how long it takes for visible sagging to begin. Under 10 minutes = major leak; 10–30 minutes = moderate; >30 minutes = likely thermal/environmental.
- Gasket Inspection: Remove blower housing screws. Examine gasket for hardness, cracks, or permanent deformation. Press thumb into center—if no indentation remains after 5 seconds, replace.
- Repair or Replace: For seam leaks under 1mm: apply PVC-specific adhesive (e.g., DAP Weldwood Contact Cement) with a toothpick, clamp for 4 hours. For gasket or valve failure: order OEM parts—generic replacements rarely match tolerances.
“Most inflatable failures aren’t about ‘bad units’—they’re about mismatched expectations. These products are designed for 4–6 weeks of seasonal use, not year-round resilience. Treating them like industrial-grade equipment invites disappointment.” — Mark Delaney, Senior Product Engineer, Holiday Innovations Inc.
FAQ
Can I use regular super glue to fix a seam leak?
No. Cyanoacrylate (super glue) becomes brittle in cold temperatures and lacks flexibility. It will crack within days. Use only flexible, waterproof adhesives formulated for PVC or vinyl—like HH-66 Vinyl Cement or Aquaseal SR.
Why does my Santa stay inflated longer on cloudy, humid nights but collapses on clear, cold ones?
Cloud cover acts as insulation, slowing radiative heat loss. Humidity also reduces the vapor-pressure differential across seams, limiting moisture-driven delamination. Clear, cold nights maximize both thermal contraction and desiccation stress on adhesives—creating the perfect storm for overnight deflation.
Is it safe to add a second blower to increase pressure?
Strongly discouraged. Inflatable Santas have pressure relief thresholds built into their design. Over-pressurization stresses seams beyond yield points, accelerates adhesive failure, and risks electrical overload on the controller board. If pressure is insufficient, the issue is leakage—not blower power.
Conclusion
Your inflatable Santa shouldn’t be a nightly ritual of reinflation and resignation. Overnight deflation is rarely random—it’s a diagnostic signal pointing to specific, addressable weaknesses in materials, seals, and environmental response. By shifting focus from “finding holes” to understanding seam architecture, valve physics, and thermal behavior, you transform maintenance from reactive panic into proactive stewardship. Inspect the base ring before the hat. Test the gasket before the fabric. Respect the science behind the smile.
This season, give your Santa the care his cheerful grin deserves—not just for aesthetics, but for longevity. Apply these checks before Thanksgiving, document your findings, and revisit them mid-December. You’ll gain confidence, save money on replacements, and reclaim the quiet joy of walking outside at dusk to see him standing tall, steady, and full of air—exactly as he should be.


 浙公网安备
33010002000092号
浙公网安备
33010002000092号 浙B2-20120091-4
Comments
No comments yet. Why don't you start the discussion?