
It’s a familiar frustration: you’re not running any heavy programs, yet your laptop fan spins like it’s trying to take off. Even at idle, the constant whirring can be distracting, drain battery life, and raise concerns about long-term hardware damage. While some fan activity is normal—especially during intensive tasks—persistent operation when the system should be quiet signals an underlying issue.
Overheating, dust buildup, software inefficiencies, or misconfigured power settings are common culprits. Left unaddressed, these problems can shorten your laptop’s lifespan and degrade performance. The good news? Most causes are preventable or fixable with practical cleaning routines and system optimizations. This guide dives deep into why your laptop fan won’t stop running and provides actionable solutions to cool things down—literally.
Understanding Laptop Cooling Systems
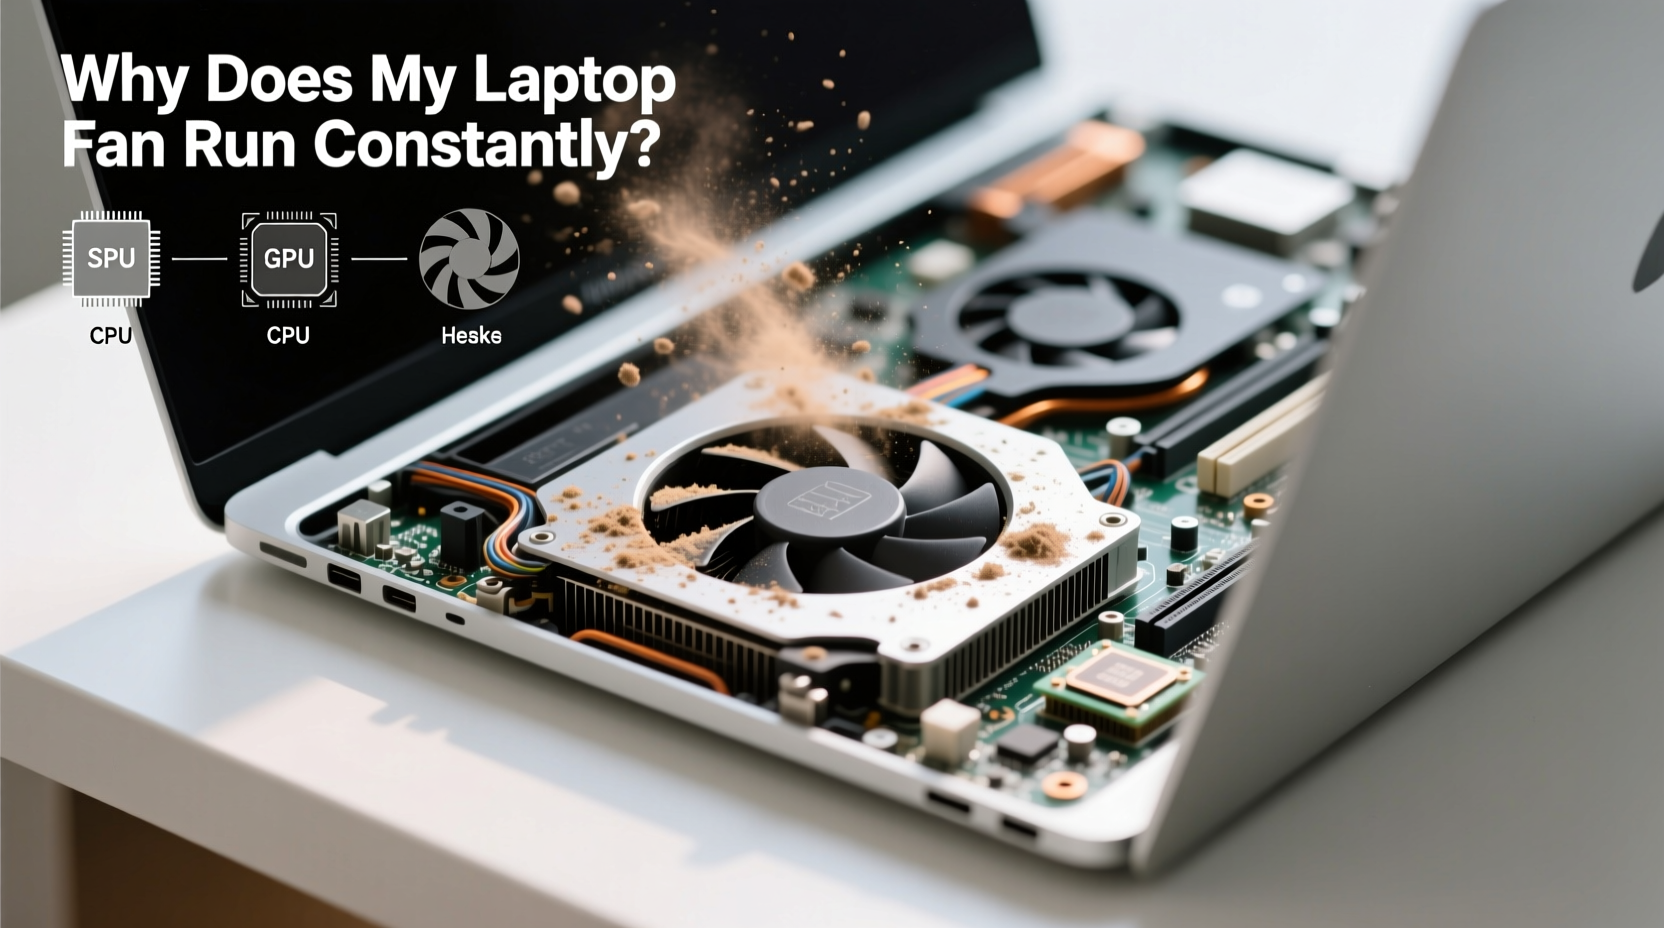
Laptops rely on internal fans and heat sinks to dissipate heat generated by the CPU, GPU, and other components. When temperatures rise, the thermal sensors signal the fan to spin faster. Under normal conditions, this happens briefly during high-load activities like gaming or video editing. But if the fan runs continuously—even at low usage—it suggests the system is either working harder than necessary or struggling to release heat efficiently.
Modern laptops are built with compact cooling systems that are effective under optimal conditions. However, their small size and tight component layout make them prone to heat retention, especially when airflow is restricted or thermal paste degrades over time.
“Thermal management is critical in thin laptops. A constantly spinning fan often indicates poor airflow or background processes consuming more CPU than expected.” — Dr. Alan Zhou, Hardware Engineer at Mobile Systems Lab
Common Causes of Constant Fan Operation
A laptop fan running nonstop isn’t just annoying—it’s a symptom. Identifying the root cause is essential for applying the right fix. Below are the most frequent reasons:
- Dust and debris buildup: Over time, dust clogs air vents and heatsinks, reducing airflow and insulating heat.
- Background processes consuming CPU: Malware, outdated drivers, or resource-heavy apps can spike CPU usage without visible signs.
- Failing thermal paste: After 2–3 years, thermal paste between the CPU and heatsink dries out, impairing heat transfer.
- Poor ventilation: Using a laptop on soft surfaces like beds or couches blocks intake vents.
- Power plan settings: High-performance modes keep the CPU clocked up, generating more heat even at idle.
- Faulty temperature sensors: In rare cases, inaccurate sensor readings trigger unnecessary fan activation.
Step-by-Step Guide to Cleaning Your Laptop Internally
Physical cleaning is one of the most effective ways to reduce fan noise and improve cooling. Dust accumulation inside the fan, heatsink, and vents is a leading cause of overheating. Follow this safe procedure to clean your laptop properly.
- Power down and unplug: Shut down your laptop completely and disconnect the charger. If possible, remove the battery (on older models).
- Prepare tools: Use compressed air, a soft-bristled brush, cotton swabs, and a microfiber cloth. Avoid household vacuums—they can generate static electricity.
- Open access panels: Many laptops have removable bottom panels covering the fan and heatsink. Refer to your model’s service manual for screw locations and disassembly steps.
- Blast out dust: Hold the fan blades in place with a toothpick or plastic tool to prevent overspinning, then use short bursts of compressed air to clear dust from the fan and heatsink fins.
- Clean exterior vents: Use a brush or cotton swab to wipe away grime from intake and exhaust ports on the laptop’s sides.
- Reassemble carefully: Replace all screws and panels securely. Power on and monitor fan behavior.
This process should be repeated every 6–12 months, depending on your environment. Dusty rooms or pet-friendly homes may require more frequent maintenance.
Software Optimization to Reduce CPU Load
Even a perfectly clean laptop can suffer from excessive fan use due to software issues. Background applications, startup bloat, and inefficient processes can push CPU usage higher than necessary.
Check CPU Usage in Task Manager
On Windows, press Ctrl + Shift + Esc to open Task Manager. Sort processes by “CPU” to identify which applications are consuming resources. Look for anything using more than 5–10% at idle.
Common offenders include:
- Outdated antivirus software
- Browser tabs with autoplay videos or crypto-mining scripts
- Cloud sync services (OneDrive, Dropbox) syncing large folders
- Malware or adware disguised as legitimate processes
Disable Unnecessary Startup Programs
Too many apps launching at boot can strain the CPU early and keep the system warm. To manage startup items:
- Open Task Manager → “Startup” tab.
- Right-click on non-essential programs (e.g., Spotify, Skype, updaters).
- Select “Disable.”
Only allow critical utilities like security software to start automatically.
Update Drivers and Firmware
Outdated graphics or chipset drivers can cause inefficient power management and increased heat output. Visit your laptop manufacturer’s support site, enter your model number, and download the latest BIOS, chipset, and GPU drivers.
Optimizing Power Settings for Cooler Operation
Your laptop’s power plan directly affects CPU behavior. High-performance modes prioritize speed over energy efficiency, keeping the processor active and hot. Switching to a balanced or power-saving plan can significantly reduce fan noise.
Adjusting Power Settings on Windows
- Navigate to Control Panel > Hardware and Sound > Power Options.
- Select “Balanced” or “Power Saver.”
- Click “Change plan settings” → “Change advanced power settings.”
- Expand “Processor power management” and set both “Minimum processor state” to 5% and “Maximum processor state” to 80–90% for battery mode.
- Apply changes and reboot.
On macOS, go to System Settings > Battery > Options and enable “Optimized battery charging” and “Lower power mode” when battery is low.
| Power Plan | CPU Behavior | Fan Impact | Best For |
|---|---|---|---|
| High Performance | Always max clock speed | Constant fan activity | Gaming, rendering |
| Balanced | Adaptive scaling | Moderate, responsive | Everyday use |
| Power Saver | Reduced max speed | Minimal fan use | Battery longevity |
When to Reapply Thermal Paste
After 2–3 years of use, the thermal paste between the CPU/GPU and the heatsink begins to dry out, crack, or lose its conductivity. This creates a thermal barrier, forcing the fan to work harder to compensate.
Reapplying thermal paste is an advanced but highly effective fix. It requires disassembling the laptop to access the heatsink. Use a high-quality thermal compound like Arctic MX-4 or Noctua NT-H1. Apply a pea-sized dot in the center of the CPU—do not spread it manually; pressure will distribute it evenly.
Note: If you're uncomfortable opening your device, consider professional servicing. Incorrect reassembly can damage components or void warranties.
Mini Case Study: Fixing a 4-Year-Old Business Laptop
Mark, a freelance accountant, noticed his Dell Latitude 7400 was running hotter than usual, with the fan spinning constantly even while checking email. He tried restarting and closing apps, but the issue persisted.
Using Task Manager, he found no abnormal CPU usage. He then checked the vents and noticed they were clogged with lint. After powering down and using compressed air to clean the fan assembly, the laptop cooled by 15°C under idle. Still, fan noise remained slightly elevated.
He adjusted his power plan to “Balanced,” disabled five unnecessary startup programs, and updated his BIOS. Finally, after two years of ownership, he replaced the dried thermal paste during a scheduled upgrade. Post-maintenance, the laptop ran silently at idle, with fan activation only during brief spikes in workload.
Mark’s experience highlights how multiple factors—dust, software, and degraded materials—can combine to create persistent fan issues.
Essential Maintenance Checklist
Stay ahead of overheating with this routine checklist:
- ✅ Clean exterior vents monthly with a soft brush
- ✅ Run internal dust cleaning every 6–12 months
- ✅ Monitor CPU usage weekly via Task Manager or Activity Monitor
- ✅ Disable non-essential startup programs
- ✅ Update OS, drivers, and firmware quarterly
- ✅ Use a cooling pad during extended sessions
- ✅ Reapply thermal paste every 2–3 years (or if temps exceed 80°C at idle)
- ✅ Avoid direct sunlight and hot environments
Frequently Asked Questions
Is it bad if my laptop fan runs all the time?
Yes, constant fan operation can indicate poor heat dissipation, which stresses internal components and shortens hardware lifespan. It also reduces battery life and increases wear on the fan motor itself. Investigate and resolve the cause promptly.
Can I clean my laptop fan without opening it?
You can partially clean external vents and blow air through openings using compressed air, but full effectiveness requires accessing the fan and heatsink internally. External cleaning helps, but isn’t a substitute for deep cleaning.
Why is my fan loud even after cleaning?
If the fan remains noisy post-cleaning, check for software-related CPU load, verify power settings, or consider thermal paste degradation. A failing fan motor or bearing wear could also be the issue—listen for grinding or clicking sounds, which indicate mechanical failure.
Conclusion: Take Control of Your Laptop’s Temperature
A constantly running laptop fan isn’t something you should ignore. Whether caused by dust, software inefficiency, or aging thermal materials, the solution lies in proactive maintenance and smart optimization. Regular cleaning, thoughtful power management, and periodic hardware checks can restore quiet operation and extend your device’s usability.
Don’t wait for overheating warnings or system throttling. Apply these tips today to keep your laptop cool, efficient, and reliable for years to come.


 浙公网安备
33010002000092号
浙公网安备
33010002000092号 浙B2-20120091-4
Comments
No comments yet. Why don't you start the discussion?