
A sticky laptop keyboard is more than just a nuisance—it can disrupt productivity, affect typing accuracy, and even signal deeper hardware issues if left unaddressed. Whether you're working remotely, studying online, or simply browsing at home, a responsive keyboard is essential. The causes of sticking keys range from everyday debris accumulation to liquid spills and mechanical wear. Understanding what’s behind the problem—and how to fix it safely—is critical to maintaining your device’s longevity and usability.
This guide explores the most common reasons for sticky keys, walks through step-by-step cleaning procedures, and offers expert-backed strategies to prevent future issues. By the end, you’ll know exactly how to restore your keyboard to optimal condition without risking damage to internal components.
Why Laptop Keys Stick: Common Causes
Sticking keys are rarely caused by a single factor. Instead, they typically result from a combination of environmental exposure, usage habits, and design limitations. Below are the primary culprits:
- Dust and debris buildup: Over time, lint, hair, skin flakes, and pocket crumbs accumulate beneath the keycaps, interfering with the scissor-switch mechanism used in most modern laptops.
- Liquid spills: Even minor spills—like water from a nearby glass or coffee droplets—can seep under keys, causing residue buildup or corrosion on underlying circuits.
- Food particles: Eating near your laptop introduces fine crumbs that easily fall between keys and harden over time, especially sugary or oily residues.
- Wear and tear: After thousands of keystrokes, plastic hinges in the key mechanism may degrade, crack, or lose tension, leading to uneven travel or incomplete retraction.
- Manufacturing defects: In rare cases, faulty assembly or substandard materials can cause keys to stick from day one.
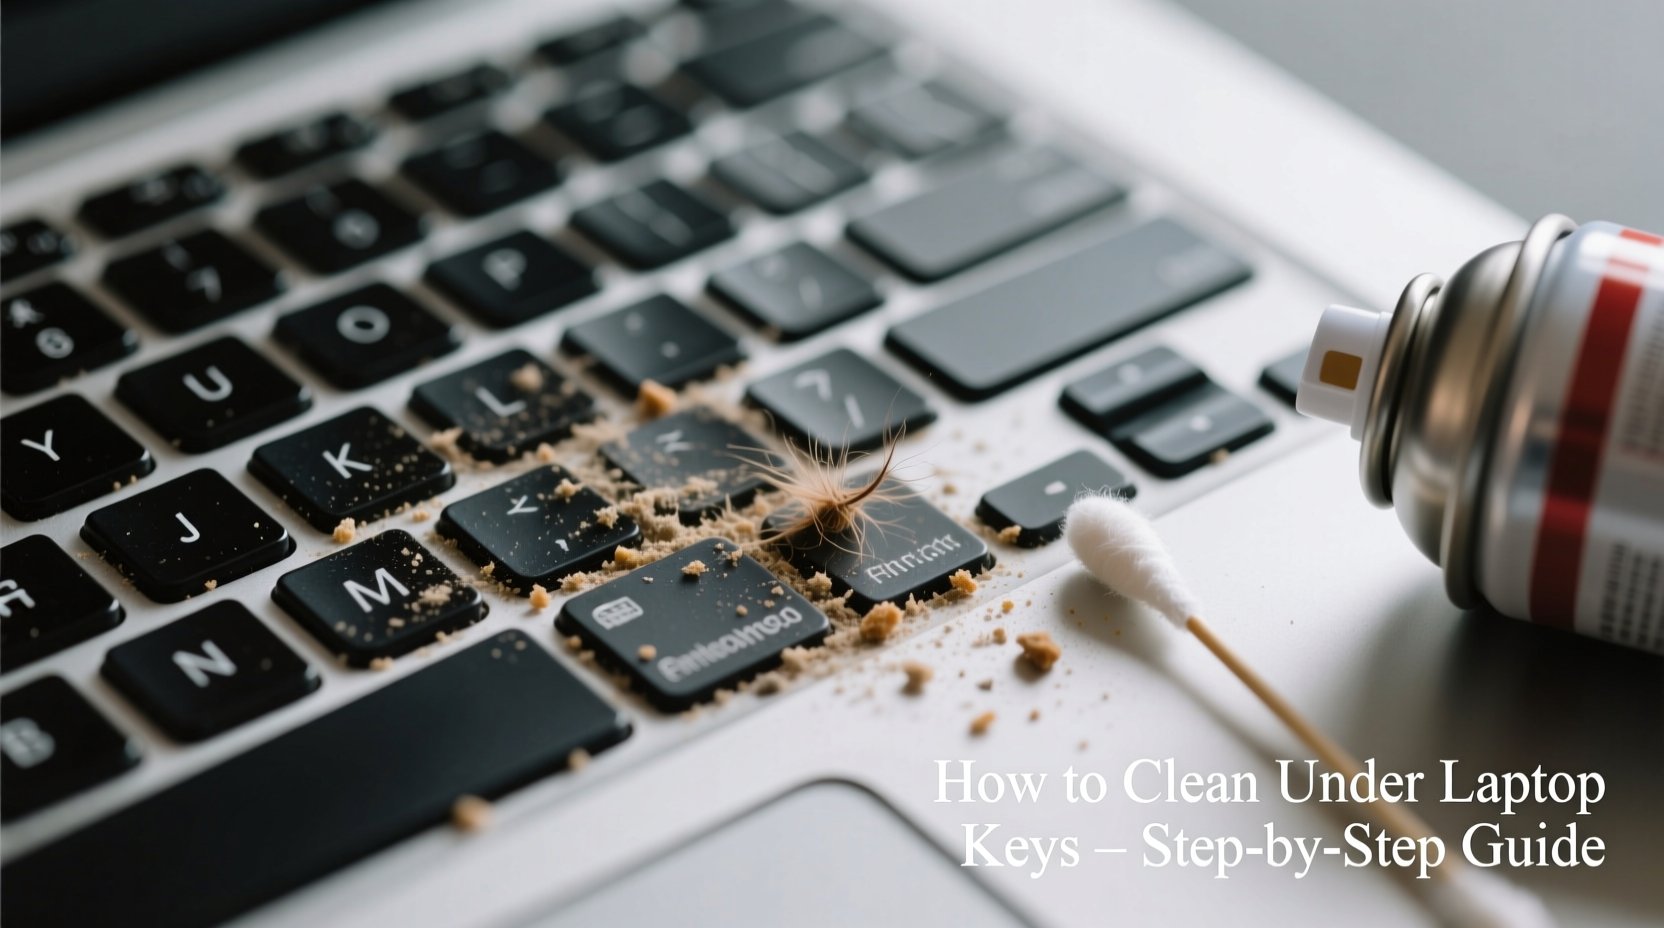
Step-by-Step Guide: How to Clean Under Laptop Keys Safely
Cleaning under keys requires precision and caution. Unlike desktop keyboards, most laptop keys are not designed for full removal, and improper handling can break the delicate retention clips. Follow this methodical approach to clean effectively while minimizing risk.
- Power down and unplug: Shut your laptop completely and disconnect the charger. If possible, remove the battery (only applicable to older models with removable batteries).
- Tilt and shake gently: Hold the laptop at a 75-degree angle over a soft surface and lightly tap the back to dislodge loose debris. Do not shake aggressively.
- Use compressed air: With short bursts, direct canned air between and around sticky keys at a 45-degree angle. Keep the can upright to avoid propellant leakage.
- Apply isopropyl alcohol (70% or higher): Dampen a cotton swab—never soak it—and carefully wipe around the base of affected keys. Let the alcohol evaporate fully before powering on.
- Target stubborn grime with a soft brush: Use a clean toothbrush or electronics-grade nylon brush to loosen compacted dust. Brush in one direction to avoid pushing debris deeper.
- Test key responsiveness: After cleaning, press each key multiple times to ensure smooth actuation. Repeat steps if necessary.
“Most keyboard failures we see in repair shops stem from avoidable contamination. Regular maintenance with proper tools can extend a laptop’s functional life by years.” — David Lin, Senior Technician at Apex Device Repair
When Can You Remove Keycaps? A Cautionary Note
Some users attempt to pry off keycaps for deep cleaning, but this carries significant risk. Most modern ultrabooks use low-profile scissor switches that rely on fragile plastic clips to maintain alignment. Once broken, these clips cannot be repaired without replacement parts.
Keycap removal should only be attempted if:
- You own a model known for field-replaceable keys (e.g., certain Lenovo ThinkPads or Dell Latitudes).
- You have a spudger tool or plastic pry bar specifically designed for electronics.
- You’ve watched official disassembly videos for your exact laptop model.
If you proceed, follow these precautions:
Safe Key Removal Procedure
- Insert a thin plastic tool under the top edge of the keycap.
- Gently lift one side until the retaining hook releases.
- Repeat on the opposite side, then lift the key straight up.
- Clean the exposed mechanism with a dry microfiber cloth and compressed air.
- Reattach the key by aligning the hooks first, then pressing down evenly until it clicks.
Never use metal tools or excessive force. If resistance is felt, stop immediately.
Do’s and Don’ts of Keyboard Maintenance
| Do’s | Don’ts |
|---|---|
| Use compressed air every 4–6 weeks for preventive maintenance | Use household cleaners like Windex or bleach wipes |
| Clean hands before typing to reduce oil transfer | Turn the laptop upside-down and shake violently |
| Store your laptop in a dust-free case when traveling | Submerge any part of the laptop in liquid |
| Use a silicone keyboard cover if frequently on-the-go | Remove keys unless absolutely necessary and properly informed |
| Wipe the surface weekly with a slightly damp microfiber cloth | Use excessive moisture near key bases |
Real Example: Recovering from a Coffee Spill
Sophia, a freelance writer based in Portland, accidentally knocked over her morning latte onto her MacBook Air. Initially, she wiped the surface and continued working. Within two days, the ‘E’ and ‘R’ keys began sticking intermittently. By week three, the entire bottom row responded sluggishly.
She took it to a local repair shop where the technician explained that milk and sugar had seeped beneath the keys, fermenting slightly and attracting dust. After disassembling the top case—a $90 service—the board was cleaned with high-purity isopropyl alcohol and allowed to dry for 24 hours. The total cost: $120. Had she flipped the laptop immediately, powered it off, and sought help within an hour, the outcome might have been less severe.
Sophia now keeps a spill-resistant cup at least 18 inches from her workspace and performs monthly air blasts to her keyboard. “I learned the hard way,” she says. “Five minutes of care could’ve saved me over a hundred bucks.”
Preventive Checklist: Keep Your Keyboard Streak-Free and Responsive
Consistency beats crisis intervention. Incorporate these habits into your routine to minimize the chances of sticky keys:
- ✅ Wash hands before extended typing sessions
- ✅ Blow out debris with compressed air monthly
- ✅ Wipe surface with a dry or slightly damp microfiber cloth weekly
- ✅ Avoid eating or drinking near the laptop
- ✅ Store in a closed bag when not in use, especially in dusty environments
- ✅ Use a breathable fabric cover instead of plastic
- ✅ Monitor early signs of resistance and act promptly
Frequently Asked Questions
Can I use hand sanitizer to clean sticky keys?
No. While hand sanitizers contain alcohol, they also include fragrances, glycerin, and other additives that leave behind sticky residues. Use pure isopropyl alcohol (70% or higher) on a cloth or swab instead.
My key works but feels mushy—should I be concerned?
Yes. A mushy feel often indicates partial obstruction or weakening of the scissor switch. This may resolve with cleaning, but persistent softness suggests internal wear. Address it early to avoid complete failure.
Are keyboard covers worth using?
For users in high-dust environments, pet owners, or those who travel frequently, silicone or TPU keyboard covers offer excellent protection. However, they can trap heat and alter typing feel. Choose ultra-thin, transparent models designed for your specific laptop make and model.
Conclusion: Take Action Before Small Issues Become Big Problems
A sticky keyboard doesn’t have to mean expensive repairs or premature device replacement. Most issues stem from simple, preventable causes—and respond well to timely, careful cleaning. By understanding how debris affects key mechanisms and adopting smart maintenance habits, you can preserve both performance and hardware lifespan.
The next time you notice a key resisting or returning slowly, don’t ignore it. Grab a can of compressed air, inspect the area, and take a few minutes to clean it properly. These small efforts compound into years of reliable use. Your laptop is an investment; treat it with the daily care it deserves.


 浙公网安备
33010002000092号
浙公网安备
33010002000092号 浙B2-20120091-4
Comments
No comments yet. Why don't you start the discussion?