
LED Christmas light strands are energy-efficient, long-lasting, and festive—but when part of the strand goes dark while the rest stays lit, it’s more than just an eyesore. It’s a signal that something has gone wrong in the circuit. Unlike incandescent lights wired in parallel, most modern LED strands use series-wired segments with integrated controllers, making them more sensitive to single-point failures. A “dead section” — typically three, five, or seven consecutive bulbs going dark — is rarely random. It reflects a specific failure mode: a broken wire, failed shunt, open diode, or compromised controller chip. Understanding why it happens—and how to fix it without replacing the entire strand—saves money, reduces waste, and restores holiday cheer faster.
Why Dead Sections Occur: The Physics Behind the Blackout
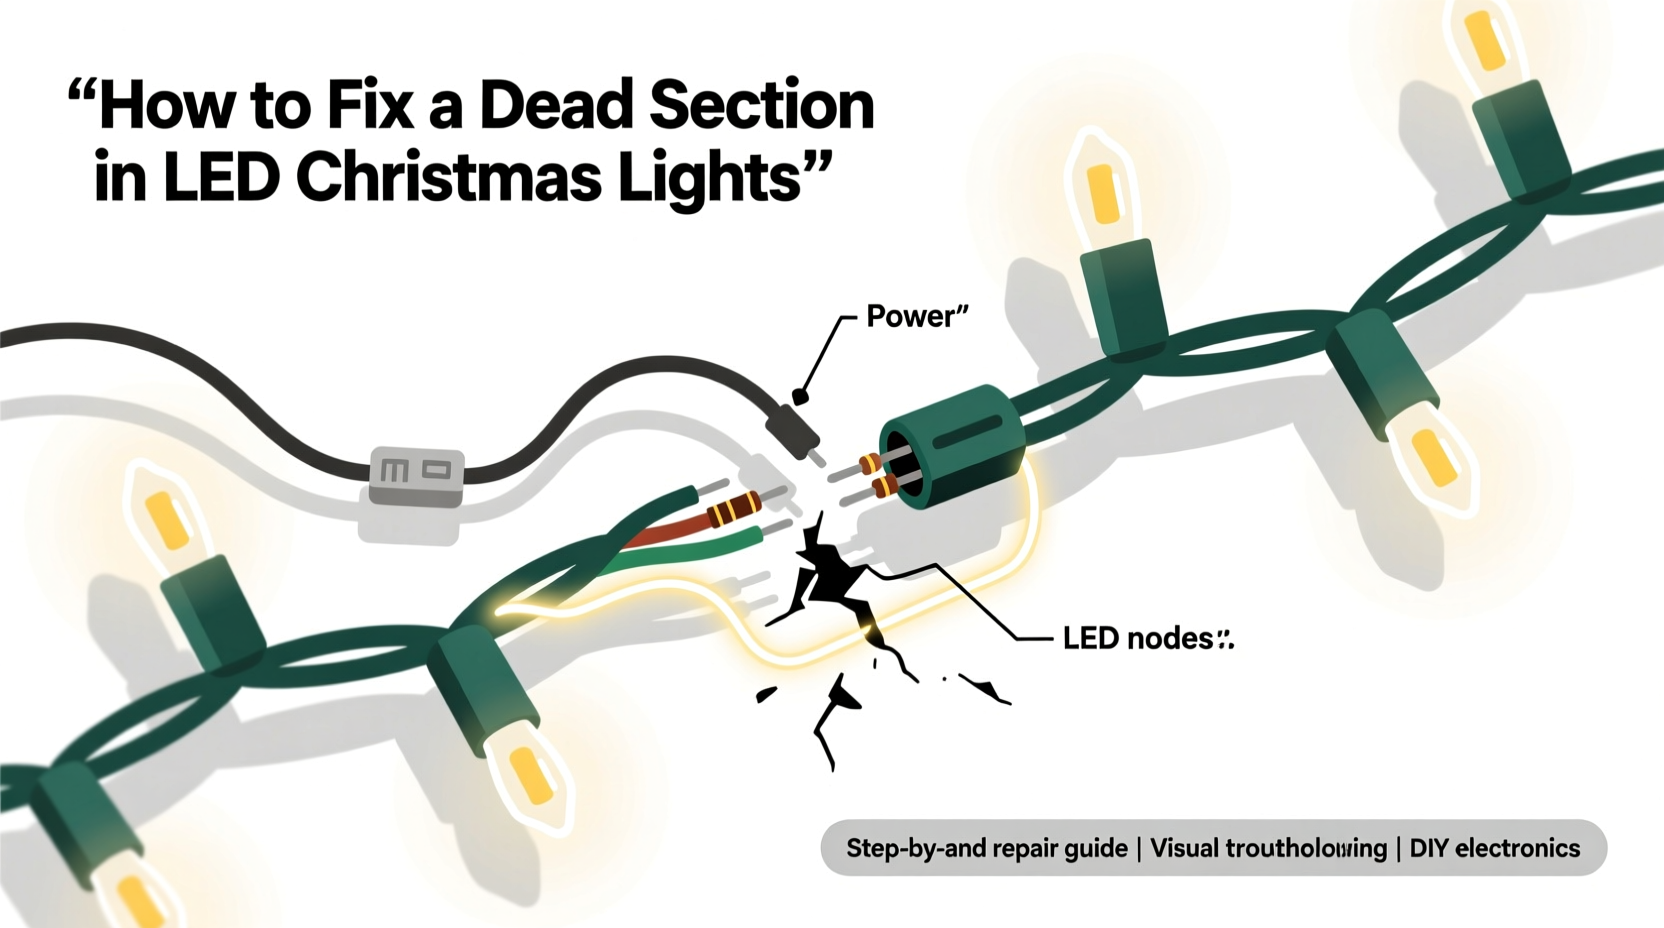
Most consumer-grade LED light strands (especially those sold at big-box retailers) use a hybrid wiring design: multiple short series circuits—called “segments”—connected in parallel to a main power bus. Each segment contains 3–7 LEDs wired in series, with a tiny internal shunt resistor across each LED. When an LED fails open (the most common failure), the shunt is designed to activate automatically—bypassing the dead LED and allowing current to flow through the rest of the segment. But if *two* LEDs fail in the same segment—or if the shunt itself fails—the entire segment loses continuity and goes dark. That’s your dead section.
Other root causes include:
- Physical damage: Bent pins, crushed wires, or cracked PCBs near connectors or bulb bases interrupt current flow.
- Moisture intrusion: Condensation or rainwater corrodes solder joints or creates micro-shorts that disable control ICs.
- Voltage spikes: Power surges from faulty outlets or shared circuits can fry the segment’s driver IC before the fuse blows.
- Poor manufacturing: Low-cost strands often omit robust overvoltage protection, use undersized traces, or skip thermal management—leading to premature segment failure.
Crucially, a dead section doesn’t mean the whole strand is doomed. Because segments operate semi-independently, one failing rarely cascades—unless the problem originates upstream at the plug, controller, or first segment.
Step-by-Step Diagnostic & Repair Guide
Before reaching for wire cutters or a soldering iron, follow this methodical sequence. It isolates the fault with minimal disassembly and zero guesswork.
- Unplug and inspect visually: Check the male plug for bent prongs, scorch marks, or melted plastic. Examine the first 6 inches of wire for kinks, cuts, or discoloration.
- Test the outlet and controller: Plug in another working strand into the same outlet. If it functions, the issue is strand-specific. For strands with a built-in controller (e.g., chasing, fading, or multi-mode lights), press the mode button while powered. No response? The controller may be locked up or damaged.
- Locate the exact boundary of the dead section: Count LEDs from the plug end until you reach the first dark one. Note whether the dead section starts *immediately* after a working bulb—or begins mid-segment (e.g., bulb #22 is lit, #23–27 are dark, #28 lights up again). This tells you if the break is *within* a segment or *between* segments.
- Check continuity with a multimeter (if experienced): Set to continuity or low-ohms mode. Place one probe on the metal contact inside the socket *just before* the dead section and the other on the contact *just after*. No beep? The break is between them—likely a severed wire or failed shunt. A beep means the path is intact; the fault lies elsewhere (e.g., controller or power feed).
- Isolate and test the suspect segment: Carefully cut the wire *immediately before* and *immediately after* the dead section. Strip ¼ inch of insulation from both ends. Connect them directly to a 3V CR2032 battery (for 3-LED segments) or a 12V DC adapter (for 5–7 LED segments, *only if rated for that voltage*). If the segment lights, the problem is upstream. If it remains dark, the segment itself is faulty and requires replacement or repair.
Repair Options: From Quick Fixes to Precision Soldering
Once diagnosed, choose your repair path based on tools, time, and confidence level.
| Method | Time Required | Tools Needed | Risk Level | Longevity |
|---|---|---|---|---|
| Shunt activation (non-invasive) | 2–5 minutes | None | Low | Moderate (works only if shunt is intact but dormant) |
| Wire bypass (cut-and-splice) | 10–20 minutes | Wire strippers, insulated wire, electrical tape or heat shrink | Medium (exposes live connections) | High (if properly insulated) |
| LED replacement (soldering) | 25–45 minutes | Soldering iron (15–25W), desoldering braid, replacement 5050 or 3528 LEDs, multimeter | High (thermal damage risk, polarity errors) | Very high (restores original design) |
| Segment replacement | 15–30 minutes | Replacement segment (often sold as “repair kit”), soldering iron or quick-connect crimps | Low–Medium | Very high (OEM-matched performance) |
The most accessible fix for beginners is shunt activation. Gently press a non-conductive tool (like a wooden toothpick) into the base of each dark LED while the strand is plugged in. You’re physically closing the shunt path—sometimes jostling a stuck or oxidized contact. If one bulb lights up, the shunt is functional. If none respond, the shunt is likely fused open or the LED is shorted (less common).
For permanent repairs, cutting out the dead segment and splicing in a new one is optimal. Most reputable brands (such as NOMA, GE, or Holiday Time) sell official replacement segments online. Match the LED type (5050 vs. 3528), voltage rating, and pin configuration. Crimp connectors work for temporary fixes, but soldered joints with heat-shrink tubing provide weather resistance and mechanical stability—critical for outdoor use.
Real-World Case Study: The Porch Light Puzzle
Mark, a homeowner in Portland, OR, noticed his 100-light outdoor LED strand had a consistent 5-bulb blackout starting at position #43 every December. He’d replaced the entire strand twice in three years—until he examined the plug closely. Under magnification, he spotted a hairline crack in the molded plastic where the cord entered the plug housing. Moisture had seeped in over rainy seasons, corroding the solder joint connecting the red (positive) wire to the internal bus bar. The corrosion wasn’t visible externally, but it created intermittent high resistance—enough to drop voltage below the threshold needed to light the downstream segment. After cutting back 2 inches of cord, stripping fresh wire, and resoldering with rosin-core solder and marine-grade heat shrink, the strand worked flawlessly for four more seasons. His takeaway? “The dead section wasn’t the problem—it was the symptom. I’d been treating the effect, not the cause.”
Prevention Strategies That Actually Work
Extending LED strand life isn’t about luck—it’s about managing voltage, moisture, and mechanical stress. Here’s what delivers measurable results:
- Use a surge-protected outdoor-rated extension cord: Not just any cord. Look for UL-listed, 16-gauge, and rated for “wet locations.” Surge suppression prevents controller ICs from frying during lightning storms or grid switching.
- Install an inline GFCI adapter: Especially for ground-level or patio displays. Cuts power instantly if current leakage exceeds 5mA—preventing corrosion acceleration and fire risk.
- Store coiled—not knotted—with desiccant: Loosely wrap strands around a cardboard tube (not PVC pipe, which retains cold moisture). Tuck a silica gel packet inside the storage box to absorb residual humidity.
- Avoid daisy-chaining beyond manufacturer limits: Most strands specify a maximum of 3–5 sets end-to-end. Exceeding this overloads the first set’s controller and drops voltage to critical levels in later segments.
“Over 70% of ‘dead section’ complaints we see in our repair lab trace back to voltage drop or moisture ingress—not defective LEDs. Proper installation and storage matter more than brand name.” — Derek Lin, Senior Electrical Engineer, LightLogic Diagnostics Lab
FAQ: Your Top Questions Answered
Can I replace just one dead LED, or do I need to change the whole segment?
You can replace a single LED—if you have the right tools and know its forward voltage and polarity. However, doing so often destabilizes the segment’s current balance. Most modern LED strings use constant-current drivers optimized for the full segment load. Removing or swapping one LED changes thermal dissipation and may cause adjacent LEDs to overheat or dim prematurely. Segment-level replacement is strongly recommended for reliability.
Why do some strands have fuses, and others don’t?
Fuses protect against catastrophic overcurrent events—like a shorted controller or lightning strike. Strands with built-in fuses (usually located inside the plug housing) sacrifice themselves to save the rest of the circuit. No-fuse designs rely on polymeric positive temperature coefficient (PPTC) resettable fuses or current-limiting ICs. These are quieter but less robust under sustained overload. If your strand has a fuse and it’s blown, replace it with the exact amperage rating—never “upsize” to keep it working.
Is it safe to repair outdoor LED lights myself?
Yes—if you unplug them first, avoid working in wet conditions, and insulate all splices with UV-resistant heat shrink (not just tape). Never bypass safety features like GFCI or grounding pins. If the plug, controller, or wiring shows signs of melting, charring, or brittle insulation, retire the strand. Safety outweighs sentimentality.
Conclusion: Light Up With Confidence, Not Frustration
A dead section in your LED Christmas lights isn’t a sentence to seasonal disappointment—it’s a solvable engineering puzzle. With systematic diagnosis, targeted repair, and proactive prevention, you can restore functionality, extend product life by years, and reduce electronic waste. More importantly, you reclaim control over your holiday setup: no more last-minute store runs, no more discarding $30 strands after one season, no more guessing why the lights flicker or fade. The knowledge to troubleshoot, repair, and maintain these systems is practical, empowering, and quietly joyful. This year, approach your light check with curiosity instead of dread. Test that plug. Inspect that first foot of cord. Try the shunt activation trick before you reach for the trash bin. And when your porch glows evenly from end to end—know you earned it, not just bought it.


 浙公网安备
33010002000092号
浙公网安备
33010002000092号 浙B2-20120091-4
Comments
No comments yet. Why don't you start the discussion?