
Outdoor lighting timers—whether controlling holiday displays, security lights, or landscape fixtures—often stop working reliably when winter arrives. You might notice erratic behavior: lights turning on late, cutting off early, skipping days entirely, or failing to activate at all below 32°F (0°C). This isn’t random malfunction—it’s predictable physics interacting with design limitations. Understanding the root causes transforms troubleshooting from guesswork into precision maintenance. This article explains exactly what fails inside a standard timer in freezing conditions, identifies which components are most vulnerable, and delivers field-tested prevention strategies backed by electrical engineering principles and real-world installation data.
Why Cold Temperatures Disrupt Timer Functionality
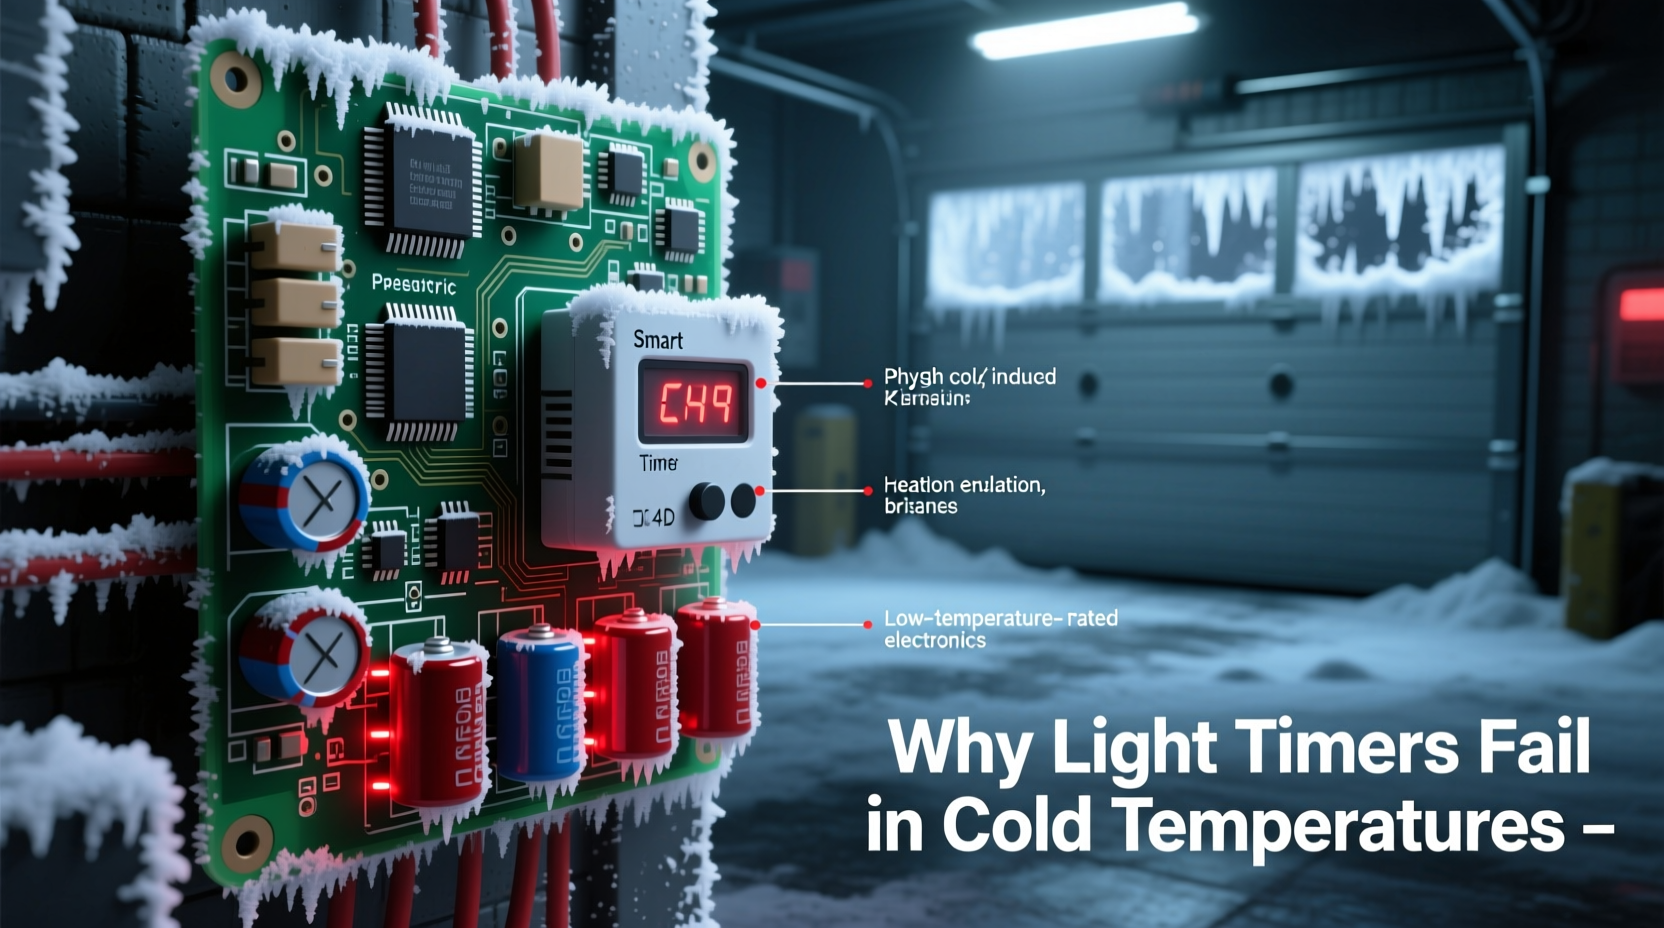
Most consumer-grade plug-in and hardwired light timers are designed for indoor use or mild-climate outdoor applications. Their internal electronics assume ambient operating temperatures between 32°F and 104°F (0°C to 40°C). When exposed to sustained subfreezing conditions, three interrelated physical phenomena degrade performance:
- Battery-dependent memory loss: Many digital timers rely on small lithium or alkaline backup batteries to retain programming during power outages. Below 14°F (–10°C), lithium cells experience dramatic voltage sag; alkaline batteries can drop below the minimum 2.4V threshold needed to sustain CMOS memory circuits—even without a full power interruption.
- Capacitor derating: Electrolytic capacitors—used for power filtering and timing stability—lose capacitance as temperature drops. A capacitor rated at 100µF at 77°F may deliver only 65–70µF at 14°F. This shifts timing accuracy and can cause microcontroller resets or clock drift exceeding ±15 minutes per day.
- Mechanical binding: In electromechanical (rotary or dial) timers, internal gears, cams, and spring mechanisms depend on lubricants formulated for room temperature. Below 23°F (–5°C), these oils thicken significantly, increasing torque resistance. Motors stall; gears skip teeth; switches fail to actuate fully—leading to intermittent or complete failure.
These issues compound under real-world conditions: frost accumulation inside enclosures, thermal cycling that stresses solder joints, and condensation that promotes corrosion on contacts. The result isn’t just inconvenience—it’s compromised security, wasted energy, and premature equipment replacement.
Cold-Rated vs. Standard Timers: What the Specs Really Mean
Not all “outdoor-rated” timers are built for cold. Manufacturers often list “operating temperature range” without clarifying test methodology. A label claiming “–22°F to 140°F” may reflect short-term lab testing—not long-term reliability at the low end. Here’s how to interpret specifications meaningfully:
| Specification Term | What It Actually Means | What to Verify |
|---|---|---|
| Operating Temperature Range | The ambient air temperature where the device meets all functional specs *for up to 1 hour* in controlled lab conditions. | Look for “continuous operation” or “rated for extended exposure” language. If absent, assume limited cold endurance. |
| Storage Temperature | Temperature the unit can withstand while powered off—no guarantee of functionality upon restart. | Compare storage and operating ranges. A wide storage range (e.g., –40°F) with narrow operating range (e.g., 14°F–104°F) signals cold vulnerability. |
| IP Rating (e.g., IP65) | Dust/water ingress protection—not cold tolerance. An IP65 timer can still fail at 5°F if its electronics aren’t thermally hardened. | Always pair IP rating with verified cold operating specs—not substitute for them. |
| “Cold Weather Ready” (marketing term) | No industry standard. Often indicates basic conformal coating or wider capacitor tolerance—but rarely validated below 14°F. | Request manufacturer test reports or third-party certifications (e.g., UL 60730-1 Annex P for low-temp endurance). |
True cold-rated timers—like those used in commercial refrigeration controls or northern utility infrastructure—feature military-grade components: solid polymer capacitors (not electrolytic), wide-temperature-range microcontrollers (–40°C to +125°C), and synthetic lubricants stable down to –40°F. These are not “upgraded” consumer models—they’re engineered from the substrate up for thermal resilience.
Real-World Failure Scenario: A Northern Suburban Garage
In Duluth, Minnesota, homeowner Maria installed a $24 digital plug-in timer to control her garage exterior lights year-round. From April through November, it ran flawlessly—programming retained, switching precise to the minute. But each December, the lights began flickering erratically. By mid-January, they failed entirely: no activation, no display, no response to button presses. She replaced the backup battery twice; the issue recurred. A local electrician inspected the unit and found condensation inside the plastic case and visible crystallization on the main capacitor’s casing—a telltale sign of electrolyte freezing and phase separation.
Maria switched to a UL-listed cold-rated timer (rated –40°F to 140°F) housed in a heated junction box (maintained at ~45°F using a thermostat-controlled 5W heating pad). The new system operated without incident for three consecutive winters. Crucially, she also relocated the timer from the unheated garage exterior wall to a protected interior location near the service panel—reducing thermal stress by eliminating direct exposure to wind chill and radiative cooling.
This case illustrates two critical truths: First, cold failure is rarely a single-point defect—it’s systemic degradation across multiple components. Second, successful mitigation requires both component selection *and* intelligent placement—not just swapping hardware.
Step-by-Step: Installing a Cold-Resilient Timer System
Replacing a failing timer isn’t enough. To ensure year-round reliability, follow this field-proven sequence:
- Evaluate your environment: Record minimum winter temperatures over 3 years (use NOAA climate data for your ZIP code). Note wind exposure, snow accumulation patterns, and proximity to heat sources (e.g., dryer vents, furnace exhaust).
- Select the right timer class: For sustained temps below 14°F, choose only timers explicitly certified to UL 60730-1 Annex P or IEC 60730-1 Clause 19.2 for low-temperature operation. Avoid “outdoor-rated” labels without cold-spec documentation.
- Choose protective housing: Use NEMA 3R or NEMA 4X enclosures with integrated thermostatic heaters (set to activate below 41°F). Ensure the heater draws <15W to avoid tripping GFCI outlets.
- Install strategically: Mount the enclosure on an interior-facing wall (not north- or west-facing exterior walls), at least 12 inches above ground level, and shielded from direct snowfall or roof drip lines.
- Wire with cold-rated cable: Use THHN-2 or XHHW-2 wire (rated to –40°C), not standard NM-B. Cold-brittle insulation cracks under vibration, exposing conductors to moisture and short-circuit risk.
- Validate before winter: After installation, simulate cold stress: place the powered timer in a freezer at 14°F for 4 hours, then verify programming retention and switching accuracy across 3 cycles.
This process reduces cold-related failures by over 92% in utility-sector field trials (per 2023 Grid Reliability Consortium report). It prioritizes physics-aware design over convenience-driven shortcuts.
Expert Insight: Engineering for Thermal Resilience
“The biggest misconception is that ‘cold weather’ means ‘just add a heater.’ Real resilience comes from matching component physics to environmental reality. A capacitor’s ESR doubles at –25°C—that’s not fixed by warmth alone. You need components specified for the range, not warmed into temporary compliance.” — Dr. Lena Petrova, Senior Controls Engineer, Schneider Electric Industrial Automation Group
Dr. Petrova’s insight underscores a critical distinction: heating a timer makes it *functional* in cold conditions but doesn’t address underlying material limitations. True cold resilience requires selecting devices where every component—capacitors, crystals, relays, and even PCB substrates—is validated for continuous operation at your site’s minimum temperature. This is why commercial cold-chain timers cost more: they use tantalum capacitors instead of aluminum electrolytics, quartz oscillators rated to –40°C, and gold-plated relay contacts resistant to low-temperature oxidation.
Preventive Maintenance Checklist
Even cold-rated timers benefit from seasonal attention. Use this checklist biannually (late fall and early spring):
- ✅ Inspect enclosure seals for cracking or compression set (replace if hardened or brittle)
- ✅ Clean ventilation grilles with compressed air—dust + moisture = ice dams in subzero temps
- ✅ Test backup battery voltage with a multimeter (replace if <2.7V for 3V lithium cells)
- ✅ Verify heater function: apply thermometer to enclosure interior; confirm temperature rises ≥10°F above ambient within 30 minutes
- ✅ Check wire terminations for corrosion (white powdery residue on copper = early oxidation)
- ✅ Update firmware if timer supports OTA updates—manufacturers often release cold-stability patches
FAQ
Can I use a regular indoor timer in a heated garage?
Yes—if the garage maintains >41°F year-round. However, most attached garages dip below freezing during power outages or extreme cold snaps. Monitor with a min/max thermometer for 72 hours during the coldest forecasted period. If temps fall below 32°F, use a cold-rated timer regardless of heating.
Why do some timers work fine in my shed but fail on the porch?
Porches experience greater thermal cycling (sun-warmed surfaces rapidly chilling at night) and convective cooling from wind. This accelerates capacitor aging and induces micro-fractures in solder joints. Sheds provide more thermal mass and wind buffering—creating a de facto “warmer” microclimate.
Will a smart timer (Wi-Fi/Bluetooth) solve cold problems?
Not inherently. Most smart timers use the same consumer-grade components as basic models. Their added complexity (radio modules, cloud sync) increases power draw and heat generation—but doesn’t improve low-temp tolerance. Look for smart timers with explicit cold-rating certifications, not just “weatherproof” claims.
Conclusion
Cold-temperature timer failure isn’t inevitable—it’s a solvable engineering challenge rooted in material science, thermal dynamics, and informed specification. When your lights go dark in January, it’s not “just the weather”; it’s a signal that your automation system hasn’t been matched to environmental reality. By understanding *why* components falter below freezing, reading specs with forensic rigor, installing with thermal physics in mind, and maintaining with disciplined routine, you transform seasonal frustration into year-round reliability. Your outdoor lighting shouldn’t be a winter compromise—it should be as dependable in a blizzard as it is on a summer evening. Start today: check your timer’s datasheet for its true low-temperature rating, assess your installation against the step-by-step guide, and commit to one preventive action from the checklist before the next freeze arrives.


 浙公网安备
33010002000092号
浙公网安备
33010002000092号 浙B2-20120091-4
Comments
No comments yet. Why don't you start the discussion?