
Repotting is a necessary part of plant care, especially as your green companions grow and outgrow their containers. Yet, many indoor gardeners are alarmed when, shortly after repotting, their once-thriving plant begins dropping leaves. This reaction is not uncommon—but it doesn’t mean you’ve done something irreversibly wrong. Leaf drop after repotting is typically a sign of transplant shock, a natural stress response in plants triggered by changes in their root environment. Understanding the causes behind this phenomenon and knowing how to minimize disruption can make the difference between a struggling plant and a smooth transition into its new home.
What Causes Leaf Drop After Repotting?
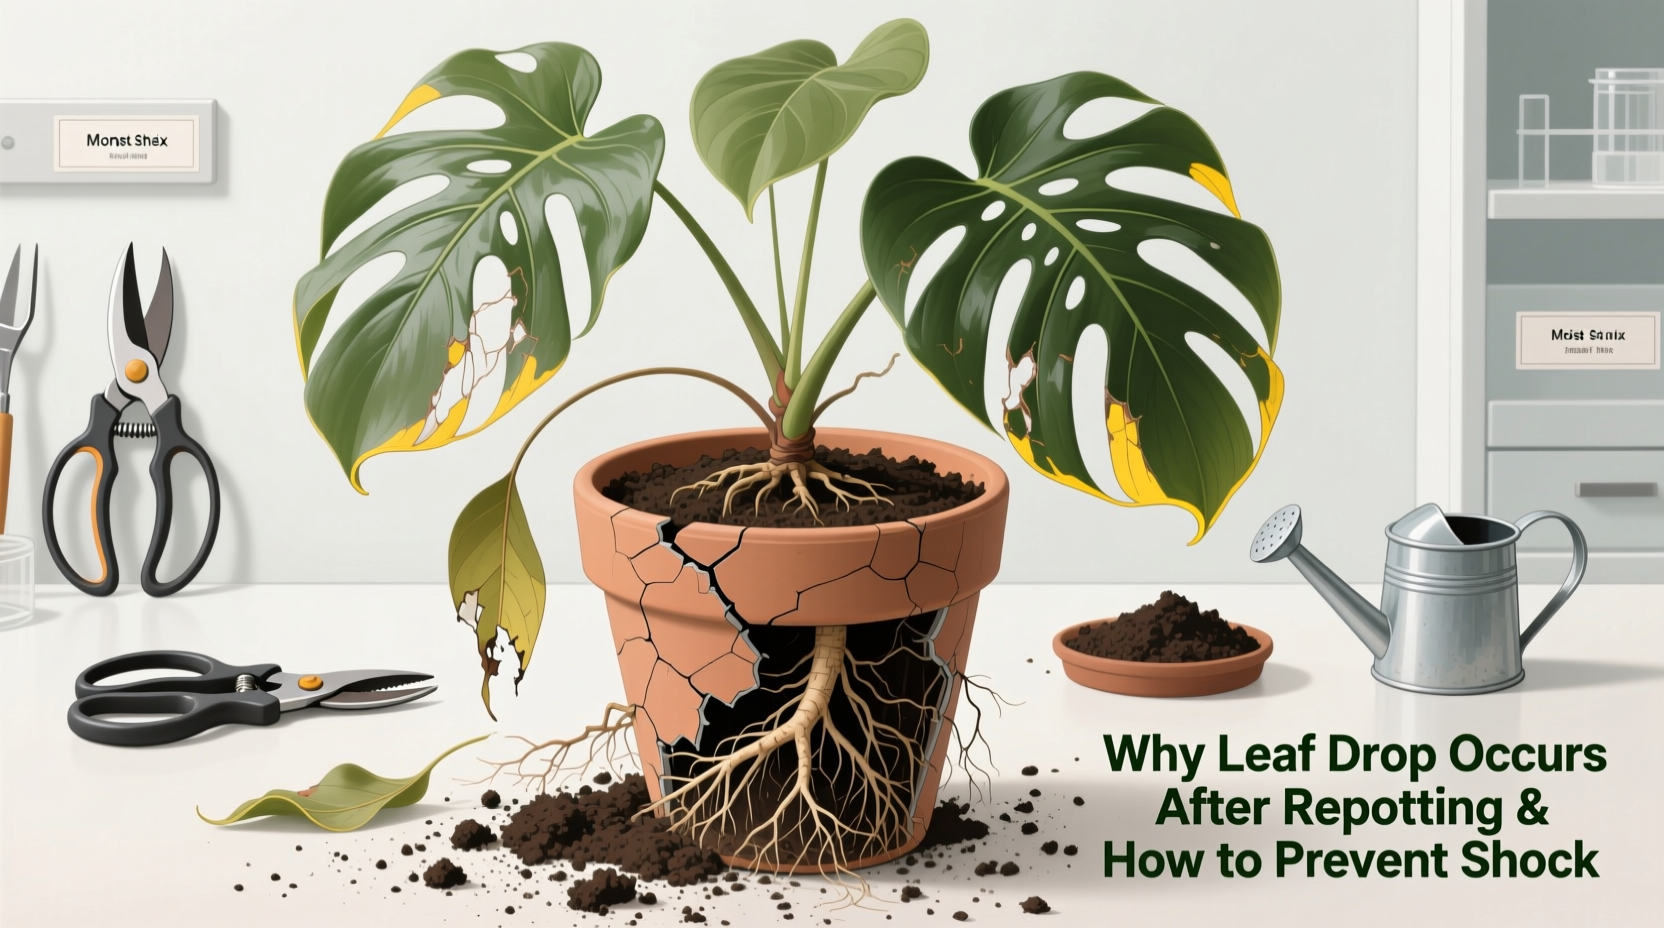
Plants rely on a delicate balance of moisture, nutrients, light, and root stability. When you repot, even with the best intentions, you disrupt that equilibrium. The roots—often unseen and underestimated—are the foundation of a plant’s health. During repotting, they may be disturbed, trimmed, or exposed to air, which triggers physiological stress. As a result, the plant conserves energy by shedding older or less essential leaves to redirect resources toward root recovery and adaptation.
The most common contributing factors include:
- Root disturbance: Even gentle handling can damage fine root hairs responsible for water and nutrient uptake.
- Change in soil composition: Switching to a different potting mix alters drainage, aeration, and moisture retention.
- Pot size mismatch: Moving to a significantly larger pot increases the risk of overwatering due to excess soil holding moisture.
- Environmental shift: Relocating the plant during repotting—even temporarily—can expose it to drafts, temperature fluctuations, or lower humidity.
- Overwatering post-repot: A common mistake; stressed roots absorb water less efficiently, making them prone to rot if over-saturated.
“Transplant shock is not a death sentence—it’s a signal. Plants communicate through their physiology, and leaf drop is often their way of saying, ‘I need time to adjust.’” — Dr. Lena Torres, Botanist & Horticultural Therapist
How to Minimize Shock During Repotting: A Step-by-Step Guide
Prevention is key. With careful planning and execution, you can significantly reduce the chances of post-repot leaf loss. Follow this timeline-based approach for optimal results:
- Choose the Right Time (Spring to Early Summer): Most houseplants enter active growth during these months, making them more resilient to change. Avoid repotting during winter dormancy.
- Select an Appropriate New Pot: Increase pot diameter by only 1–2 inches. Too large a container holds excess moisture, increasing root rot risk.
- Prepare the Soil Mix: Use a well-draining potting medium suited to your plant type. For example, succulents need gritty mixes, while ferns prefer moisture-retentive but aerated blends.
- Water the Plant 1–2 Days Before Repotting: Slightly moist soil makes root ball removal easier and reduces root breakage.
- Gently Remove the Plant: Turn the pot sideways, support the base of the stem, and tap the bottom. Never yank the plant by its stems.
- Inspect and Loosen Roots: Carefully tease apart circling roots, especially if root-bound. Trim any black, mushy, or dead roots with sterilized scissors.
- Position in New Pot: Place enough fresh soil at the bottom so the plant sits at the same depth as before. Fill around the sides evenly, pressing lightly to eliminate air pockets.
- Hold Off on Watering (If Possible): Wait 2–5 days before watering to allow minor root wounds to callus and reduce rot risk. Check soil moisture first.
- Return to a Stable Environment: Keep the plant in its original light conditions, away from drafts, heaters, or AC vents.
- Maintain Consistent Humidity: Covering the plant loosely with a clear plastic bag (supported by stakes) can help maintain humidity without trapping excessive heat.
Do’s and Don’ts of Post-Repot Care
Avoid common pitfalls by following this simple comparison guide:
| Do’s | Don’ts |
|---|---|
| Keep the plant in its original light location | Move it to direct sun or a drastically different environment |
| Mist foliage (for humidity-loving plants) | Overwater immediately after repotting |
| Check soil moisture before watering | Follow a rigid watering schedule |
| Trim yellowed or severely damaged leaves | Remove more than 20% of foliage at once |
| Use a balanced, diluted fertilizer after 3–4 weeks | Fertilize within the first week |
Real Example: Recovering a Fiddle Leaf Fig After Repotting
Sophia, an urban plant enthusiast in Portland, recently repotted her three-year-old fiddle leaf fig into a decorative ceramic pot two sizes too large. Within five days, she noticed several mature leaves turning yellow and falling off. Alarmed, she reduced watering and moved the plant away from a nearby heater vent. She also wrapped the trunk with sphagnum moss to boost humidity and placed a humidity tray beneath the pot.
After researching transplant shock, Sophia realized the oversized pot was retaining too much moisture. She carefully re-repotted the plant into a slightly larger but proportionate container with a perlite-enhanced soil mix. Over the next four weeks, she monitored moisture levels with a meter and avoided fertilization. Though she lost six leaves total, no further drop occurred. By week six, new growth appeared at the top—a sign the roots had re-established.
Sophia’s experience underscores two critical lessons: pot size matters, and patience is essential. Recovery isn’t always immediate, but consistent care leads to resilience.
When Is Leaf Drop Normal vs. a Sign of Trouble?
Some leaf loss is expected, especially within the first 7–14 days after repotting. However, distinguishing between normal adjustment and serious issues is crucial.
Typical signs of manageable transplant shock:
- Limited drop of older, lower leaves
- Leaves yellow gradually before falling
- No new symptoms after two weeks
- Plant remains firm, with upright stems
Warning signs requiring intervention:
- Rapid, widespread leaf drop (more than 30%)
- Black or mushy stems
- Foul odor from soil (indicating root rot)
- New leaves emerging distorted or stunted
If root rot is suspected, remove the plant from the pot and inspect the roots. Healthy roots are firm and white or tan; rotted ones are soft, dark, and smell sour. Trim affected areas, treat with a fungicide if needed, and repot in fresh, dry mix.
Proactive Checklist: Repotting Without Regret
Before you begin, run through this actionable checklist to ensure success:
- ☑ Confirm the plant actually needs repotting (roots growing through drainage holes, slow growth, water pooling on surface)
- ☑ Choose a pot only 1–2 inches larger in diameter
- ☑ Prepare appropriate, high-quality potting mix
- ☑ Water plant 24 hours prior to repotting
- ☑ Sterilize tools (pruners, trowel) with rubbing alcohol
- ☑ Handle roots gently—avoid aggressive untangling
- ☑ Position plant at the same soil level as before
- ☑ Wait 2–5 days before watering
- ☑ Maintain stable temperature and humidity
- ☑ Hold off on fertilizing for at least 2–4 weeks
Frequently Asked Questions
How long does transplant shock last?
Most plants recover from transplant shock within 2 to 6 weeks. Signs of improvement include stabilized leaf drop, new leaf development, and improved turgor (firmness) in existing foliage. Patience and consistent care are essential during this period.
Should I prune my plant before repotting?
Light pruning can help balance the plant if root loss is expected, but avoid heavy trimming. Removing a few older or damaged leaves is acceptable. Over-pruning stresses the plant further and reduces its ability to photosynthesize during recovery.
Can I repot a flowering plant?
It’s best to avoid repotting during active blooming unless absolutely necessary. Flowering requires significant energy, and adding transplant stress can cause bud drop or halted bloom cycles. Wait until flowering ends, then repot if needed.
Conclusion: Healthy Roots, Healthy Leaves
Leaf drop after repotting is a natural response, not a failure. It reflects the plant’s effort to adapt to a new environment while healing from root disturbance. By understanding the science behind transplant shock and applying thoughtful techniques—from choosing the right pot size to delaying watering—you empower your plants to transition smoothly.
Remember, every plant is unique. Some bounce back in days; others take weeks. What matters most is consistency: stable conditions, mindful watering, and resisting the urge to intervene too aggressively. With time and attention, your plant will not only stop dropping leaves but may reward you with stronger, more vibrant growth than before.


 浙公网安备
33010002000092号
浙公网安备
33010002000092号 浙B2-20120091-4
Comments
No comments yet. Why don't you start the discussion?