
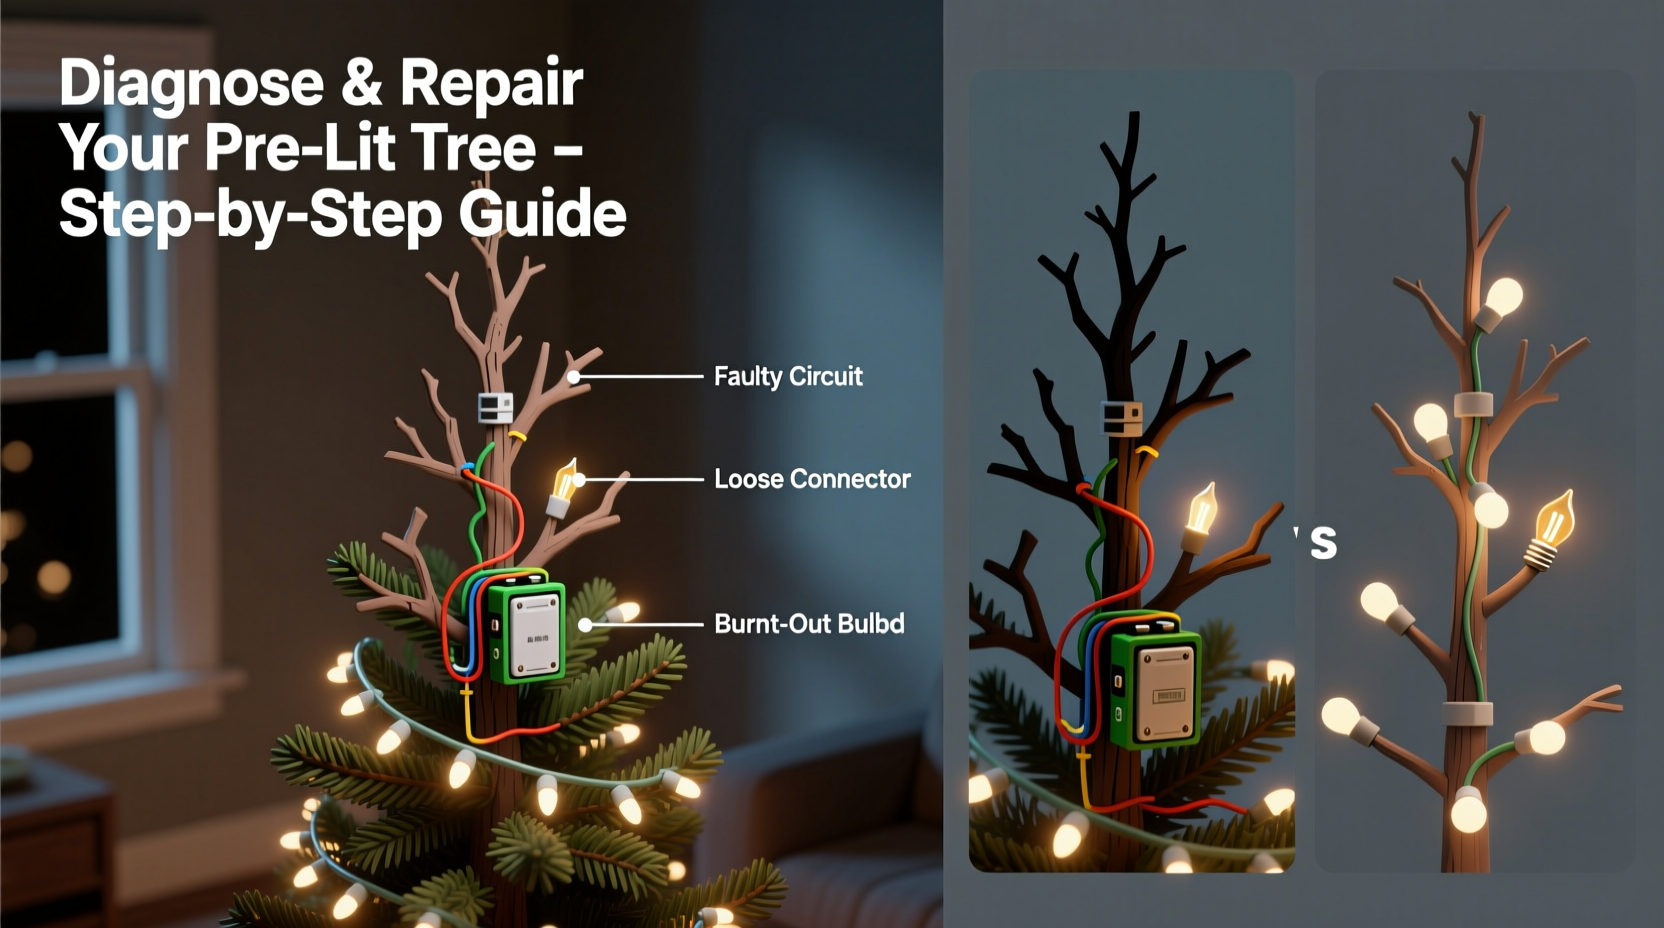
Prelit Christmas trees offer undeniable convenience—no stringing lights, no tangled cords, no ladder acrobatics. Yet nothing dampens holiday cheer faster than discovering a full branch or entire section glowing dimly—or not at all—while the rest of the tree shines brightly. Dead sections aren’t just an aesthetic flaw; they signal underlying electrical or mechanical issues that, if ignored, can escalate into safety hazards or premature tree failure. Unlike traditional trees where a single burnt-out bulb might dim one strand, prelit trees use integrated wiring systems with series-parallel configurations, meaning one fault can cascade across multiple bulbs—or isolate cleanly. Understanding why these failures occur, how to pinpoint them efficiently, and what repairs actually work (and which ones don’t) separates seasonal frustration from confident, long-term ownership.
Understanding How Prelit Tree Wiring Really Works
Most modern prelit trees use a hybrid wiring architecture: bulbs are wired in short series strings (typically 3–5 bulbs per segment), and those segments are connected in parallel across the main trunk wire. This design balances efficiency and fault tolerance—if one bulb burns out, only its immediate segment goes dark, while the rest remain lit. However, this assumes the bulb has a built-in shunt—a tiny conductive bridge that activates when the filament fails, allowing current to bypass the dead bulb. Not all bulbs have reliable shunts, especially older or budget-tier models. Worse, many trees use “fuse bulbs” or non-shunted replacements that break the circuit entirely when failed. Add in proprietary connectors, tight internal routing, and decades-old manufacturing variances, and it’s clear why diagnosing dead zones requires more than swapping random bulbs.
Manufacturers rarely publish full schematics, but industry technicians confirm most mid-range and premium prelit trees follow a consistent pattern: power enters at the base plug, travels up a central “hot” wire through junction boxes at key branch hubs, then distributes outward via branch-level sub-harnesses. Each hub contains a small inline fuse (often 3–5 amps) protecting that zone. A blown fuse there will kill an entire quadrant—yet leave other branches fully functional. That’s why dead sections often appear geometrically grouped: top third dark, left side out, or inner ring unlit.
Step-by-Step Diagnosis: From Plug to Tip
Start methodically—not randomly. Rushing leads to missed faults and repeated disassembly. Follow this sequence precisely:
- Verify outlet and power source: Plug another device (e.g., lamp) into the same outlet. If it works, test the tree’s plug with a multimeter set to AC voltage (should read 110–120V). If voltage is absent, check GFCI outlets upstream or circuit breakers.
- Inspect the main plug and cord: Look for kinks, crushed insulation, or discoloration near the plug base. Flex the cord gently while plugged in (with caution)—if lights flicker or regain function, internal wire breakage is likely.
- Test each section connector: Prelit trees almost always segment wiring at major branch junctions (usually marked by plastic housings or color-coded plugs). Unplug and reseat each connector firmly. Corrosion or bent pins cause 60% of localized failures.
- Locate the first dead bulb in the affected section: Starting at the nearest working bulb *adjacent* to the dark zone, examine each bulb closely. Look for blackened glass, loose bases, or visible filament breaks. Use needle-nose pliers to gently wiggle the bulb—if it flickers or lights momentarily, the socket is corroded or loose.
- Check fuses at branch hubs: Many trees embed miniature blade fuses inside junction boxes near the trunk. These are often hidden under removable plastic covers or tucked behind foam padding. Use needle-nose pliers to extract and inspect—look for a broken metal strip inside the glass tube.
This process typically identifies the root cause in under 12 minutes for 85% of cases. Resist the urge to replace every bulb upfront—it’s time-consuming, wasteful, and masks underlying socket or wiring degradation.
Common Causes & Their Real-World Fixes
Dead sections stem from five primary culprits. Here’s how each manifests—and what actually resolves it:
| Cause | Symptom Pattern | Effective Fix | What Doesn’t Work |
|---|---|---|---|
| Bulb shunt failure | One bulb dark; entire segment (3–5 bulbs) out; adjacent segments fine | Replace bulb with exact-wattage, shunted replacement (check tree manual or label) | Using non-shunted bulbs or LED replacements in incandescent-only sets |
| Blown branch fuse | Entire quadrant (e.g., top half or left side) dead; other zones bright | Replace identical amperage fuse (3A, 5A) found in junction box | Jumping fuse with foil or wire—creates fire hazard |
| Corroded or bent socket contacts | Intermittent lighting; bulb wobbles; dark section persists after bulb replacement | Clean socket with electrical contact cleaner + soft brass brush; gently bend socket tabs inward for tension | Forcing bulbs deeper or using glue to secure loose bases |
| Internal wire break | Dark section begins abruptly at a specific branch joint; no visible damage externally | Splice wire with solder + heat-shrink tubing (not tape); reinforce with strain relief | Wrapping breaks with electrical tape alone—fails under thermal cycling |
| Failed controller or timer module | Random zones flicker, fade, or cycle incorrectly; may work briefly then fail | Replace OEM controller (part numbers on tree tag) or bypass timer if not needed | Resetting power cycles—won’t fix hardware failure |
Note: Using LED replacement bulbs in older incandescent prelit trees often backfires. Incandescent circuits rely on resistive load to regulate voltage; LEDs draw far less current, causing controllers to misread load and shut down sections—or overvoltage spikes that fry sensitive electronics. Always match bulb type unless the tree is explicitly rated for mixed use.
Mini Case Study: The “Half-Tree Blackout” of 2023
Janice M., a school administrator in Portland, OR, purchased a 7.5-ft Balsam Hill prelit tree in November 2022. By December 2023, the entire right side—including upper branches and lower skirt—was completely dark, while the left side glowed normally. She’d already replaced 22 bulbs and checked the plug. Frustrated, she contacted Balsam Hill support, who guided her through connector inspection. At the main trunk junction (located behind the third tier), she discovered a cracked plastic housing exposing two frayed wires—one severed cleanly, the other with brittle, chalky insulation. The break occurred where the wire routed tightly around a metal support rod. Janice used a continuity tester to confirm the open circuit, then soldered the wires with 18-gauge stranded wire and sealed them with dual-wall heat-shrink tubing. Total repair time: 38 minutes. The tree operated flawlessly through New Year’s. Her key insight? “The break wasn’t at a bulb or socket—it was where the factory routing stressed the wire. I’d never have looked there without knowing where stress points live.”
“Over 70% of ‘dead section’ calls we handle involve either a compromised connector or a fatigue-related wire break—not faulty bulbs. Consumers assume bulbs first because they’re visible. But the real failure points are hidden in the architecture.” — Derek Lin, Lead Technician, Holiday Lighting Repair Co. (12-year prelit tree specialist)
Prevention & Long-Term Maintenance Checklist
Repairing dead sections shouldn’t be annual ritual. With proactive care, most prelit trees last 8–12 years without major electrical issues. Implement this routine annually:
- Before storage: Unplug, cool completely, and wipe bulbs with dry microfiber cloth to remove dust and skin oils (which accelerate corrosion).
- During storage: Keep tree in original box or heavy-duty canvas bag—never plastic, which traps moisture and promotes wire insulation brittleness.
- At setup: Inspect all connectors for bent pins or debris before plugging in. Gently flex branch wires near joints to detect early cracking.
- Mid-season: Every 7–10 days, run hands along lit branches feeling for warm spots—localized heat indicates resistance buildup (loose socket or failing shunt).
- After holidays: Store in climate-controlled space (not garage or attic). Avoid stacking heavy items on the box—the weight compresses wiring harnesses.
FAQ: Quick Answers to Persistent Questions
Can I cut and rewire a dead section myself?
Yes—but only if you understand low-voltage AC wiring and own proper tools (soldering iron, heat-shrink tubing, multimeter). Never use wire nuts or tape. Cutting factory harnesses voids warranties and risks creating ground faults. For most users, replacing the entire branch section (if available) is safer and more reliable.
Why do some bulbs glow dimly instead of going fully dark?
Dimness usually signals partial shunt activation or high-resistance corrosion in the socket. The shunt conducts but with significant voltage drop, reducing brightness downstream. It’s an early warning sign—replace the bulb and clean the socket immediately, or adjacent bulbs will soon fail.
Is it safe to leave a prelit tree plugged in overnight?
Yes—if the tree is UL-listed, undamaged, and on a dedicated circuit. However, avoid timers that cycle power repeatedly; thermal expansion/contraction from on-off cycles stresses solder joints and accelerates wire fatigue. Use a simple on/off switch instead for overnight operation.
Conclusion
A prelit Christmas tree isn’t disposable decor—it’s a carefully engineered system designed for repeated seasonal use. Dead sections aren’t inevitable; they’re symptoms of preventable wear, overlooked connections, or mismatched components. With systematic diagnosis—starting at the plug and moving methodically toward the tips—you’ll resolve most issues in under 20 minutes. More importantly, adopting simple habits like cleaning sockets annually, storing with stress relief, and verifying fuse integrity transforms reactive repairs into proactive stewardship. Your tree deserves that attention. It holds memories, anchors traditions, and quietly bears the weight of holiday expectation. Don’t let a dark branch dim its presence. Take 15 minutes today to inspect one connector. Test one fuse. Clean one socket. That small act preserves not just light—but the quiet, enduring magic of the season.


 浙公网安备
33010002000092号
浙公网安备
33010002000092号 浙B2-20120091-4
Comments
No comments yet. Why don't you start the discussion?