
Cooking rice should be simple. Yet, so many home cooks face the same frustrating outcome: a pot of fluffy grains on top and a stubborn, blackened crust stuck to the bottom. It’s not just disappointing—it wastes food, time, and effort. The good news? You’re not doing anything inherently wrong. Most rice-burning issues stem from common mistakes that are easy to fix once you understand the science behind them.
Rice doesn’t burn because you’re a bad cook—it burns because of heat distribution, water ratios, or equipment choices. With a few adjustments and one reliable technique, you can achieve consistently perfect rice: tender, separate grains with zero sticking or scorching. This guide breaks down why rice burns, how to prevent it, and introduces a truly foolproof method anyone can master.
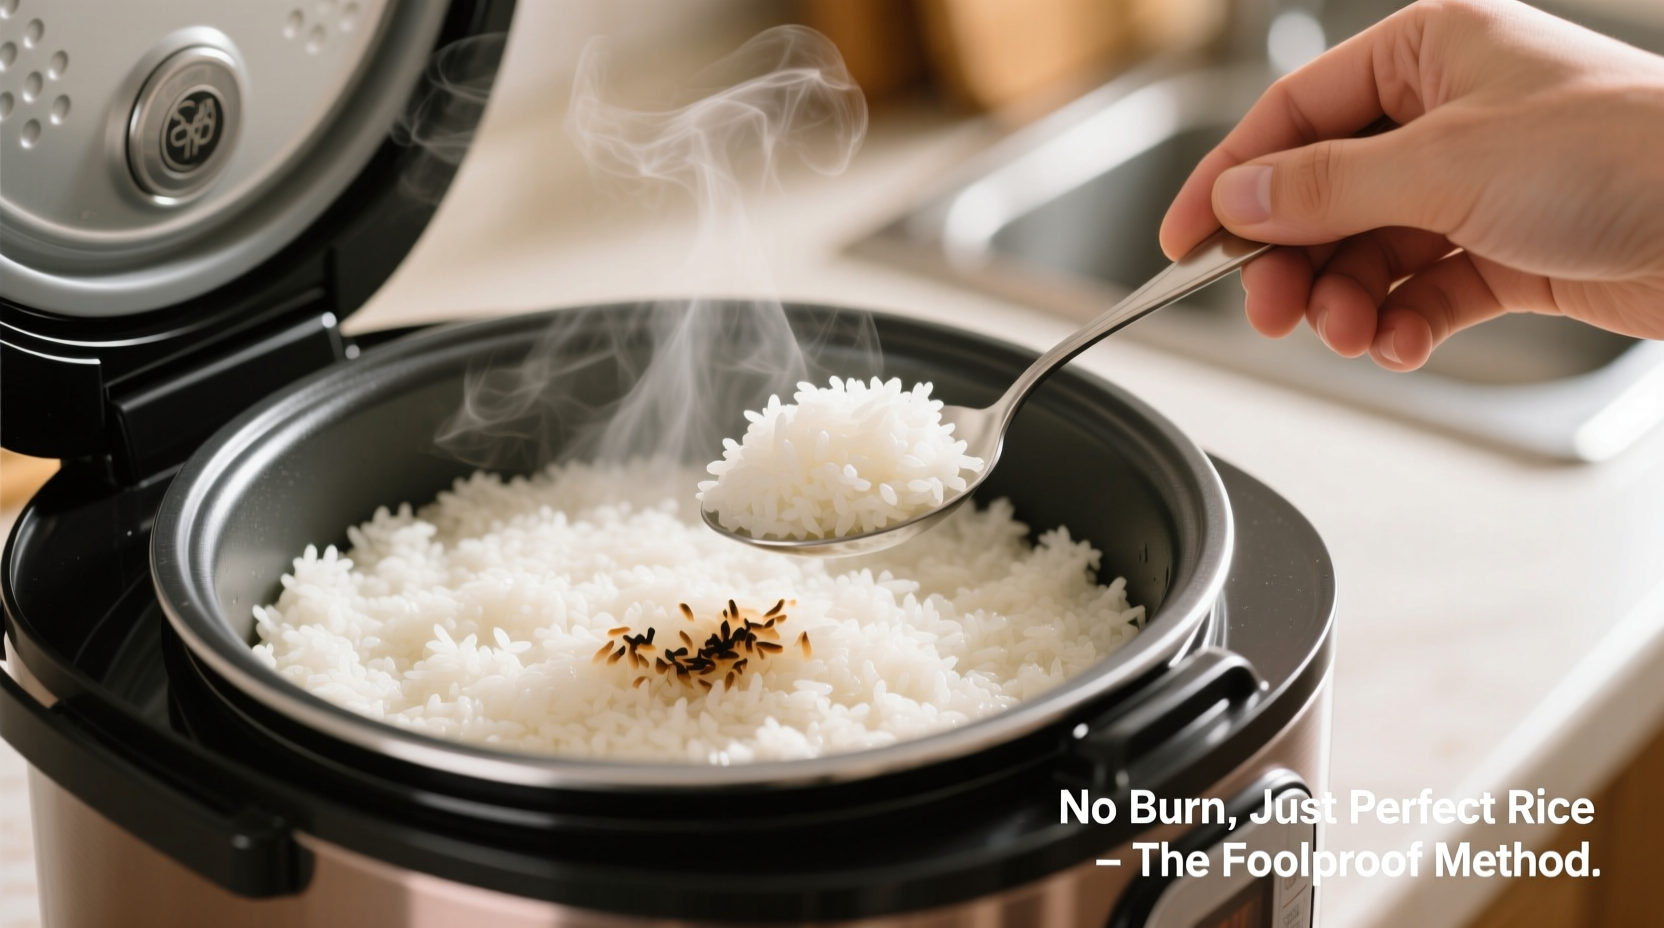
The Science Behind Burnt Rice
Rice absorbs water as it cooks, transitioning from hard, dry grains to soft, edible starch. But when heat is too high or water evaporates too quickly, the moisture at the bottom of the pot disappears before the rice is fully cooked. Once that layer dries out, direct contact with the hot surface causes rapid browning—and then burning.
This process is especially common in thin-bottomed pots, which heat unevenly, or when using electric stoves that maintain constant high heat. Even slight variations in water-to-rice ratios can tip the balance from ideal to disaster. And while some cuisines intentionally create a crispy bottom layer (like the prized *tahdig* in Persian cooking), accidental burning is never appetizing.
Understanding this mechanism is key: burnt rice isn’t about the rice itself—it’s about heat control and moisture retention.
Common Mistakes That Cause Burnt Rice
- Using too high heat: Many people start rice on high to speed up boiling, but fail to reduce it quickly enough. Simmering requires low, steady heat.
- Inconsistent water ratios: Too little water leads to dryness; too much can boil over and still leave residue if evaporation is uncontrolled.
- Not rinsing rice: Excess surface starch makes rice sticky and increases the risk of clumping and sticking to the pot.
- Lifting the lid too often: Every time you peek, steam escapes, lowering internal moisture and increasing cooking time and burn risk.
- Using the wrong pot: Thin aluminum pans conduct heat poorly and develop hot zones, especially on electric burners.
- Forgetting to rest after cooking: Removing the lid immediately disrupts final steam absorption, leaving undercooked or unevenly textured rice.
“Most kitchen failures with rice come down to impatience. Cooking rice well means trusting the process, not watching it.” — Chef Rafael Mendez, Culinary Instructor
The Foolproof Absorption Method (Step-by-Step)
The absorption method is the gold standard for perfectly cooked rice. When done correctly, it eliminates guesswork and prevents burning by ensuring even hydration and controlled heat. Follow these steps precisely:
- Rinse the rice: Place 1 cup of long-grain white rice (like basmati or jasmine) in a fine-mesh strainer. Rinse under cold water until the runoff is clear—about 30 seconds. This removes excess starch and prevents gumminess.
- Measure water accurately: Use a 1:1.5 ratio of rice to water. For 1 cup rice, add 1.5 cups water. Adjust slightly based on rice type (short-grain may need more; aged basmati less).
- Use the right pot: Choose a medium saucepan with a tight-fitting lid and heavy base. Stainless steel with an aluminum core works best.
- Bring to a boil: Combine rice and water in the pot. Add a pinch of salt and optional fat (½ tsp butter or oil). Bring to a rolling boil over medium-high heat—no higher.
- Reduce heat and cover: As soon as it boils, reduce heat to the lowest possible setting. Cover tightly with the lid.
- Simmer undisturbed: Cook for exactly 15 minutes. Do not lift the lid. The trapped steam finishes the cooking without drying the bottom.
- Remove from heat and rest: After 15 minutes, turn off the burner. Let the pot sit, covered, for another 10 minutes. This allows residual steam to equalize moisture throughout the rice.
- Fluff and serve: Gently fluff the rice with a fork. The grains should be light and separate, with no wetness or crunch—and absolutely no burnt layer.
Do’s and Don’ts of Rice Cooking
| Do’s | Don’ts |
|---|---|
| Rinse rice before cooking | Use un-rinsed rice without adjusting water |
| Use a heavy-bottomed pot | Cook in thin, lightweight pans |
| Maintain a steady low simmer | Crank the heat to “save time” |
| Let rice rest covered after cooking | Peek or stir during cooking |
| Fluff with a fork, not a spoon | Press down or mash rice |
| Store leftovers properly (cool within 1 hour) | Leave cooked rice at room temperature overnight |
Real Example: From Burnt Disaster to Perfect Rice
Sarah, a busy teacher from Portland, used to dread making rice. She’d follow package instructions, only to find her pot scorched almost every time. “I thought I just wasn’t cut out for it,” she said. “I tried different brands, added more water, even soaked the rice—but nothing worked.”
After learning about the importance of heat control, she switched to a stainless-clad pot and started using the 1:1.5 ratio with a strict 15-minute simmer and 10-minute rest. The first batch came out perfectly. “I actually tasted it three times to believe it,” she laughed. “Now I make rice twice a week without fear.”
Her turning point wasn’t a fancy gadget—it was understanding that consistent low heat and steam retention matter more than brand or variety.
Adapting the Method for Different Rices
While the 1:1.5 ratio and 15+10 method work flawlessly for most long-grain white rice, other types require minor tweaks. Here’s how to adjust:
- Brown rice: Use 1:2 water ratio. Simmer 25 minutes, rest 10. Needs more water and time due to bran layer.
- Short-grain (sushi rice): Rinse thoroughly. Use 1:1.25 ratio. Simmer 18 minutes, rest 10. Sticky texture is normal; burning is not.
- Basmati (aged): Soak 20 minutes before cooking. Use 1:1.25 ratio. Simmer 12–14 minutes, rest 10. Prevents brittleness.
- Parboiled/converted rice: No rinse needed. Use 1:2 ratio. Simmer 20 minutes, rest 5. Designed to resist stickiness.
The core principle remains unchanged: low heat, tight lid, no peeking, proper resting.
Foolproof Checklist for Burn-Free Rice
Before you start cooking, run through this checklist to ensure success:
- ▢ Choose a heavy-bottomed pot with a tight-fitting lid
- ▢ Measure rice accurately using a measuring cup
- ▢ Rinse rice until water runs clear (unless parboiled)
- ▢ Use correct water-to-rice ratio (start with 1:1.5 for white rice)
- ▢ Add a pinch of salt and optional oil/butter to prevent sticking
- ▢ Bring to boil over medium-high, then immediately reduce to lowest simmer
- ▢ Cover and do not lift the lid for the entire cooking and resting time
- ▢ Simmer 15 minutes (white rice), then rest 10 minutes off heat
- ▢ Fluff gently with a fork before serving
- ▢ Clean the pot promptly—burnt residue is easier to remove when soaked immediately
Frequently Asked Questions
Why does my rice burn even when I use a nonstick pot?
Nonstick coatings can degrade over time, especially when scratched or overheated. More importantly, nonstick pots are often thin and heat unevenly. Even with a coating, high heat or insufficient water will cause burning. Always use low heat and proper ratios—even in nonstick cookware.
Can I cook rice without a lid?
No. The lid traps steam, which is essential for even cooking and moisture retention. Without it, water evaporates too quickly, leading to dry, hard, or burnt rice. If your lid is missing, use a large baking sheet or foil tightly sealed over the pot as a temporary substitute.
Is there a way to fix already burnt rice?
If the top portion is untouched, carefully transfer it to a new bowl. Do not scrape the bottom. The burnt layer cannot be salvaged and will taint the flavor. To mask mild scorching, some add a slice of bread or a piece of toast to the pot and let it sit covered for 5–10 minutes—the bread absorbs some odor. But prevention is far better than correction.
Mastering the Basics Leads to Confidence
Perfect rice isn’t a secret reserved for chefs or cultures where it’s a staple. It’s a result of understanding fundamentals: heat, hydration, and patience. Once you internalize the rhythm of bringing rice to a boil, dropping to a simmer, and letting steam do the work, you’ll wonder why you ever struggled.
The method outlined here works across kitchens, stoves, and rice varieties. Whether you’re feeding a family, meal prepping, or trying to impress guests, you now have a reliable, repeatable system. No more guessing. No more scraping charred bits from the bottom of your pot.


 浙公网安备
33010002000092号
浙公网安备
33010002000092号 浙B2-20120091-4
Comments
No comments yet. Why don't you start the discussion?