
Robot vacuums promise effortless cleaning—gliding through rooms, sucking up dust, and returning to their docks without intervention. But if yours consistently skips corners, avoids entire rooms, or hesitates near furniture, you’re not alone. Many users face the same frustration: a device that seems to have a mind of its own. The good news is that most avoidance behaviors are not random. They stem from specific technical, environmental, or setup-related factors—and in most cases, they can be corrected.
Understanding why your robot vacuum avoids certain zones involves looking at sensor technology, mapping intelligence, floor conditions, and even household layout. With targeted adjustments, you can reclaim full coverage and restore confidence in your automated cleaner.
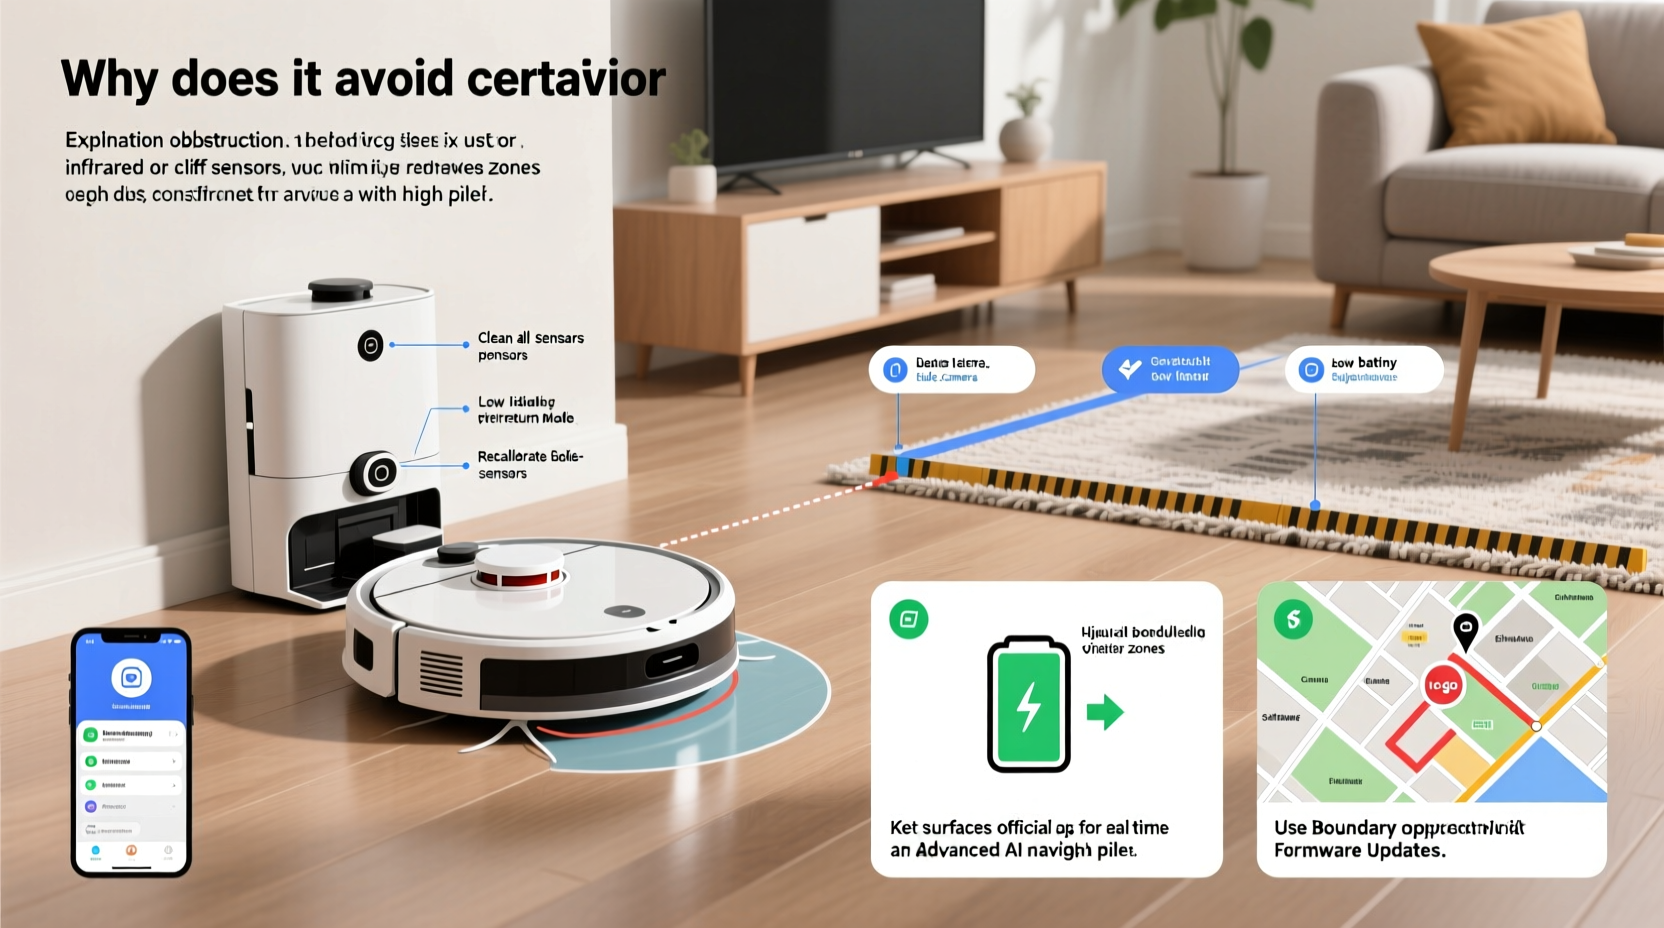
How Robot Vacuums Navigate: The Role of Sensors and Mapping
Modern robot vacuums rely on a combination of sensors and software to move around safely and efficiently. Most high-end models use LiDAR (Light Detection and Ranging) or camera-based visual navigation (vSLAM) to create detailed maps of your home. These maps allow the robot to plan routes, remember room layouts, and avoid obstacles.
However, this system isn’t foolproof. If a sensor misreads an object, detects a potential drop-off, or fails to recognize a doorway, the robot may interpret the area as unsafe and avoid it entirely. Common sensors include:
- Bump sensors: Detect physical contact with walls or furniture.
- Cliff sensors: Use infrared beams to detect stairs or ledges.
- Dirt sensors: Identify high-debris zones for extra cleaning.
- Wheel encoders: Track movement distance and direction.
- LiDAR/vSLAM: Create spatial awareness and real-time mapping.
When one or more of these components malfunction or receive confusing input, avoidance behavior follows. For example, a dirty cliff sensor might falsely detect a staircase on a flat surface, causing the robot to stop short of a cleanable zone.
Common Reasons Your Robot Vacuum Avoids Areas
Avoidance isn't always a defect—it's often a safety response. Here are the most frequent causes:
1. Physical Obstacles and Clutter
Furniture legs, cords, rugs with tassels, or pet toys can confuse navigation systems. Even a low coffee table might appear as an impassable barrier if the robot’s clearance is too tight.
2. Poor Lighting Conditions
Vacuums using vSLAM depend on ambient light to \"see\" their surroundings. Dark hallways, dim basements, or rooms with reflective surfaces (like mirrors) can distort visual mapping, leading to erratic paths or complete avoidance.
3. Flooring Transitions and Texture Changes
Sudden changes from hardwood to thick carpet can slow wheels or trigger resistance sensors. Some robots interpret this as a potential trap and retreat rather than risk getting stuck.
4. Magnetic Strips or Virtual Walls
If you’ve used boundary strips or virtual wall accessories in the past, they might still be active. These emit signals that tell the robot to stop at a certain point—even if you no longer want the restriction.
5. Software Glitches or Outdated Maps
After renovations or furniture rearrangement, your robot may still operate on an old map. It could think a hallway is blocked when it’s now open—or vice versa.
“Robots are only as smart as their last update. A machine avoiding a newly opened space likely hasn’t re-mapped since the change.” — Dr. Alan Reyes, Robotics Engineer at SmartHome Labs
Step-by-Step Guide to Fix Area Avoidance Issues
Follow this structured approach to diagnose and resolve navigation problems:
- Inspect the Environment
Walk through your home and identify clutter, cords, or dark zones. Temporarily remove small obstacles during cleaning cycles. - Clean All Sensors
Use a dry microfiber cloth to wipe the cliff sensors (usually on the underside), bump bar, and LiDAR dome (if visible). Avoid alcohol unless specified by the manufacturer. - Check for Active No-Go Zones
Open your robot’s companion app and review any custom boundaries. Delete unused virtual walls or keep-out zones that may be outdated. - Trigger a Full Re-Mapping Cycle
Reset the map data and initiate a new scanning run. This forces the robot to reassess current room layouts. Some models require holding a button; others do this via the app. - Test Floor Transitions
Place the robot manually on different flooring types. Watch how it handles edges. If it struggles, consider adding a thin ramp or adjusting wheel suspension if supported. - Update Firmware
Manufacturers regularly release navigation improvements. Check the app for updates and install them promptly. - Adjust Cleaning Schedule
Run the robot during daylight hours when lighting aids vSLAM performance. Avoid peak pet or foot traffic times.
Do’s and Don’ts When Troubleshooting Navigation
| Do | Don’t |
|---|---|
| Keep pathways at least 18 inches wide for safe passage | Leave loose cables or power strips on the floor |
| Use natural or soft artificial lighting during cleaning | Run the robot in pitch-black rooms |
| Manually place the robot at the edge of avoided zones to test access | Assume the robot will “learn” over time without intervention |
| Label and organize charging stations to avoid confusion in multi-bot homes | Block dock access with furniture or rugs |
| Consult the user manual for model-specific sensor locations | Disassemble or modify internal components yourself |
Mini Case Study: Solving the Living Room Blind Spot
Sarah from Portland noticed her robot vacuum consistently skipped the far corner of her living room, leaving pet hair and dust behind. At first, she assumed it was battery-related. But after observing several runs, she realized the robot would stop about three feet short of the area—right where her new area rug met the hardwood.
She cleaned the sensors and checked the app: no virtual walls were set. Then she tried placing the robot directly in the corner. It ran normally. That ruled out motor issues. The breakthrough came when she lifted the rug slightly and saw that its rubber backing created a half-inch lip—a minor elevation but enough to trigger the robot’s obstacle detection.
Solution? She folded the edge of the rug under and secured it with double-sided tape. On the next cycle, the robot crossed seamlessly and cleaned the entire floor. A simple fix, rooted in understanding both the machine’s sensitivity and the environment.
Advanced Fixes: Customizing No-Go Zones vs. Fixing Unintended Avoidance
It’s important to distinguish between intentional restrictions and unintended avoidance. Most modern apps let you draw “no-go zones” or “pinch points” to protect delicate areas. But sometimes, these tools are overused or left active by mistake.
If your robot avoids a zone you *want* cleaned, verify whether a digital boundary exists. In apps like Roborock, iRobot Home, or Ecovacs, go to the map settings and toggle off any keep-out zones. You can also adjust the buffer distance around furniture to give the robot more leeway.
For persistent issues, some users benefit from creating “guide rails”—using furniture alignment or temporary markers (like books placed at intervals) to funnel the robot into tricky spaces. Once it learns the path, you can gradually remove the guides.
FAQ: Common Questions About Robot Vacuum Avoidance
Why does my robot vacuum avoid dark floors?
Many cliff sensors use infrared light to detect drops. Very dark or black flooring can absorb this light, mimicking a void or stairwell. The robot interprets this as a fall risk and stops. Try increasing ambient light or laying a light-colored mat as a bridge.
Can I force my robot to clean a specific room every time?
Yes. Most apps allow room selection for targeted cleaning. Instead of relying on full-home maps, schedule zone cleans for frequently missed areas. This bypasses navigation uncertainty and ensures consistent coverage.
Will resetting my robot fix mapping issues?
Factory resetting can help if software corruption is suspected, but it should be a last resort. Start with clearing the map and updating firmware. Reset only if the problem persists across multiple re-maps.
Checklist: Regain Full Cleaning Coverage
- ✅ Inspect and declutter all floor areas
- ✅ Wipe down sensors (cliff, bump, LiDAR)
- ✅ Remove outdated virtual walls or no-go zones
- ✅ Perform a full re-mapping cycle
- ✅ Update robot firmware to latest version
- ✅ Test transitions between flooring types
- ✅ Run robot during well-lit, low-traffic periods
- ✅ Manually verify access by placing robot in avoided zone
- ✅ Use app-based room selection for critical areas
- ✅ Monitor performance over 3–5 cycles to confirm improvement
Conclusion: Take Control of Your Robot’s Performance
Your robot vacuum isn’t being stubborn—it’s responding to inputs based on its programming and sensory feedback. Avoidance behaviors are usually logical from the machine’s perspective, even if they seem irrational to you. By methodically addressing environmental factors, maintaining hardware, and leveraging app features, you can eliminate blind spots and achieve truly comprehensive cleaning.
Don’t settle for partial coverage. With a few informed adjustments, your robot can navigate confidently, adapt to your home’s unique layout, and deliver the hands-free convenience you expected. The technology is powerful, but it works best when guided by attentive ownership.


 浙公网安备
33010002000092号
浙公网安备
33010002000092号 浙B2-20120091-4
Comments
No comments yet. Why don't you start the discussion?