
Robotic vacuums like the Roomba promise effortless floor cleaning with minimal human intervention. But when your Roomba repeatedly gets stuck under furniture, tangled in cords, or trapped in corners, that promise starts to feel broken. Beyond frustration, frequent obstructions reduce cleaning efficiency, shorten device lifespan, and compromise overall performance. The root of many navigation failures often lies not in the robot itself, but in how well it understands your home’s layout. A poorly mapped space leads to chaotic movement, missed areas, and constant rescues. The good news is that most of these issues are preventable with smarter setup, environmental adjustments, and optimized mapping techniques.
Understanding Why Your Roomba Gets Stuck
Before addressing solutions, it's essential to identify the common causes behind a frequently immobilized Roomba. These range from physical obstacles to software limitations.
- Furniture clearance: Many coffee tables, ottomans, and low-slung sofas have gaps smaller than the Roomba’s height (typically around 3.6 inches). Attempting to enter such spaces results in wedging.
- Cords and cables: Power strips, charging cables, and lamp cords can become entangled in brushes or wheels, halting movement.
- Rugs and thresholds: Thick-pile rugs may trap the robot, while transitions between flooring types (e.g., tile to carpet) sometimes confuse sensors.
- Clutter on the floor: Toys, shoes, pet bowls, and other small items act as unexpected barriers.
- Poor lighting or reflective surfaces: Infrared and camera-based navigation systems struggle in dark rooms or near glass tables and mirrors, which distort sensor readings.
- Inaccurate or outdated maps: If the Roomba hasn’t properly learned your floor plan, it may attempt illogical paths or revisit already-cleaned zones inefficiently.
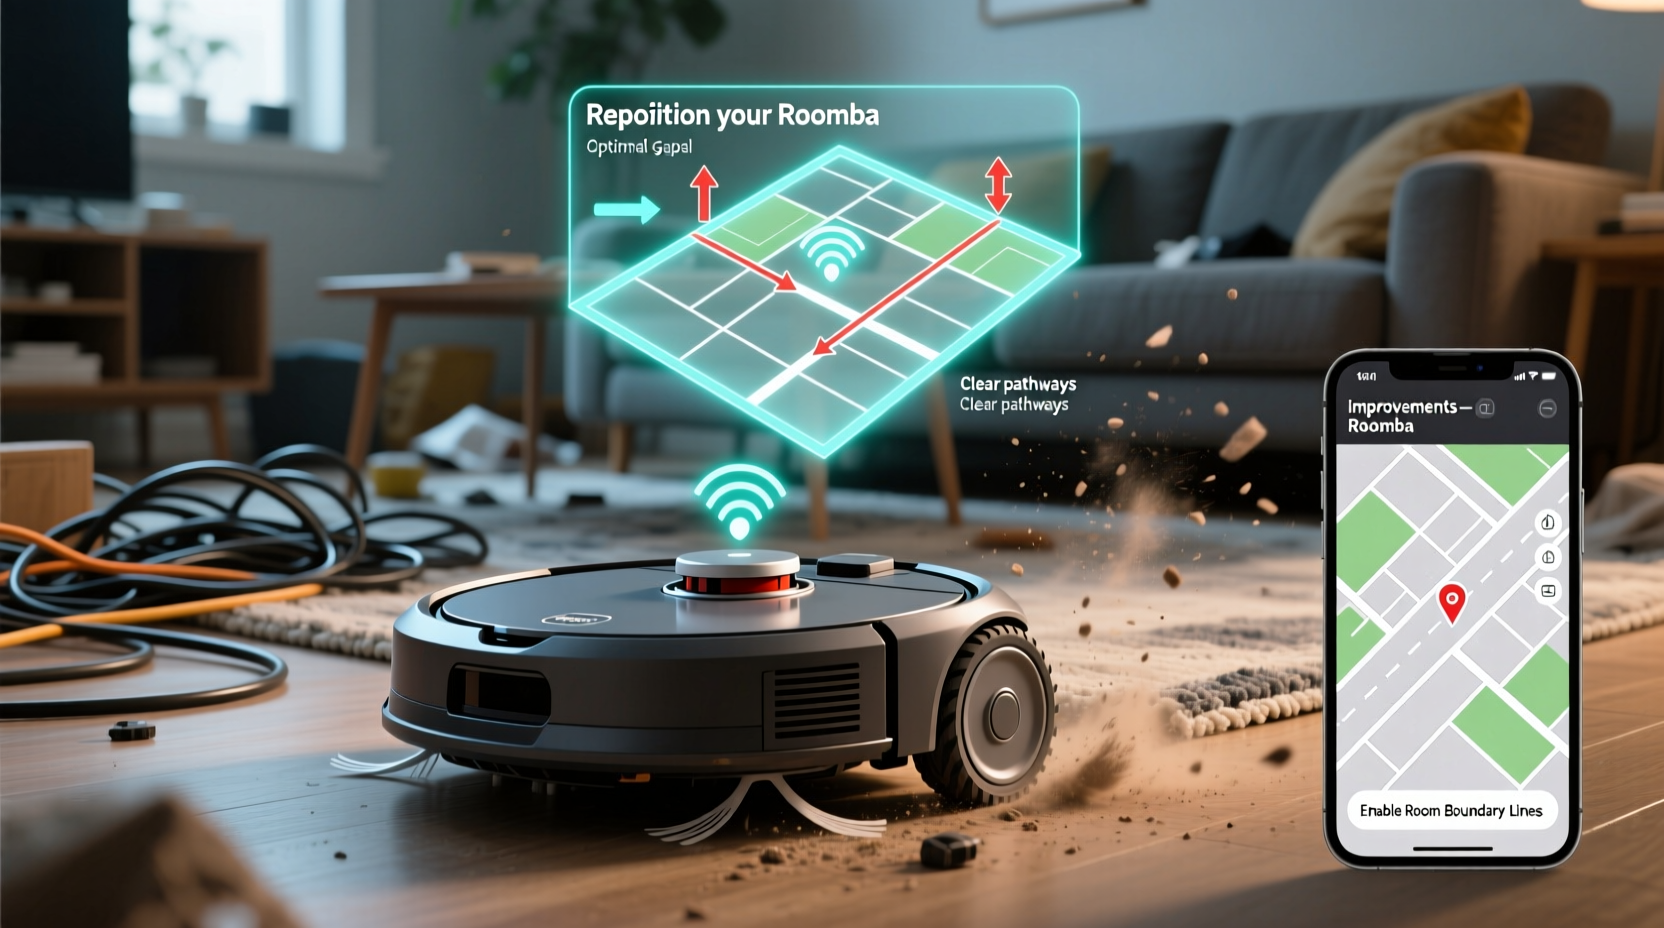
How Roomba Mapping Works: The Foundation of Efficient Navigation
Modern Roombas—especially iRobot’s higher-end models like the j7+, s9+, and Combo j9+—use advanced mapping technologies such as vSLAM (visual Simultaneous Localization and Mapping). This system relies on cameras and sensors to detect visual landmarks, track movement, and build a persistent map of your home over multiple cleaning cycles.
The first few runs are critical. During initial cleanings, the Roomba moves more slowly and deliberately, gathering spatial data. Once a reliable map is established, the robot can plan logical, grid-like cleaning patterns instead of random bump-and-turn motions. It also learns room names, virtual boundaries, and high-traffic zones.
However, if the environment changes frequently—such as moving furniture, inconsistent lighting, or obstructed pathways—the map becomes inaccurate. The robot may then revert to reactive navigation, increasing the risk of getting stuck.
“Mapping isn’t a one-time event. It’s an ongoing process where consistency in your environment directly impacts robotic performance.” — Dr. Alan Reed, Robotics Engineer at MIT’s Mobile Autonomy Lab
Step-by-Step Guide to Optimize Your Space for Better Mapping
Improving your Roomba’s navigation starts with preparation. Follow this timeline across 3–5 days to ensure optimal mapping and long-term reliability.
- Day 1: Declutter and Prepare the Environment
Walk through each room and remove tripping hazards: cords, loose rugs, small objects, and dangling cords. Secure power strips against walls using adhesive clips. Pick up toys, books, and footwear. The cleaner the floor, the more accurately the Roomba can navigate.
- Day 2: Adjust Furniture and Lighting
Lift furniture legs if possible using non-marking risers. Ensure all areas the Roomba should access have at least 4 inches of clearance. Avoid running the robot in pitch-dark rooms; ambient light helps visual navigation. Close blinds during midday if glare interferes with sensors.
- Day 3: Perform Initial Mapping Runs
Start the Roomba during daylight hours with consistent lighting. Let it complete a full cycle without interruption. Do not pick it up or manually reposition it. Repeat this process 2–3 times to allow the system to refine its map. You’ll see improvements in path logic and coverage after each run.
- Day 4: Use the iRobot Home App to Edit the Map
Open the app and go to “Maps” to view the generated floor plan. Confirm room labels and merge or split zones as needed. Set permanent or temporary Keep Out Zones around problem areas (e.g., pet feeding stations, fragile decor). Save the map once satisfied.
- Day 5: Establish Cleaning Schedules Based on the Map
Create customized cleaning schedules per room. For example, set daily cleanings for the kitchen and twice-weekly for bedrooms. This leverages the map for targeted maintenance rather than full-home sweeps unless necessary.
Best Practices for Maintaining Accurate Maps Over Time
A map is only as good as its upkeep. Changes in your living space—like rearranging furniture or adding new rugs—can degrade navigation performance. To keep your Roomba operating smoothly:
- Minimize frequent layout changes: Try to keep major furniture in consistent locations. If you must move items, trigger a new mapping run afterward.
- Use Persistent Maps: Enable “Always Use This Map” in the iRobot Home app to prevent the robot from creating fragmented or duplicate maps.
- Update firmware regularly: iRobot releases updates that improve navigation logic, obstacle detection, and mapping stability.
- Reset maps only when necessary: While deleting a map can help resolve deep confusion, it forces the Roomba to start over. Reserve resets for major renovations or persistent errors.
- Leverage smart home integration: Connect your Roomba to voice assistants or routines (e.g., “Clean the living room after I leave”) to automate cleaning when the space is clear.
| Do’s | Don’ts |
|---|---|
| Keep floors clear of small objects and cords | Leave toys or charging cables on the floor |
| Run initial mapping in consistent lighting | Map in total darkness or with flickering lights |
| Label and edit rooms in the app | Ignore mislabeled or merged rooms |
| Set Keep Out Zones around trouble spots | Allow unrestricted access to clutter-prone areas |
| Perform regular brush and sensor cleaning | Let dust accumulate on cliff or bumper sensors |
Real-World Example: Fixing a Problematic Living Room Layout
Sarah, a homeowner in Portland, noticed her Roomba j7+ kept getting stuck near her entertainment center. Despite having ample open space, the robot would veer off course, bump into a glass coffee table leg, and eventually halt with a “stuck” alert. After reviewing her app map, she realized the Roomba was interpreting the reflection from the glass table as an open pathway, causing it to attempt impossible turns.
She applied several fixes: First, she placed a thin fabric runner under the glass table to reduce reflectivity. Next, she used the iRobot app to draw a Keep Out Zone around the base of the table. Finally, she scheduled cleanings during daytime hours when natural light minimized sensor confusion. Within two days, the Roomba navigated the room flawlessly, covering 98% of the floor without incident.
This case illustrates how environmental factors invisible to humans can severely impact robotic perception—and how simple, targeted interventions restore functionality.
Essential Maintenance Checklist to Prevent Sticking
Even with perfect mapping, mechanical issues can cause immobilization. Use this checklist monthly—or weekly in high-traffic homes—to keep your Roomba in top condition.
- ✅ Clean roller brushes of hair and debris
- ✅ Empty dustbin after every use
- ✅ Wipe down cliff and bumper sensors with a dry cloth
- ✅ Check wheel alignment and remove tangled strings
- ✅ Inspect side brush for damage or stiffness
- ✅ Verify battery health and charging contact cleanliness
- ✅ Reassess map accuracy after any major room change
Frequently Asked Questions
Why does my Roomba avoid certain areas even though they’re clear?
This usually happens when the map incorrectly identifies those zones as obstacles or when Keep Out Zones are accidentally enabled. Open the iRobot Home app, check your active maps, and verify no virtual boundaries are blocking accessible areas. You can also delete and rebuild the map if inconsistencies persist.
Can sunlight affect my Roomba’s navigation?
Yes. Direct sunlight can overwhelm the robot’s optical sensors, especially during mapping. Strong glare or shifting light patterns may cause the Roomba to misjudge distances or perceive false obstacles. For best results, map your space under stable, indirect lighting conditions.
How often should I update my Roomba’s map?
You don’t need to update the map regularly unless you’ve made significant changes to your home layout. However, if you notice increased sticking or inefficient cleaning paths, initiate a new mapping run. iRobot recommends remapping after major furniture shifts or renovations.
Conclusion: Smarter Mapping, Fewer Interruptions
Your Roomba’s ability to clean autonomously depends heavily on how well it understands your space. Getting stuck isn’t just an inconvenience—it’s a signal that the environment, maintenance, or mapping needs attention. By preparing your home, guiding the initial learning phase, and maintaining both the device and its digital map, you transform your Roomba from a temperamental gadget into a reliable household partner. The result? Cleaner floors, fewer interruptions, and real automation that fits seamlessly into daily life.


 浙公网安备
33010002000092号
浙公网安备
33010002000092号 浙B2-20120091-4
Comments
No comments yet. Why don't you start the discussion?