
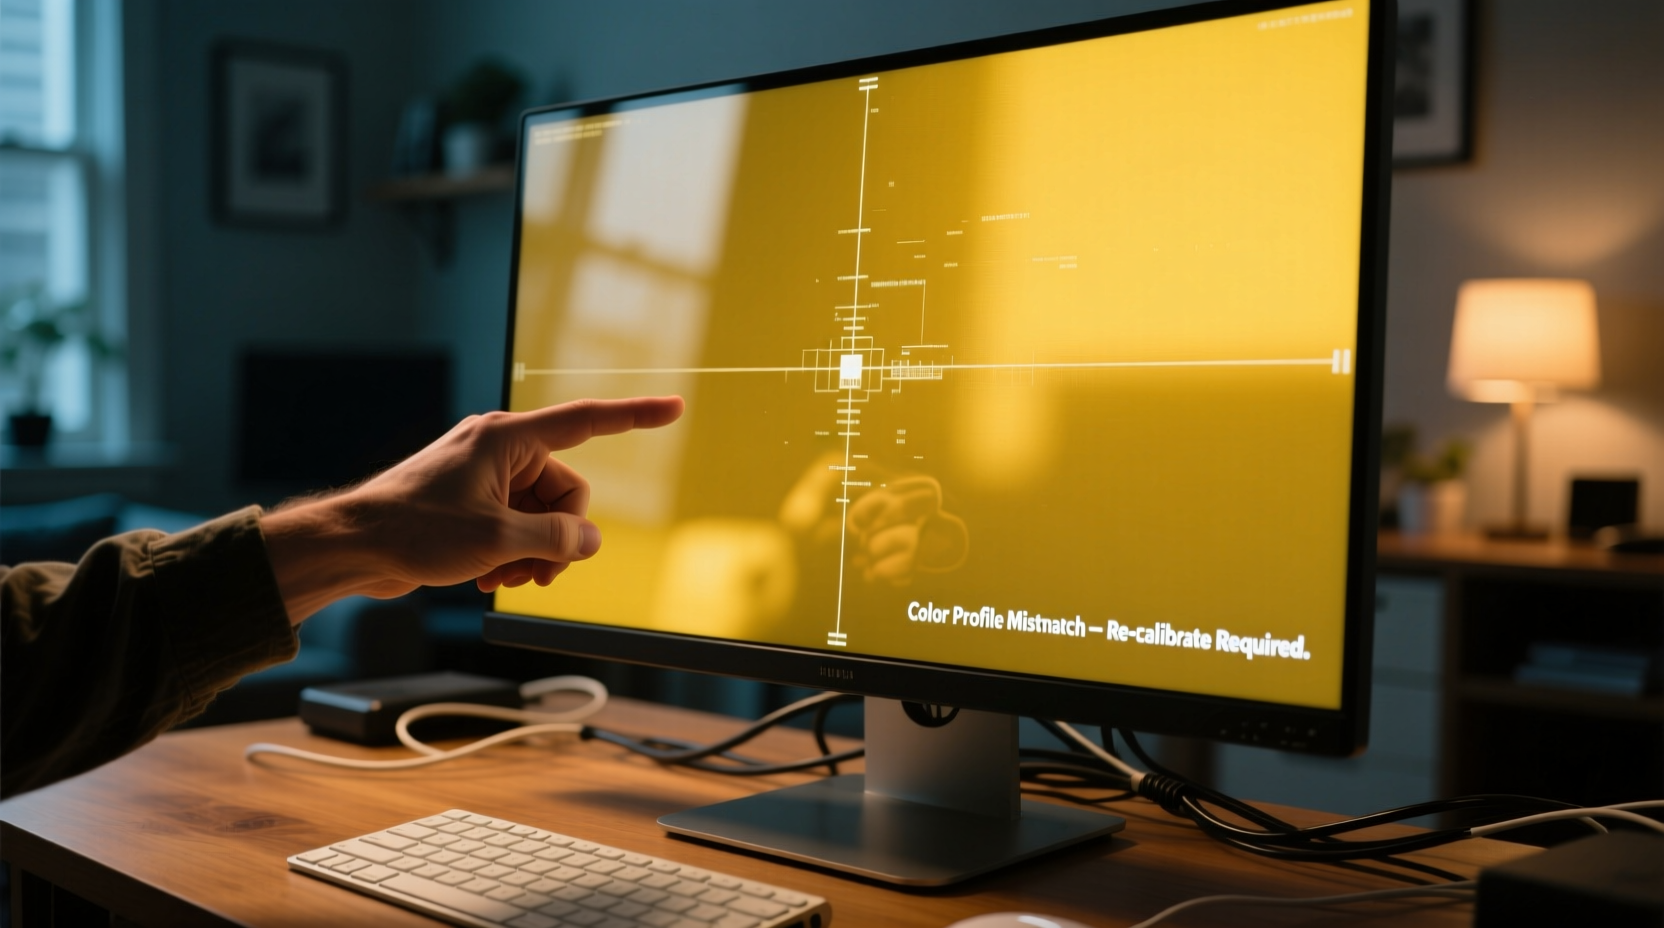
After updating your operating system or graphics drivers, you might notice that your screen suddenly appears warmer—almost amber-tinted—compared to its previous neutral tone. This yellowish cast can be disorienting, especially if you work with photo editing, design, or spend long hours in front of the display. While alarming at first, this shift is usually not a hardware defect but a software-level change triggered by system updates. Understanding the root causes and learning how to recalibrate your display properly can restore accurate colors and improve visual comfort.
The issue often stems from changes in default color profiles, activation of night light or blue light reduction features, or incorrect ICC (International Color Consortium) profile assignments during the update process. Fortunately, most cases are reversible through manual calibration and proper settings adjustments. This guide walks you through diagnosing the cause, correcting the tint, and calibrating your screen for optimal color accuracy across devices.
Why Your Screen Turns Yellow After an Update
System updates—whether on Windows, macOS, or even firmware-level GPU driver upgrades—can reset or override existing display settings. These changes are sometimes intentional, aimed at improving eye comfort or energy efficiency, but they may clash with user preferences or professional needs.
One common culprit is the automatic re-enabling of \"Night Light\" (Windows), \"Night Shift\" (macOS), or similar blue light filters. These features reduce blue wavelengths in favor of warmer tones during evening hours, mimicking natural sunset lighting. However, if the schedule is misconfigured or the feature was disabled before the update, it may return unexpectedly post-update.
Another reason lies in color management systems. Updates can reset ICC profiles to factory defaults, which may not match your monitor’s actual capabilities. For example, many monitors default to a 6500K white point (D65), but some updates may switch to sRGB or a manufacturer-specific profile that emphasizes warmth. Additionally, HDR mode activation or dynamic contrast adjustments can alter perceived color temperature without explicit user consent.
“Color consistency is critical in digital workflows. A sudden shift due to an OS update can compromise color-sensitive tasks like video grading or print design.” — Dr. Lena Park, Display Calibration Specialist, Imaging Science Foundation
Step-by-Step: Diagnose and Fix the Yellow Tint
Before diving into calibration, rule out simple fixes. Follow this logical sequence to identify and correct the issue:
- Check Night Light / Blue Light Settings: On Windows, go to Settings > System > Display and toggle off “Night Light.” On macOS, navigate to System Settings > Displays > Night Shift and disable it temporarily.
- Verify Graphics Driver Status: An outdated or corrupted driver can misinterpret color output. Visit your GPU manufacturer’s website (NVIDIA, AMD, Intel) and install the latest compatible driver.
- Inspect Monitor Physical Controls: Use the on-screen menu (OSD) of your monitor to ensure no preset like “Warm,” “Low Blue Light,” or “Reading Mode” has been auto-selected.
- Disconnect Third-Party Calibration Tools: Software like f.lux or Iris may conflict with system settings. Temporarily disable them to test baseline output.
- Boot into Safe Mode (Windows): If the yellow tint persists only in normal mode, a background application may be forcing color adjustments.
How to Calibrate Your Screen for Accurate Colors
Once the immediate cause is addressed, perform a full color calibration to ensure long-term accuracy. Built-in tools in both Windows and macOS offer reliable results for general use. For professionals, consider hardware calibration devices like the X-Rite i1Display or Datacolor SpyderX.
Windows Display Calibration Tool
Windows includes a robust calibration utility that guides you through gamma, brightness, contrast, and color balance adjustments.
- Open Control Panel > Appearance and Personalization > Display > Calibrate color.
- Click “Next” and follow the on-screen instructions.
- Adjust gamma using the circle alignment tool until the central dot blends naturally.
- Set brightness and contrast using the provided test patterns—ensure details are visible in dark and bright areas.
- In the color balance step, adjust red, green, and blue sliders until the grayscale appears neutral—no visible pink, yellow, or blue casts.
- Save the new ICC profile with a descriptive name (e.g., “Calibrated_2024_Oct”).
macOS Display Calibrator Assistant
For Mac users, Apple provides a more advanced calibration assistant with ambient light compensation.
- Go to System Settings > Displays > Color Filters and ensure no filters are active.
- Click the “Color…” button next to your display and select “Calibrate.”
- Choose “Expert Mode” for full control over settings.
- Set the white point to D65 (standard daylight) unless working under specific lighting conditions.
- Adjust gamma to 2.2 for general use or 1.8 for prepress work.
- Name and save the profile. macOS will apply it automatically based on ambient light if True Tone is enabled.
Do’s and Don’ts of Screen Color Management
| Do’s | Don’ts |
|---|---|
| Calibrate your screen monthly if used for creative work | Trust factory presets as final settings |
| Use consistent ambient lighting during calibration | Calibrate under direct sunlight or mixed lighting |
| Label and organize custom ICC profiles | Delete default profiles without backup |
| Enable HDR only when consuming HDR content | Leave HDR on for standard SDR applications |
| Update graphics drivers regularly | Ignore firmware updates for external monitors |
Real Example: Photographer Recovers Post-Update Workflow
Sophie Tran, a freelance product photographer in Vancouver, experienced a dramatic yellow shift on her Dell UltraSharp U2723QE after a Windows 11 feature update. Her client deliverables began receiving complaints about inaccurate skin tones. Initially suspecting monitor failure, she spent hours troubleshooting cables and ports.
Upon closer inspection, she noticed the Night Light setting had been reactivated with a custom schedule peaking at 100% warmth between 6 PM and 8 AM. Even though she worked late, the aggressive filter distorted all previews. Disabling Night Light helped slightly, but colors still looked off.
She then accessed the Windows calibration tool and discovered her ICC profile had reverted to “sRGB” instead of her calibrated “Dell Factory Wide Gamut” profile. By recalibrating using the built-in wizard and reapplying her preferred profile, Sophie restored neutral grays and accurate color representation. She now backs up her ICC files monthly and reviews display settings after every major update.
When to Use Hardware Calibration Tools
Software calibration improves perception, but hardware calibration measures actual output using a colorimeter. This is essential for professionals in photography, publishing, and video production where color fidelity is non-negotiable.
A hardware calibrator attaches to your screen and reads emitted colors against known standards. It generates a precise ICC profile tailored to your monitor’s behavior under current conditions. Unlike software tools, it accounts for panel aging, backlight decay, and environmental influences.
Popular models include:
- X-Rite i1Display Pro: High accuracy, supports multiple monitor types including OLED.
- Datacolor SpyderX: Fast measurement, ideal for photographers and designers.
- Calibrite ColorChecker Display: Open-source compatible, excellent for Linux users.
These tools typically come with dedicated software that automates profiling, schedules recalibration reminders, and manages multiple displays in multi-monitor setups.
Frequently Asked Questions
Can a Windows update permanently damage my screen’s color?
No. Operating system updates affect software settings, not physical components. The yellow tint is a configuration issue, not hardware damage. You can always revert or recalibrate.
Why does my screen look fine to me but yellow to others?
Human color perception varies, and individual monitors render colors differently. Without calibration, two screens may display the same image with noticeable differences. Always rely on objective tools rather than subjective judgment.
Should I keep Night Light on all the time for eye health?
Night Light can reduce eye strain in low-light environments, but constant use distorts color accuracy. Use it selectively—enable it in the evening and disable it during daylight or creative work.
Final Checklist: Restore and Maintain Proper Screen Color
- ✅ Disable Night Light / Night Shift temporarily
- ✅ Check monitor OSD for warm presets
- ✅ Update graphics drivers to latest version
- ✅ Run built-in calibration tool (Windows or macOS)
- ✅ Save and assign a custom ICC profile
- ✅ Test with grayscale images and neutral backgrounds
- ✅ Back up your ICC profile for future recovery
- ✅ Consider hardware calibration for professional use
Conclusion: Take Control of Your Display Experience
A yellow-tinted screen after an update is a common but fixable issue. By understanding the interplay between software settings, color profiles, and display technology, you regain control over your visual environment. Whether you're a casual user or a creative professional, accurate color representation enhances both productivity and comfort.
Don’t accept default settings as permanent. Regularly audit your display configuration, especially after system updates, and invest time in proper calibration. Your eyes—and your work—will thank you.


 浙公网安备
33010002000092号
浙公网安备
33010002000092号 浙B2-20120091-4
Comments
No comments yet. Why don't you start the discussion?