
Low water pressure in the shower is more than just an annoyance—it can ruin your morning routine, reduce cleaning efficiency, and make even short showers feel like a chore. If you've noticed your once-powerful spray fading into a weak drizzle, you're not alone. Over time, nearly every household experiences declining shower pressure. The good news? In most cases, the cause isn’t a major plumbing failure but something far simpler—and fixable with basic tools and minimal effort.
This guide breaks down the common reasons behind diminishing shower pressure, walks through practical solutions you can implement today, and equips you with the knowledge to maintain strong flow for years to come. Whether you live in an older home or a modern apartment, these fixes apply universally and require no professional expertise.
Understanding How Shower Heads Lose Pressure
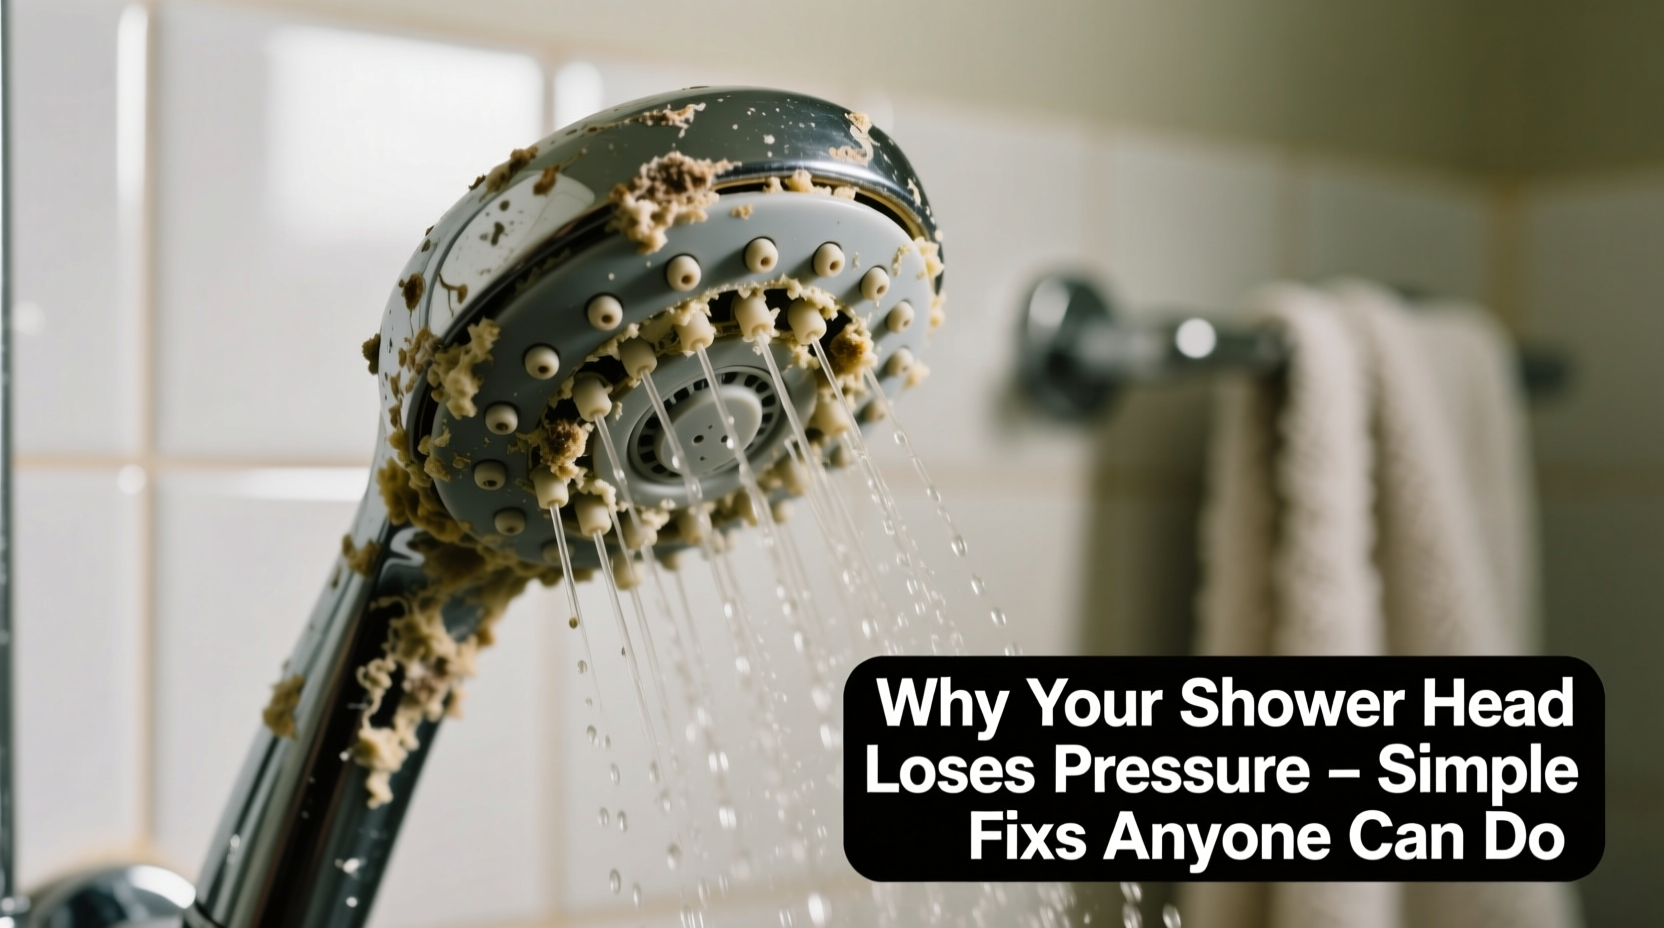
Water pressure loss doesn't happen overnight. It’s usually the result of gradual buildup, mechanical wear, or system-wide issues that compound over months or years. The key culprits include mineral deposits, clogged aerators, faulty valves, and internal design limitations of certain shower heads.
Hard water, which contains high levels of calcium and magnesium, is one of the leading causes of reduced flow. As water passes through the shower head, these minerals precipitate and accumulate inside small nozzles and internal channels. Over time, this scale restricts water passage, directly impacting pressure.
Another common issue lies in the shower head's built-in flow restrictor—a small plastic disc designed to limit water usage for conservation purposes. While eco-friendly, these devices can become partially blocked or overly restrictive, especially in areas with sediment-heavy water supplies.
“Up to 70% of low-pressure complaints stem from simple obstructions like limescale or debris in the shower head—not mainline plumbing issues.” — Mark Reynolds, Licensed Plumber & Home Systems Consultant
Step-by-Step: Diagnosing the Cause of Low Pressure
Before attempting repairs, it's important to identify the root cause. Follow this diagnostic process to pinpoint where the problem lies:
- Test other fixtures: Check sink faucets and tub spouts in the same bathroom. If they also have low pressure, the issue may be systemic (e.g., main shutoff valve, pressure regulator, or whole-house sediment buildup).
- Remove and inspect the shower head: Unscrew it by hand or use adjustable pliers wrapped in cloth to avoid scratching. Examine the nozzle openings for white or greenish crust—this indicates mineral deposits.
- Run water without the shower head: Turn on the shower valve with the head removed. If water flows strongly from the pipe, the blockage is in the shower head itself.
- Check for kinks or damage in the hose: On handheld units, inspect the hose for bends, crushing, or internal debris.
- Inspect the wall inlet: Remove the shower arm and flush the pipe briefly. If flow improves after reattachment, sediment was trapped in the fitting.
Simple Fixes You Can Do Today
Most pressure problems can be resolved in under an hour using household items. Here are five proven methods:
1. Soak the Shower Head in Vinegar
Vinegar is a natural descaling agent that dissolves mineral buildup without damaging metal or plastic components.
- Fill a plastic bag with white vinegar.
- Place the bag over the shower head so all nozzles are submerged.
- Secure it with a rubber band or twist tie.
- Let it soak for 1–4 hours (longer for heavy buildup).
- Remove the bag and scrub remaining residue with an old toothbrush.
- Rinse thoroughly and reattach.
2. Clean or Remove the Flow Restrictor
Many modern shower heads contain a flow restrictor that limits output to 2.5 gallons per minute (GPM) or less. These discs can trap debris and further reduce pressure.
- Disassemble the shower head (often requires a small screwdriver or needle-nose pliers).
- Locate the restrictor—a small white or clear plastic disc near the inlet.
- Carefully remove it and rinse under warm water.
- Optionally, drill two small holes (1/16 inch) in the restrictor to increase flow while retaining some regulation.
- Reassemble and test.
3. Flush the Shower Arm and Valve
Sediment can collect in the threaded pipe (shower arm) or behind the valve plate.
- Unscrew the shower head completely.
- Turn on the water supply briefly to flush out any debris.
- Use a towel to catch splashing water.
- Turn off and dry the threads before reattaching the shower head.
4. Replace the Aerator or Nozzle Plate
Some shower heads feature removable aerator screens or nozzle plates that can be cleaned or replaced individually.
- Use a pin or paperclip to clear individual jet holes.
- Soak the plate in vinegar if corrosion is visible.
- Replace with a new plate if damaged or excessively worn.
5. Upgrade to a High-Pressure or Self-Cleaning Model
If recurring issues persist, consider replacing the unit with a model designed for low-pressure environments.
Look for features like:
- Rainfall designs with optimized internal routing
- Anti-clog silicone nozzles that resist mineral buildup
- Pressure-boosting technology (some models use venturi systems)
- Removable cartridges for easy maintenance
Do’s and Don’ts When Fixing Shower Pressure Issues
| Do | Don’t |
|---|---|
| Use vinegar instead of harsh chemical cleaners | Use bleach or abrasive pads on chrome finishes |
| Wrap plumbing tape around threads during reinstallation | Overtighten connections, which can crack fittings |
| Inspect hoses annually for internal buildup | Ignore signs of corrosion or leaking joints |
| Install a water softener if you have hard water | Assume low pressure is always due to the shower head |
| Flush the system after plumbing work or long absences | Use excessive force when disassembling plastic parts |
Real Example: Restoring Pressure in a 20-Year-Old Condo
Jennifer, a homeowner in Denver, Colorado, had been dealing with poor shower pressure for over a year. Her master bathroom featured a fixed overhead rain-style shower head that initially provided a luxurious spray but had deteriorated to a mere trickle.
She tried adjusting the main water valve and checking other fixtures, but only the shower was affected. Following the vinegar soak method, she left the head submerged overnight due to severe limescale. After scrubbing and reinstalling, flow improved slightly—but not fully.
Upon disassembling the unit, she discovered a corroded flow restrictor packed with rust particles from aging galvanized pipes. After removing the restrictor and flushing the shower arm, pressure returned to near-original levels. She later installed a whole-house sediment filter to prevent recurrence.
“I spent less than $5 and about 45 minutes,” Jennifer said. “It felt amazing to solve it myself instead of calling a plumber.”
Maintenance Checklist to Prevent Future Pressure Loss
Prevention is the best way to avoid recurring issues. Use this checklist monthly or quarterly:
- ✅ Visually inspect nozzles for mineral crust or discoloration
- ✅ Wipe down the shower head with a damp cloth to prevent film buildup
- ✅ Perform a vinegar soak every 3–6 months (more often in hard water areas)
- ✅ Check the hose for kinks or internal cloudiness
- ✅ Test water pressure across multiple fixtures to detect early changes
- ✅ Replace aging washers or O-rings if leaks develop
- ✅ Consider installing a point-of-use water filter if your area has high iron or sediment content
“The single biggest factor in long-term shower performance is consistent, light maintenance. Five minutes every few months saves hours of repair later.” — Luis Mendez, Plumbing Maintenance Specialist
Frequently Asked Questions
Can I increase shower pressure without changing the shower head?
Yes. Cleaning the existing unit, removing or modifying the flow restrictor, and flushing the supply line often restore adequate pressure. Additionally, ensuring your home’s main water pressure is within the optimal range (40–60 psi) can help. Use a pressure gauge attached to an outdoor spigot to test.
Is low shower pressure a sign of bigger plumbing problems?
Not always. If only one fixture is affected, the issue is likely localized. However, if multiple bathrooms or faucets show reduced flow, investigate potential causes like a failing pressure regulator, closed valve, or widespread pipe corrosion—especially in homes with galvanized steel piping.
Are there shower heads that work well in low-pressure homes?
Absolutely. Look for models labeled “low-pressure optimized” or “high-efficiency.” Brands like Niagara, Waterpik, and Kohler offer units with internal pressure chambers or air-infusion technology that amplify perceived force even with limited flow. Silicone nozzles also resist clogging better than traditional plastic or metal jets.
Final Thoughts: Take Control of Your Shower Experience
Losing shower pressure doesn’t mean you need expensive renovations or professional intervention. In most cases, the solution lies in simple, accessible maintenance steps that take little time and cost almost nothing. From soaking in vinegar to removing restrictive components, homeowners can reclaim strong, satisfying water flow with confidence.
By understanding how mineral buildup, design limitations, and system dynamics affect performance, you’re better equipped to prevent future issues. Regular inspection and minor upkeep go a long way in preserving both function and comfort.


 浙公网安备
33010002000092号
浙公网安备
33010002000092号 浙B2-20120091-4
Comments
No comments yet. Why don't you start the discussion?