
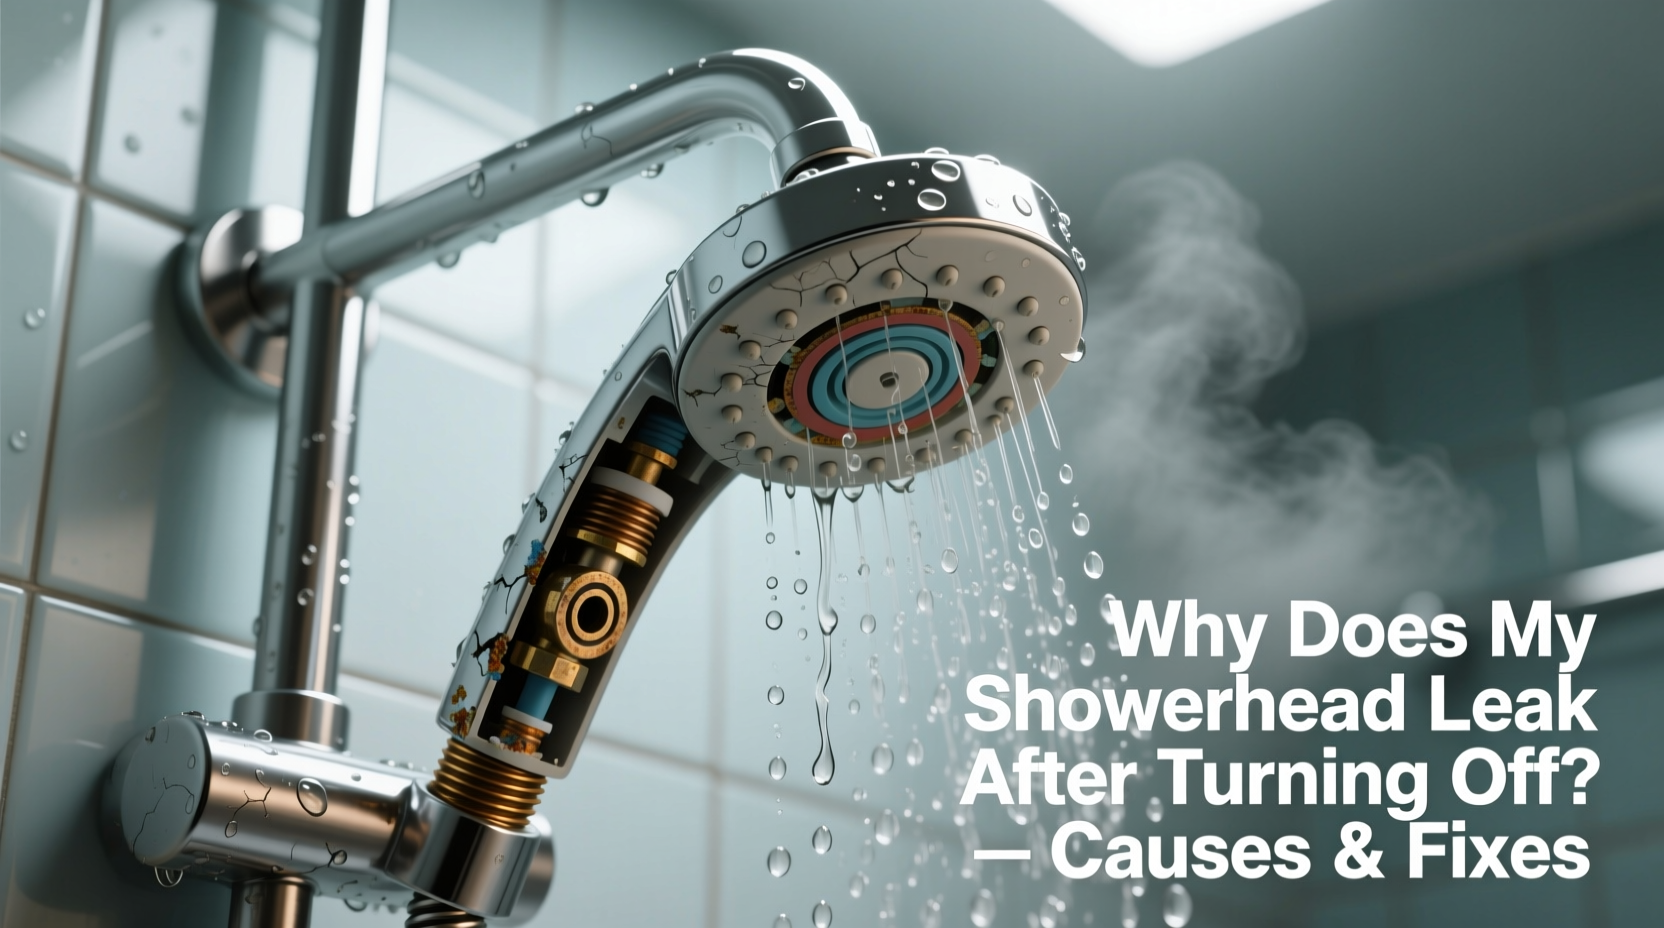
A steady drip from your showerhead long after you’ve turned off the water isn’t just annoying—it can waste gallons of water over time and signal underlying plumbing issues. While a small amount of residual water draining from the showerhead is normal, continuous or prolonged leaking points to mechanical or installation problems. Understanding the root causes and knowing how to address them can save you money, reduce water waste, and prevent damage to your bathroom fixtures.
Common Causes of Post-Shower Dripping
Showerhead leaks after use are rarely due to the showerhead itself but rather stem from components within the valve system, connections, or water pressure dynamics. Here are the most frequent culprits:
- Residual Water Drainage: After shutting off the water, leftover water trapped in the shower arm or head naturally drains out. This typically stops within 30 seconds and is not a true “leak.”
- Worn or Damaged Cartridge/Valve: In single-handle showers, the internal cartridge regulates hot and cold water flow. Over time, mineral buildup or wear can prevent it from sealing completely, allowing water to seep through.
- Faulty Washer or O-Ring: Traditional two-handle showers rely on rubber washers and O-rings to create watertight seals. These degrade with age, leading to drips even when valves are closed.
- Mineral Buildup: Hard water deposits accumulate inside the valve or showerhead, interfering with proper closure and flow regulation.
- High Water Pressure: Excessive pressure can force water past seals that would otherwise hold under normal conditions.
- Improper Installation: A loosely connected showerhead or misaligned valve components may not seal correctly, causing persistent dripping.
How to Diagnose the Leak Source
Before attempting repairs, determine whether the issue lies in the showerhead, the connecting arm, or the internal valve. Misdiagnosis can lead to unnecessary part replacements.
- Observe the Drip Pattern: Is water coming from the showerhead nozzle, the connection between the head and arm, or the wall control handle?
- Check Connection Tightness: Gently tighten the showerhead onto the shower arm. Use a wrench wrapped in cloth to avoid scratching, but don’t overtighten.
- Isolate the Valve: Turn off the water supply and disassemble the handle and trim to inspect the cartridge or valve body for cracks, warping, or debris.
- Test Water Pressure: Attach a pressure gauge to an outdoor spigot or washing machine valve. Normal household pressure ranges between 40–80 psi. Anything above 80 psi may require a pressure-reducing valve.
Mini Case Study: The Persistent Morning Drip
Sarah noticed her showerhead dripped for nearly five minutes each morning after her routine. Initially dismissing it as normal drainage, she began tracking water usage and found a 15% increase on her monthly bill. After tightening the showerhead and cleaning the filter, the drip persisted. She removed the handle and discovered a cracked ceramic disc cartridge in her Moen valve. Replacing the cartridge for $28 stopped the leak entirely—proving that internal valve failure, not the showerhead, was the real issue.
Step-by-Step Fixes Based on Cause
The right solution depends on where the leak originates. Below is a structured repair guide tailored to common scenarios.
Fix 1: Resolving Internal Valve Leaks (Single-Handle Showers)
- Turn off the water supply at the main shutoff or individual bathroom valves.
- Remove the handle cap and unscrew the handle to expose the cartridge.
- Use a screwdriver or Allen wrench to remove the retaining clip or screw.
- Pull out the cartridge carefully. Note its orientation and model number.
- Inspect for cracks, erosion, or mineral deposits. Soak in vinegar if buildup is present.
- Replace with an exact manufacturer-matched cartridge (e.g., Delta RP46074, Kohler K-358).
- Reassemble the handle and restore water. Test for leaks.
Fix 2: Replacing Worn Washers or O-Rings (Two-Handle Showers)
- Shut off water and open both hot and cold valves to relieve pressure.
- Remove the handle and escutcheon plate to access the stem.
- Unscrew the stem using a wrench and inspect the rubber washer at the bottom.
- If the washer is cracked, flattened, or brittle, replace it with an identical size.
- Check the O-ring around the stem shaft. Lubricate with silicone grease before reinstallation.
- Tighten securely but avoid over-torquing, which can crack brass stems.
Fix 3: Addressing Mineral Buildup
Hard water leaves calcium and lime deposits that interfere with valve seals and restrict flow.
- Disassemble the showerhead and soak it in white vinegar for 4–6 hours.
- Use a soft brush to scrub nozzles and internal passages.
- For internal valve buildup, remove the cartridge and soak in vinegar or use a descaling solution.
- Flush the shower arm with water before reattaching the showerhead.
Do’s and Don’ts When Repairing Shower Leaks
| Do’s | Don’ts |
|---|---|
| Turn off water before starting any repair | Ignore persistent dripping lasting more than a few minutes |
| Label parts during disassembly to remember placement | Use Teflon tape on valve threads (can cause improper seating) |
| Lubricate O-rings with silicone-based grease | Overtighten fittings—this can strip threads or crack components |
| Match replacement cartridges exactly to manufacturer specs | Assume the showerhead is the source without checking the valve |
| Test pressure if multiple fixtures drip | Use pliers directly on chrome finishes—wrap with cloth |
Expert Insight: What Plumbers See Most Often
“Over 60% of post-shower leaks we service come down to failed cartridges or degraded washers. People often replace the entire showerhead, but the real fix is usually behind the wall plate. Knowing your valve type saves time and money.” — Mark Reynolds, Master Plumber with 18 years of residential experience
Preventative Maintenance Checklist
Regular upkeep reduces the likelihood of leaks and extends fixture life. Follow this checklist every 6–12 months:
- ✅ Clean showerhead by soaking in vinegar
- ✅ Inspect handles for looseness or stiffness
- ✅ Check for visible moisture around the shower valve trim
- ✅ Test water pressure; install a regulator if above 80 psi
- ✅ Replace washers or cartridges proactively if older than 5 years
- ✅ Flush the shower line by running hot water for 2 minutes
When to Call a Professional
While many shower leaks are DIY-friendly, some situations require expert intervention:
- Water is leaking into the wall or ceiling below the bathroom.
- The valve body is corroded or cracked, requiring replacement.
- You’re unsure of your plumbing configuration (e.g., Moen, Delta, Pfister).
- After replacing parts, the leak persists—indicating deeper system issues.
Attempting to replace a rough-in valve without proper tools or drywall repair skills can lead to costly water damage. Licensed plumbers have specialized tools like cartridge pullers and pressure-testing equipment to diagnose and resolve complex cases efficiently.
Frequently Asked Questions
Is a dripping showerhead dangerous?
Not immediately dangerous, but prolonged leaks can lead to mold growth, structural damage, and higher utility bills. A single drip per second wastes over 3,000 gallons of water per year.
Can I fix a leaking showerhead without turning off the main water?
No. Always shut off the water supply before disassembling any plumbing component. Some systems have local shut-offs near the bathroom; otherwise, use the main house shutoff.
Why does my new showerhead still drip?
Even new units can drip if the internal valve is faulty or if there’s high water pressure. The showerhead is rarely the culprit—inspect the valve assembly first.
Final Thoughts and Action Plan
A leaking showerhead after shutdown is more than a minor annoyance—it’s a sign that something in your plumbing system needs attention. Whether it’s a worn cartridge, deteriorated washer, or mineral-clogged valve, identifying the root cause is key to a lasting fix. Many repairs are manageable with basic tools and a bit of patience, saving you hundreds compared to emergency plumbing calls.
Start by observing the drip duration and location. Then follow the diagnostic steps outlined here to isolate the problem. Replace worn components with manufacturer-matched parts, maintain proper water pressure, and perform annual cleanings to keep your system in top condition.


 浙公网安备
33010002000092号
浙公网安备
33010002000092号 浙B2-20120091-4
Comments
No comments yet. Why don't you start the discussion?