
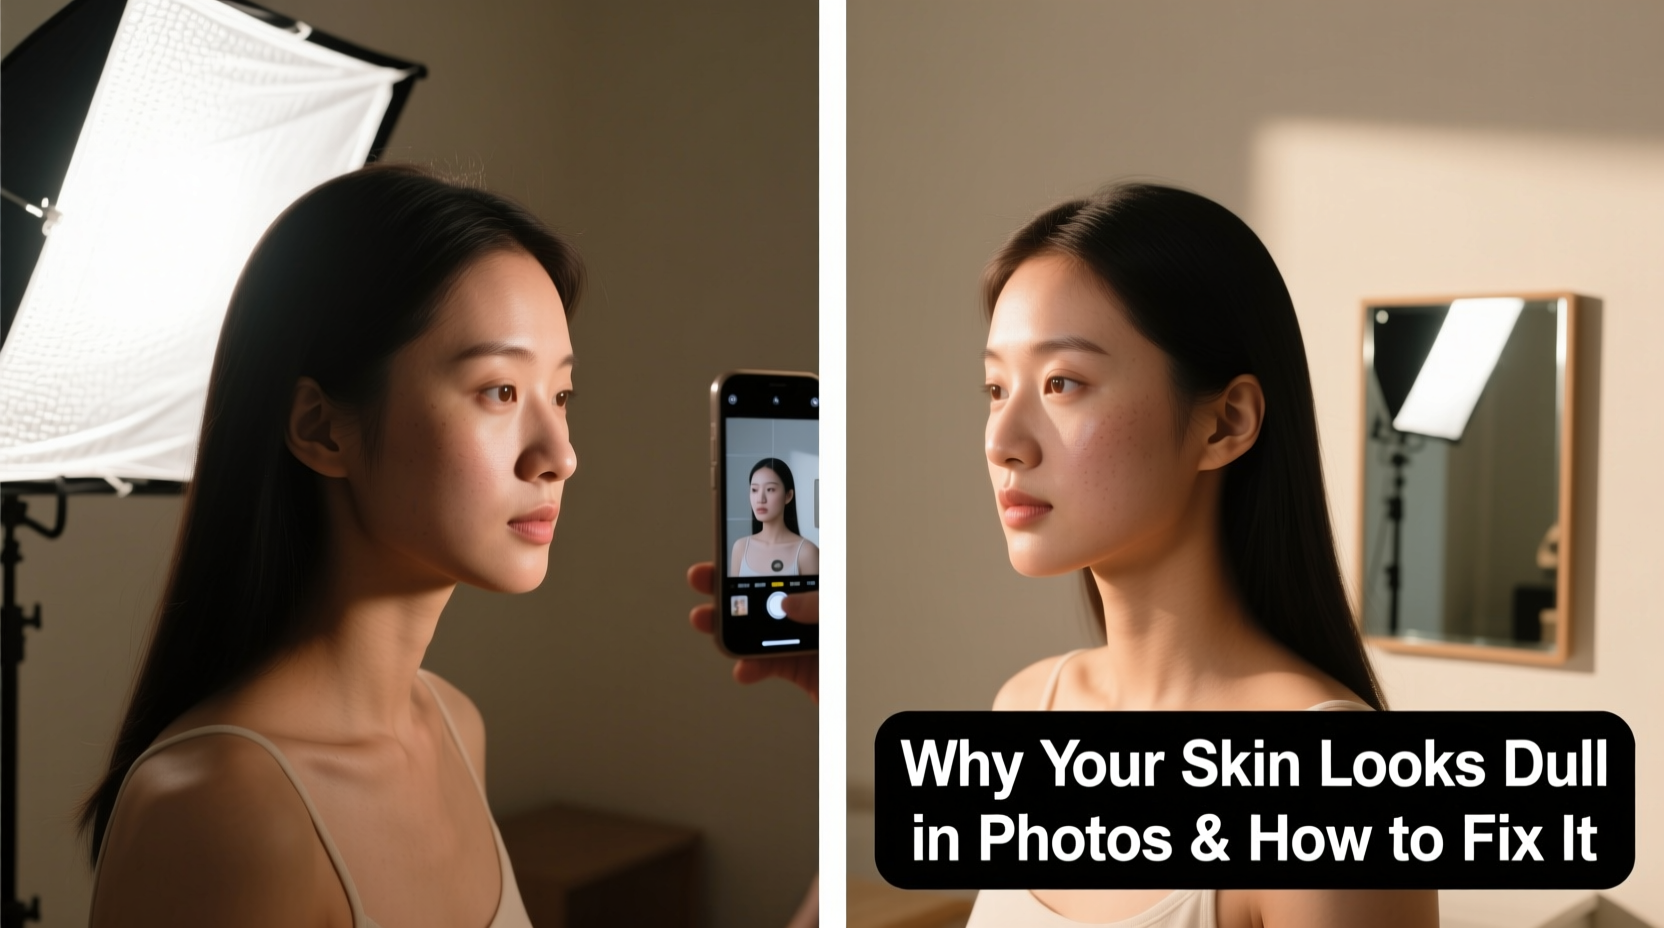
It’s a common frustration: you feel confident, well-rested, and glowing in person, but when you look at photos, your skin appears flat, lifeless, or even sallow. You’re not imagining it—many people experience this disconnect between real-life radiance and photo results. The culprit is rarely your skin condition alone. More often than not, it's the lighting—or lack of proper lighting—that drains the vitality from your complexion in pictures. Understanding how light interacts with your skin and surroundings is the first step toward capturing your true glow.
Dullness in photos isn’t just about camera quality or editing; it stems from how light falls on your face, the color temperature of the environment, shadows, reflections, and even the time of day. Whether you're taking selfies, professional headshots, or casual group photos, mastering lighting can dramatically improve how your skin appears. This guide breaks down the science behind the problem and delivers actionable solutions to ensure your photos reflect your natural luminosity.
The Science Behind Dull Skin in Photos
Human skin reflects light differently than most surfaces due to its texture, oil content, and underlying pigmentation. In real life, our eyes adjust dynamically to lighting conditions, compensating for shadows and highlights. Cameras, however, capture a static exposure. When lighting is uneven or too harsh, the camera may underexpose certain areas, making skin appear darker or flatter than it really is.
One key factor is **diffuse vs. direct lighting**. Natural daylight is typically diffuse, spreading evenly across the face and minimizing harsh contrasts. Indoor lighting, especially fluorescent or single-source bulbs, creates sharp shadows and uneven tones. These shadows can deepen under the eyes, along the jawline, or around the nose, contributing to a tired or dull appearance.
Another issue is **color temperature**. Warm lighting (yellowish) can make skin look overly orange or muddy, while cool lighting (bluish) can cast an ashen or pale tone. Cameras interpret these color casts literally, unlike our brains, which automatically correct for them. As a result, skin that looks warm and healthy in person may come across as washed out or gray in a photo taken under poor lighting.
Common Lighting Mistakes That Diminish Skin Tone
Even with good intentions, everyday lighting choices can sabotage your photo appearance. Here are some frequent missteps:
- Using flash in low light: Built-in camera flashes produce a burst of direct, high-intensity light that flattens facial contours and emphasizes pores and texture, often leaving skin looking dry or chalky.
- Shooting in backlit conditions: When the main light source is behind you (e.g., facing a bright window), your face becomes underexposed, losing detail and appearing shadowed.
- Overreliance on artificial indoor lighting: Most home bulbs have a narrow beam and limited color rendering index (CRI), meaning they don’t accurately represent skin tones.
- Mixing multiple light sources: Combining daylight from a window with overhead tungsten lights creates conflicting color temperatures, leading to unnatural skin hues.
“Lighting is 80% of a great portrait. No amount of skincare can compensate for bad illumination.” — Daniel Reyes, Professional Portrait Photographer
How to Optimize Lighting for Radiant Skin in Photos
The goal isn’t to eliminate shadows entirely but to shape them in a way that enhances dimension and warmth. The right lighting setup brings out the natural contrast in your features while preserving smoothness and glow.
1. Prioritize Natural Light
Natural daylight is the gold standard for flattering skin tones. It has a balanced spectrum and soft diffusion, especially during the “golden hours” (one hour after sunrise and one hour before sunset). During midday, sunlight can be harsh, so seek shaded outdoor areas or shoot near large windows indoors.
2. Use the Window Trick
Position yourself facing a north-facing window if possible—it provides consistent, diffused light throughout the day. Sit about 3–5 feet away from the glass to avoid overexposure. If the light is too strong, hang a sheer white curtain to soften it further.
3. Employ Reflectors for Even Illumination
A simple white foam board or reflective surface placed opposite your light source bounces light back onto your face, filling in shadows under the eyes and chin. This technique mimics professional fill lighting and costs almost nothing to implement.
| Lighting Setup | Best For | Skin Impact |
|---|---|---|
| Front-facing window (natural) | Selfies, Zoom calls, portraits | Soft, even glow; reduces shadows |
| Ring light (LED, adjustable) | Vlogging, makeup tutorials | Can cause shine if too bright; best at 50% intensity |
| Backlit with no fill | Avoid | Creates silhouette effect; face appears dark and dull |
| Diffused ceiling light + reflector | Indoor photos at night | Balances exposure; improves skin clarity |
Step-by-Step Guide: Achieve Flawless Skin Lighting in 5 Minutes
You don’t need expensive gear to take better photos. Follow this quick routine before snapping a picture:
- Find your light source: Locate the nearest window or soft lamp. Turn off overhead ceiling lights if they’re creating harsh shadows.
- Face the light: Position yourself so the light hits your face frontally or at a slight angle (about 30 degrees). Avoid having the sun or bulb directly above you.
- Check for shadows: Look at your face in the camera preview. If there are deep shadows under your eyes or jaw, move closer to the light or add a reflector (a white notebook works).
- Adjust white balance: On smartphones, tap the screen on your face to set focus and exposure. Many cameras allow manual white balance adjustment to prevent yellow or blue tints.
- Take the shot: Slightly tilt your chin up to open the neck area and avoid double-chin shadows. Smile gently to engage cheek muscles and create natural volume.
Real-Life Example: From Dull to Dynamic
Sophie, a freelance content creator, noticed her Instagram selfies looked consistently tired despite her skincare routine. Her bedroom had only a single overhead LED fixture, casting a cold, downward light that emphasized fine lines and made her complexion look ashy. After reading about lighting techniques, she moved her setup next to a large east-facing window and used a $10 foldable reflector from Amazon.
She began shooting in the morning when soft daylight streamed in. Within days, her engagement increased—followers commented on her “glow” and “healthy skin.” The change wasn’t in her routine but in how light revealed her natural tone. Sophie now schedules all her content creation during daylight hours and uses a portable LED panel with diffusion filters for evening shoots.
Do’s and Don’ts of Skin-Friendly Lighting
| Do | Don't |
|---|---|
| Use natural, indirect light whenever possible | Stand directly under a bright ceiling light |
| Shoot during golden hour for warm, soft tones | Use flash in dark rooms without supplemental lighting |
| Bounce light with a white surface to fill shadows | Mix warm and cool lights without correction |
| Adjust camera exposure by tapping the screen | Ignore backlighting—always check your background brightness |
| Invest in a small LED panel with adjustable color temp | Assume smartphone cameras don’t need lighting help |
Frequently Asked Questions
Why does my skin look worse in photos than in the mirror?
Cameras capture images in two dimensions and with fixed exposure settings, which flatten depth and lose subtle tonal variations. Mirrors provide real-time, three-dimensional feedback with dynamic lighting adaptation—your brain fills in what the eyes see. Additionally, most phone cameras slightly oversharpen images, exaggerating texture and minimizing glow.
Can skincare products make my skin look better in photos?
Yes, but only if lighting supports them. Hydrated skin reflects light more evenly, giving a dewy appearance. A lightweight moisturizer or facial oil applied 10 minutes before a photo session can enhance luminosity. However, heavy creams or powders may catch light awkwardly and appear cakey. For best results, pair a minimalist skincare prep with optimal lighting.
Is there a best camera setting for clear skin?
On smartphones, tap to focus on your face and drag the sun icon upward to brighten exposure. Avoid HDR mode in well-lit scenes, as it can over-process and dull colors. For DSLRs or mirrorless cameras, use aperture priority mode (f/2.8–f/5.6) to blur the background and draw attention to your face. Shoot in RAW format to retain skin tone details for editing.
Final Checklist: Lighting Readiness for Flawless Photos
- ✅ Identify primary light source (preferably natural)
- ✅ Face the light directly or at a 30-degree angle
- ✅ Eliminate backlights or overpowering backgrounds
- ✅ Use a reflector or white surface to fill shadows
- ✅ Adjust camera exposure to brighten skin without blowing out highlights
- ✅ Set white balance to neutral (around 4500–5500K)
- ✅ Test with a few trial shots and review closely
Conclusion: Let Your True Glow Shine Through
Your skin doesn’t look dull—your lighting might just be hiding its brilliance. With a few mindful adjustments, you can transform flat, lifeless photos into vibrant representations of your natural beauty. Lighting is not a luxury reserved for professionals; it’s a tool accessible to everyone with a window, a reflector, and a little awareness. Stop blaming your complexion for photo disappointment. Start harnessing light to reveal the radiance that’s already there.


 浙公网安备
33010002000092号
浙公网安备
33010002000092号 浙B2-20120091-4
Comments
No comments yet. Why don't you start the discussion?