
If you've ever lifted the lid off your sourdough starter only to be greeted by a sharp, nail-polish-like aroma, you're not alone. The distinct smell of acetone—often described as fruity, solvent-like, or reminiscent of rubbing alcohol—is a surprisingly common issue among home bakers. While it may seem alarming, this odor is usually a sign of biological activity rather than contamination. Understanding why it happens and how to correct it can mean the difference between a thriving starter and one that’s struggling.
Sourdough starters are living ecosystems composed of wild yeast and lactic acid bacteria. When properly balanced, they emit pleasant tangy, yogurt-like, or mildly fruity scents. But when stressed, they produce volatile compounds such as acetic acid and acetoin, which can break down further into acetone. This article explores the root causes of acetone smells in sourdough starters, offers practical solutions, and provides a clear roadmap for restoring your culture to peak health.
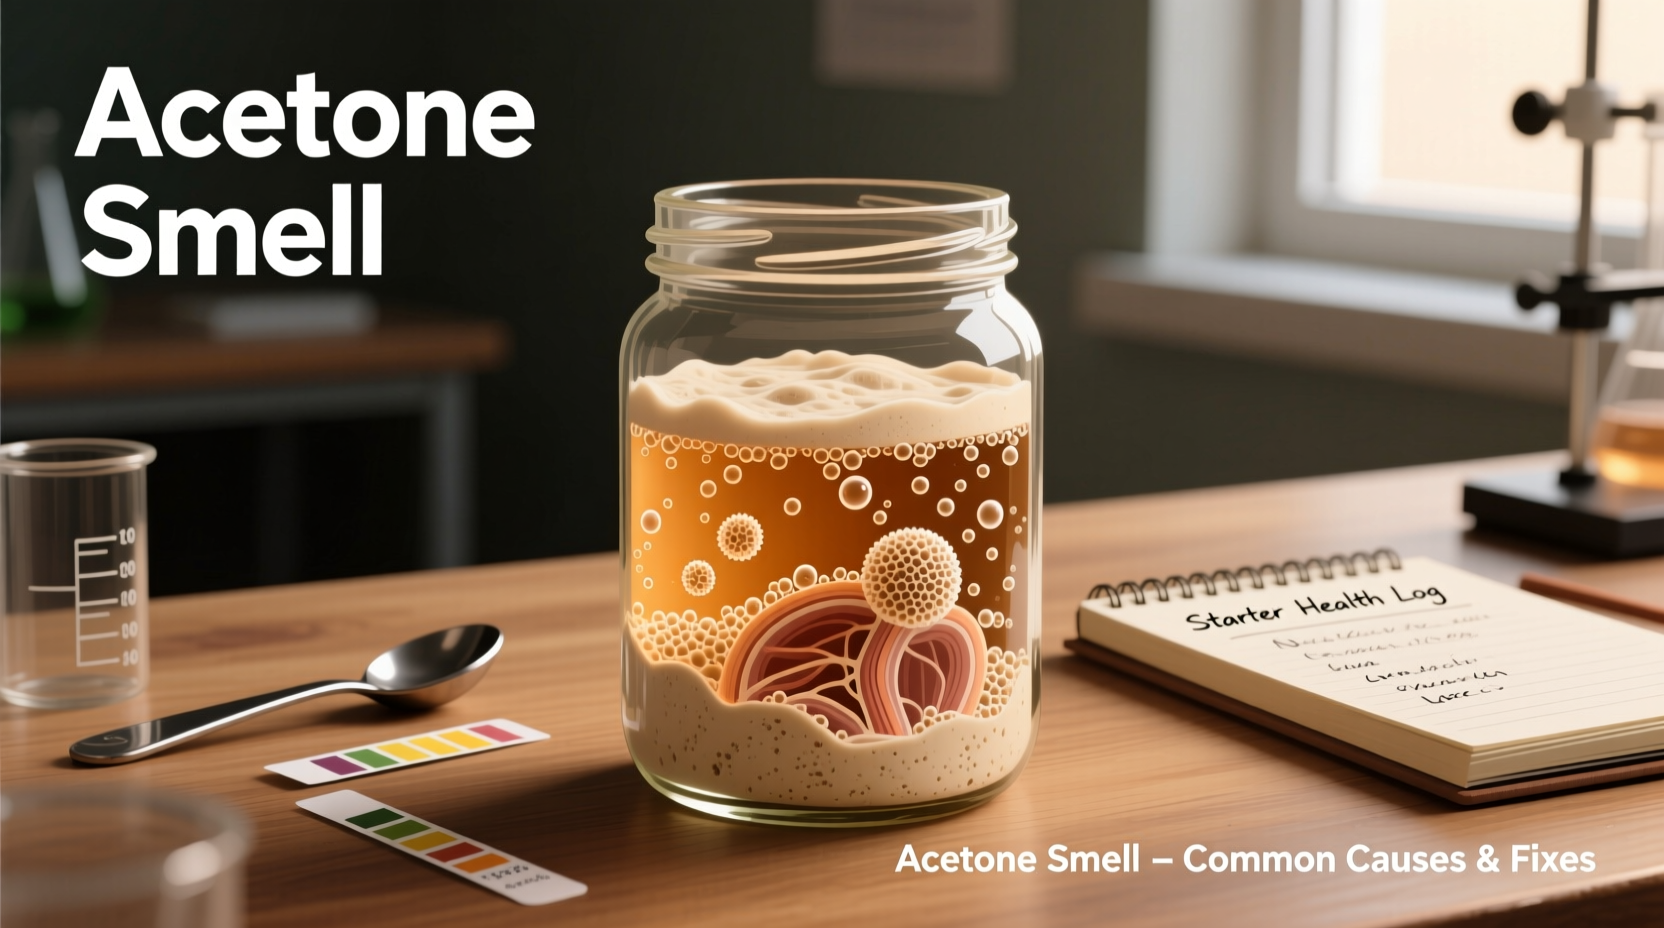
What Causes the Acetone Smell?
The primary reason sourdough starters develop an acetone-like odor lies in metabolic stress. When the microorganisms in your starter consume available carbohydrates, they produce various byproducts. Under ideal conditions, these include lactic acid, carbon dioxide, and ethanol—all contributing to the familiar sourdough aroma. However, when food (flour) becomes scarce, the microbes begin breaking down stored energy reserves, including previously produced ethanol.
This secondary metabolism leads to the formation of acetone through a process called ketogenesis. In simple terms, when your starter hasn’t been fed in a while, the bacteria start consuming their own waste products—specifically ethanol—which results in the release of acetone. It's similar to how the human body produces ketones during fasting.
Environmental factors also play a role. Cool temperatures slow fermentation, allowing acids and alcohols to accumulate. Over time, this buildup contributes to stronger, less pleasant odors. Additionally, using certain flour types—especially low-protein or whole grain flours with high ash content—can influence microbial balance and increase acidity.
Common Triggers of Acetone Odor
Several everyday practices can unintentionally push your starter into acetone production. Recognizing these triggers helps prevent recurrence.
- Inconsistent feeding schedule: Skipping or delaying feedings deprives microbes of fresh nutrients, forcing them into survival mode.
- Infrequent use: Starters kept in the fridge for extended periods without refreshment often develop strong odors due to slowed but ongoing fermentation.
- Too much time between builds: Even active starters left unfed for 24+ hours at room temperature may begin producing acetone.
- Cool ambient temperatures: Cold environments slow yeast activity more than bacterial metabolism, leading to disproportionate acid accumulation.
- Flour type imbalance: Rye or whole wheat starters ferment faster and may become acidic quicker than white flour cultures.
Mini Case Study: Reviving a Neglected Starter
Sarah, a home baker in Portland, returned from a two-week vacation to find her rye-based starter covered in gray hooch and reeking of nail polish remover. Worried she’d ruined it, she poured off the liquid, discarded half the remaining paste, and fed it equal parts water and bread flour. She repeated this twice daily at room temperature. By day three, the acetone smell had faded, replaced by a clean, vinegary tang. Within five days, her starter was rising predictably and producing excellent loaves. Her experience shows that even severely stressed starters can recover with consistent feeding.
Step-by-Step Fix: Restoring a Healthy Starter
Reversing acetone development requires a structured feeding regimen to rebalance microbial populations. Follow this timeline to rehabilitate your starter:
- Day 1 – Initial Reset: Discard all but 20g of your starter. Feed with 40g water and 40g unbleached all-purpose or bread flour. Mix well, cover loosely, and leave at warm room temperature (75–78°F / 24–26°C).
- Day 2 – Double Feeding: Repeat the same feeding after 12 hours. Use a 1:2:2 ratio (starter:water:flour). Stir thoroughly and monitor for signs of bubbles or expansion.
- Day 3 – Assess Activity: If there’s minimal rise, continue twice-daily feedings. If bubbling begins, maintain the schedule until the starter consistently doubles within 6–8 hours.
- Day 4–5 – Consistency Check: Once predictable rising occurs, perform a float test: place a spoonful in room-temperature water. If it floats, your starter is ready for baking.
- Ongoing Maintenance: Either keep at room temperature with daily feeding or store in the refrigerator with weekly refreshments.
This method reintroduces fresh nutrients, dilutes accumulated acids, and encourages beneficial yeast dominance over acid-producing bacteria.
Do’s and Don’ts for Sourdough Starter Care
| Action | Do | Don't |
|---|---|---|
| Feeding Frequency | Feed every 12–24 hours if kept at room temp | Leave unfed for more than 48 hours |
| Storage | Use glass or food-grade plastic containers with loose lids | Seal tightly in airtight jars |
| Flour Choice | Rotate between white, whole wheat, and rye for diversity | Stick exclusively to bleached or low-protein flours |
| Hooch Management | Pour off or stir in depending on color and smell | Ignore prolonged hooch accumulation |
| Temperature | Keep between 70–78°F (21–26°C) | Place near drafty windows or heat sources |
Expert Insight: What Microbiologists Say
Dr. Laura Chen, a fermentation scientist at the University of California, Davis, explains:
“Acetone formation in sourdough is a natural part of the metabolic spectrum. Lactobacilli like L. brevis and L. hilgardii are capable of converting ethanol into acetate and eventually acetone under nutrient-limited conditions. It’s not harmful—it just indicates imbalance. Regular feeding resets the pH and substrate availability, shifting the community back toward lactic acid dominance.” — Dr. Laura Chen, Fermentation Biologist
This insight underscores that acetone isn’t a sign of failure, but rather feedback from your microbial culture. With proper care, the system self-corrects.
Tips for Long-Term Starter Health
Maintaining a vibrant starter goes beyond fixing problems—it involves proactive habits. Consider integrating these strategies into your routine:
- Label and track: Keep a log of feeding times, rise rate, and aroma to detect patterns early.
- Use a transparent container: Allows easy monitoring of bubble formation and volume changes.
- Stagger refreshments: If baking infrequently, reduce starter volume between uses to minimize waste.
- Refresh before refrigeration: Always feed your starter and wait for peak activity before storing it in the fridge.
- Revive gradually: After refrigeration, perform 2–3 consecutive room-temperature feedings before baking.
Frequently Asked Questions
Is an acetone-smelling starter safe to use?
Yes, in most cases. An acetone odor alone doesn’t indicate spoilage. If the starter rises properly after feeding and has no signs of mold (pink, orange, or fuzzy spots), it’s likely safe. However, bread made from an unhealthy starter may have off-flavors or poor rise. Always reactivate a neglected starter fully before baking.
Can I stir the hooch back in?
You can, but it depends on context. Clear to light brown hooch is mostly alcohol and can be stirred in without harm, though it may add sharpness. Dark hooch or that accompanied by an unpleasant smell should be poured off to avoid excessive acidity. For best results, remove the top layer before feeding.
How often should I feed a room-temperature starter?
Most starters require feeding every 12 to 24 hours when kept at 70–78°F (21–26°C). The exact timing depends on flour type, hydration, and ambient temperature. Watch for signs: when the starter begins to fall after peaking or develops hooch, it’s time to feed.
Checklist: Recovering Your Acetone-Smelling Starter
Follow this actionable checklist to restore your starter quickly and effectively:
- ☐ Discard all but 20g of the existing starter
- ☐ Pour off any dark hooch; stir in light layers if preferred
- ☐ Feed with 40g water and 40g all-purpose or bread flour
- ☐ Repeat feeding every 12 hours for 2–3 days
- ☐ Keep at a stable warm temperature (avoid cold kitchens)
- ☐ Observe for consistent doubling within 6–8 hours post-feed
- ☐ Perform a float test before baking
- ☐ Resume regular maintenance or refrigerate after use
Completing this checklist typically resolves acetone issues within 72 hours. Patience and consistency are key—microbial rebalancing takes time.
Conclusion: Trust the Process, Not Just the Smell
An acetone smell in your sourdough starter isn’t a death sentence—it’s a signal. Like a plant wilting from lack of water, your starter is communicating its needs. With attentive feeding and proper conditions, nearly every starter can bounce back stronger than before. The beauty of sourdough lies in its resilience and the deep connection it fosters between baker and biology.
Don’t discard your culture at the first whiff of solvent. Instead, respond with informed care. Adjust your routine, fine-tune your environment, and give your microbes the nourishment they need. Soon, that sharp odor will fade, replaced by the lively tang of a healthy, active starter ready to leaven your next loaf.


 浙公网安备
33010002000092号
浙公网安备
33010002000092号 浙B2-20120091-4
Comments
No comments yet. Why don't you start the discussion?