
It’s a familiar frustration: you join a virtual meeting confident in your message, only to hear your own playback and cringe at how pinched, thin, or nasal your voice sounds. You’re not imagining it—many people experience this distortion during video calls. The issue isn’t just about self-perception; poor audio quality can undermine credibility, reduce engagement, and make communication less effective. The good news is that most of these problems are fixable with the right knowledge and tools.
Voice clarity on digital platforms depends on a combination of acoustics, hardware, software settings, and vocal technique. Understanding why your voice sounds different—and often worse—on recordings and video calls is the first step toward improving it. This guide breaks down the science behind nasal-sounding audio, identifies common technical pitfalls, and provides actionable solutions to enhance your microphone quality and overall presence.
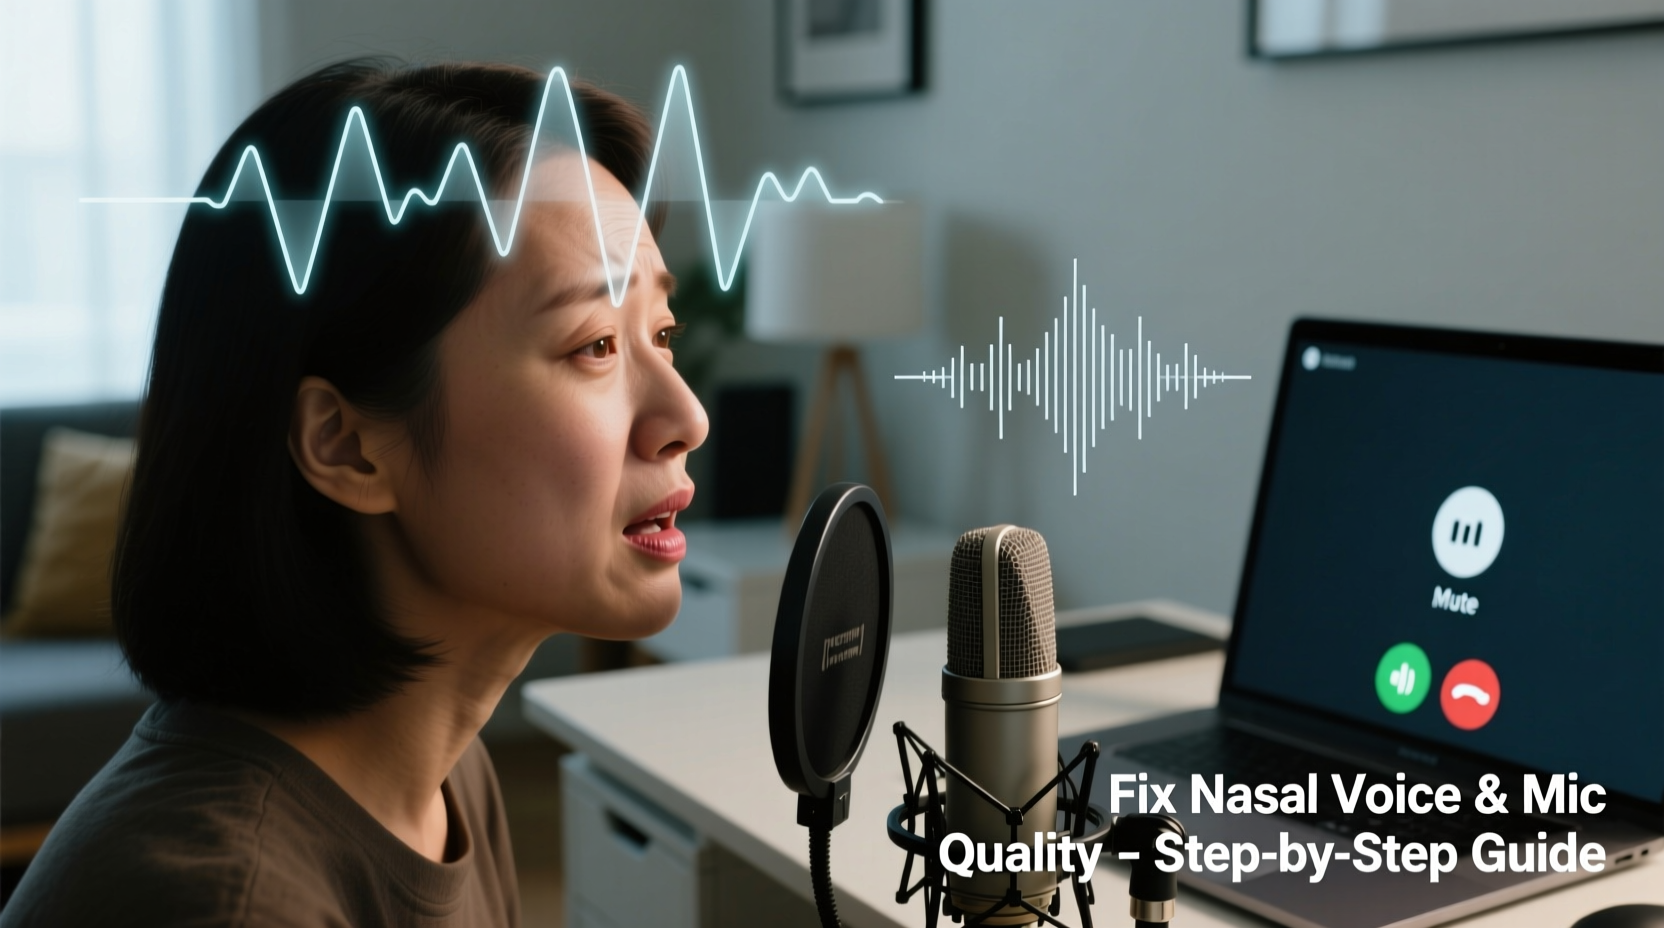
The Science Behind Nasal-Sounding Voices on Video Calls
When you speak, your voice reaches your ears through two pathways: air conduction (sound waves traveling through the air into your ear canal) and bone conduction (vibrations from your vocal cords resonating through your skull). Bone conduction emphasizes lower frequencies, which is why your voice sounds fuller and deeper to you than it does on a recording. On video calls, others—and your playback—only hear the air-conducted version, which naturally lacks those rich, internal vibrations. This discrepancy makes your voice seem higher, thinner, and sometimes nasal.
Nasality occurs when too much sound resonates in the nasal cavity instead of the oral and chest cavities. Normally, soft palate muscles regulate airflow between the nose and mouth. But when you're speaking into a subpar microphone or in an echoey room, certain mid-to-high frequencies (around 800 Hz to 2 kHz) get exaggerated. These frequencies align closely with nasal resonance, making your voice sound congested—even if you’re not sick.
Additionally, low-quality microphones, especially built-in laptop mics, tend to emphasize sibilance (sharp \"s\" and \"sh\" sounds) and lack bass response. This imbalance further skews perception, creating what audio engineers call a “telephone effect”—a narrow frequency range that mimics old landline calls, where voices sound tinny and nasal.
“Most consumer-grade microphones don’t capture the full tonal spectrum of the human voice. That missing warmth below 150 Hz forces the brain to focus on what’s left—the sharper, nasal tones.” — Dr. Lena Patel, Audio Perception Researcher, MIT Media Lab
Common Technical Causes of Poor Mic Quality
Your environment and equipment play a bigger role than you might think. Even with perfect diction, poor setup can degrade audio quality significantly. Here are the most frequent culprits:
- Low-quality built-in microphones: Laptop and webcam mics are designed for convenience, not fidelity. They pick up ambient noise and lack directional sensitivity.
- Acoustic reflections: Hard surfaces like walls, glass, and desks reflect sound, causing echoes and comb filtering—where certain frequencies cancel each other out, leaving unnatural peaks.
- Compression algorithms: Platforms like Zoom, Teams, and Google Meet compress audio to save bandwidth. This strips away dynamic range and subtle tonal details.
- Improper mic placement: Mics placed too far, too high, or off-axis fail to capture balanced vocal tone, often emphasizing breathiness or nasality.
- Background noise interference: HVAC systems, keyboard clicks, or street noise force automatic gain control (AGC) to boost input levels, increasing distortion.
How to Improve Your Microphone Quality: A Step-by-Step Guide
Improving your audio doesn’t require expensive gear or engineering expertise. Follow this practical sequence to achieve clearer, more natural-sounding voice quality.
- Upgrade your microphone: Invest in a USB condenser mic like the Audio-Technica AT2020USB+ or Shure MV7. These offer better frequency response and directional pickup (cardioid pattern), reducing background noise.
- Position the mic correctly: Place it 6–12 inches from your mouth, slightly below chin level and angled upward. This minimizes plosives (\"p\" and \"b\" sounds) and captures more chest resonance.
- Use a pop filter: A simple foam cover or mesh screen reduces explosive consonants and prevents moisture damage.
- Optimize your recording space: Add soft materials—curtains, rugs, pillows—to absorb reflections. Avoid sitting directly against bare walls.
- Adjust input levels manually: Disable automatic gain control in your OS or conferencing app. Set input volume so your speaking voice registers around -12 dB to -6 dB, avoiding clipping.
- Enable noise suppression: Use software tools like Krisp, NVIDIA RTX Voice, or built-in AI filters in Zoom to remove background distractions without affecting vocal clarity.
- Monitor with headphones: Always wear headphones during calls to prevent feedback and ensure you hear your actual output.
Mini Case Study: From Nasal to Natural – Sarah’s Remote Work Transformation
Sarah, a project manager at a tech startup, received consistent feedback that her voice sounded “distracting” and “like she had a cold” during team meetings. She wasn’t ill—just using her MacBook’s internal mic in a small, tile-floored home office. After testing her audio, she realized her voice peaked sharply at 1.8 kHz, a classic nasal frequency band.
She made three changes: bought a $99 USB mic, hung a thick tapestry behind her desk, and lowered her chair so the mic sat six inches below her mouth. Within a week, colleagues commented on her improved clarity. Her voice lost its nasal edge and gained warmth, making her sound more confident and engaged.
Do’s and Don’ts of Vocal Clarity on Video Calls
| Do | Don't |
|---|---|
| Speak with relaxed jaw and open mouth to allow full resonance | Mumble or speak through tight lips, which increases nasality |
| Position mic close and slightly off-axis to reduce plosives | Place mic above monitor pointing down at your head |
| Use a dedicated mic instead of built-in laptop audio | Rely on earbuds with basic mics for professional calls |
| Treat your space with soft furnishings to dampen echoes | Record in empty rooms with hard floors and bare walls |
| Warm up your voice with gentle humming before long meetings | Start speaking immediately after silence; vocal cords need activation |
Vocal Techniques to Reduce Nasality
Beyond hardware, your speaking habits influence how nasal you sound. Training your voice to resonate more in the chest and mouth—not just the nose—can dramatically improve tone.
Try this exercise: place your hand on your upper chest and hum “ah” steadily. If you feel strong vibration in your chest, you’re engaging chest resonance. Now say a sentence like “I’m excited about this project” using that same vibration. This grounded tone carries better over digital channels.
Avoid “twangy” speech, where you raise the larynx and tighten the throat—a habit that amplifies nasal frequencies. Instead, keep your tongue relaxed and your soft palate lifted (imagine starting a yawn). This opens the vocal tract and balances resonance.
Hydration also matters. Dry vocal folds create breathy, strained sounds that microphones exaggerate. Drink water throughout the day, and avoid caffeine or alcohol before important calls.
Essential Audio Checklist Before Every Call
Run through this quick checklist to ensure optimal sound quality before joining any video meeting:
- ✅ Close unnecessary apps to free up system resources and prevent audio glitches
- ✅ Plug in your external microphone (if using one)
- ✅ Wear over-ear headphones to eliminate echo and monitor your voice
- ✅ Check mic input level in system settings (aim for green/yellow, not red)
- ✅ Enable noise suppression in your conferencing app or third-party tool
- ✅ Do a 10-second test recording and play it back
- ✅ Clear your throat and take a deep breath to start with a relaxed voice
Frequently Asked Questions
Why does my voice sound fine in person but bad on recordings?
Your brain processes your voice through bone conduction, which enhances low frequencies. Recordings only capture air-conducted sound, which lacks those deep tones, making your voice seem thinner and more nasal. It’s normal—and everyone experiences it.
Can software really fix a bad microphone?
Software like Krisp, Adobe Podcast Enhance, or Descript can reduce noise, balance EQ, and suppress reverb—but they can’t add frequencies your mic didn’t capture. While helpful, they’re no substitute for decent hardware. Think of them as polish, not a foundation.
Is a headset better than a desktop mic?
It depends. Headsets with boom mics (like Jabra or Sennheiser models) offer consistent positioning and noise isolation, ideal for busy environments. Desktop mics provide richer sound and flexibility but require proper room treatment. For most remote professionals, a quality headset is the most reliable choice.
Final Thoughts: Sound Like Yourself—Just Better
Sounding nasal on video calls isn’t a personal flaw—it’s a technical mismatch between your voice, your environment, and your equipment. By upgrading your microphone, optimizing your space, and refining your vocal delivery, you can present yourself with the clarity and confidence your ideas deserve.
Great communication isn’t just about what you say—it’s about how you’re heard. A warm, balanced voice builds trust, holds attention, and makes collaboration smoother. These improvements don’t require a studio or a degree in audio engineering. Start with one change: swap your laptop mic, adjust your setup, or practice vocal exercises. Small steps lead to significant gains in how you’re perceived.


 浙公网安备
33010002000092号
浙公网安备
33010002000092号 浙B2-20120091-4
Comments
No comments yet. Why don't you start the discussion?