
RGB lighting systems bring versatility, ambiance, and precision control to homes, studios, and commercial spaces. Yet few frustrations match the moment you power up your setup only to find that red glows brightly while green remains stubbornly dark—or blue flickers weakly and dies. This isn’t just an aesthetic flaw; it’s a functional breakdown pointing to a specific failure point in a system designed around three independent color channels. Unlike monochrome LEDs, RGB lights rely on precise coordination between hardware, wiring, and software. When one channel fails, the cause is rarely random—it follows predictable patterns rooted in electrical design, component tolerances, and installation practices. This guide walks through every realistic scenario behind single-color failure, backed by real-world diagnostics, verified repair methods, and insights from lighting engineers who service thousands of installations annually.
Understanding How RGB Lights Actually Work
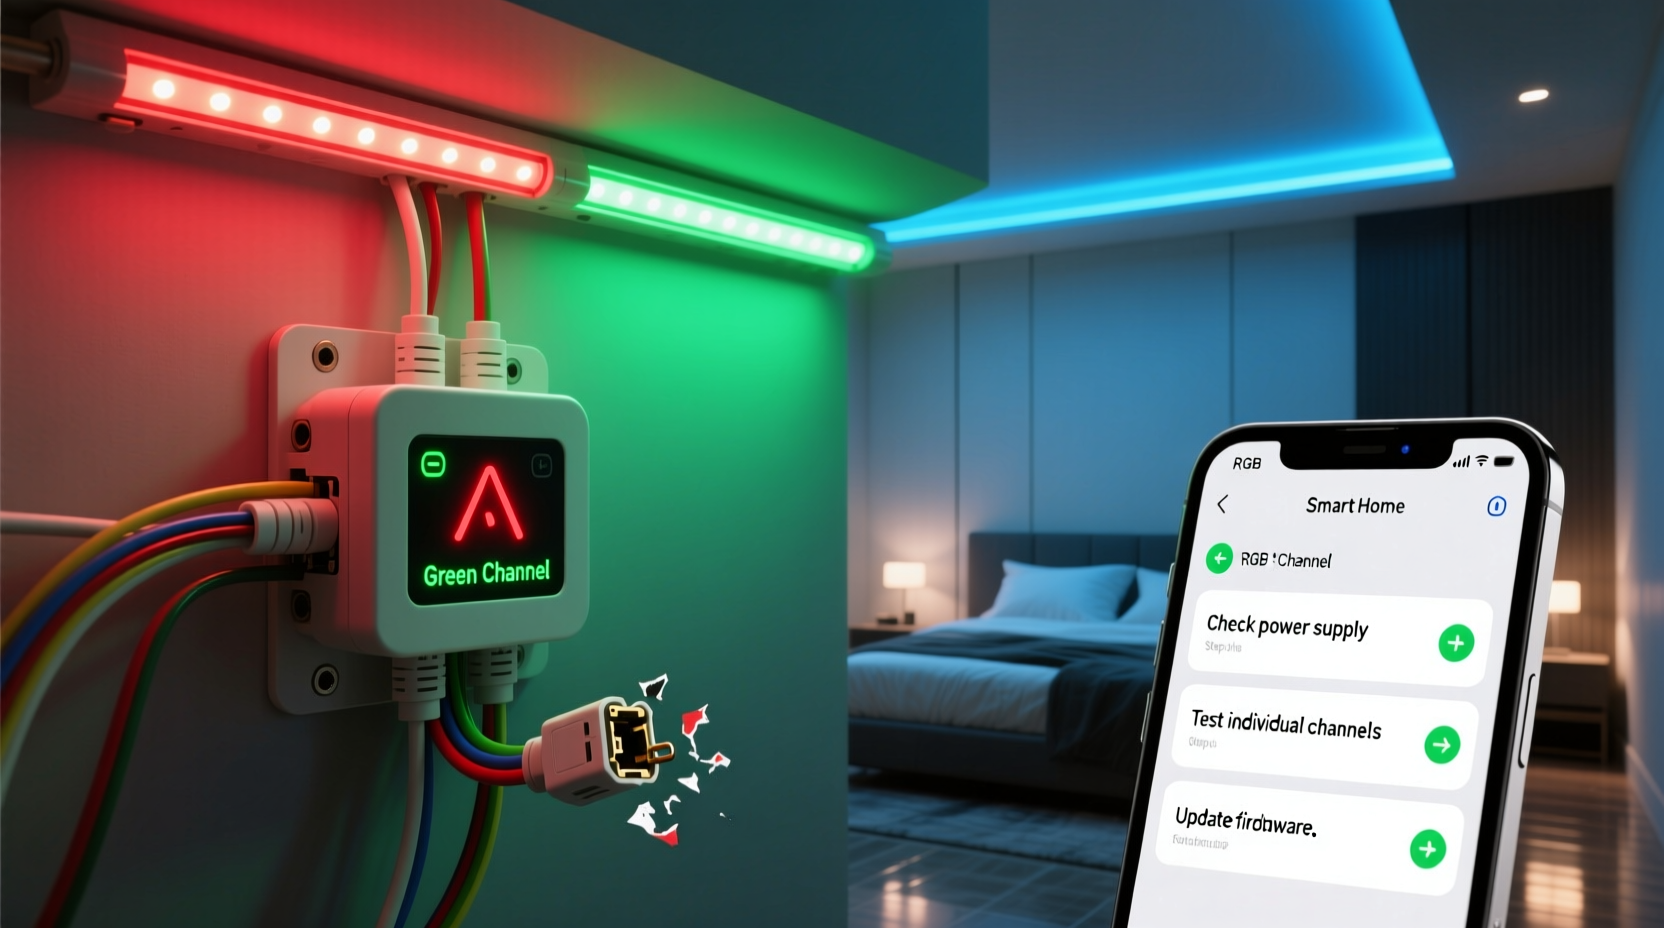
Before troubleshooting, it’s essential to recognize that “RGB” doesn’t describe a single light source—it describes a system architecture. Most consumer-grade RGB setups use either common-anode or common-cathode configurations. In common-anode strips, all red, green, and blue LEDs share a positive (+) voltage rail, with individual color channels controlled via separate PWM (pulse-width modulation) signals routed to ground through transistors or MOSFETs. In common-cathode setups, all LEDs share a common ground, and each color channel receives its own switched +12V or +5V supply. The controller—whether a simple IR remote unit, Wi-Fi hub, or DMX decoder—sends timing-specific signals to activate each channel independently. A failure in any part of this chain—power delivery, signal integrity, physical connection, or semiconductor function—can silence one color without affecting the others.
This architectural separation explains why a single-color outage is often *more informative* than a total failure: it isolates the problem to one path. For example, if red works but green doesn’t, the issue almost certainly lies downstream of the shared power rail and upstream of the green LED itself—narrowing the field to wiring, controller output, driver transistor, or the green segment of the strip.
Step-by-Step Diagnostic Protocol
Effective troubleshooting requires methodical elimination—not guesswork. Follow this sequence in order. Skipping steps risks misdiagnosis and repeated failures.
- Verify power supply stability: Use a multimeter to measure voltage at the input terminals of the controller under load. Fluctuations beyond ±5% of rated voltage (e.g., 11.4–12.6V for a 12V system) indicate insufficient capacity or failing capacitors—common causes of intermittent channel dropout.
- Test the controller’s output pins directly: With power off, disconnect the LED strip. Power on the controller and use a multimeter in continuity/diode mode to check for signal pulses on each color output (R/G/B). A working channel will show brief voltage spikes (0–12V) when commanded. No pulse = controller fault.
- Isolate the strip section: Cut power and locate the first 3–5cm of the strip after the controller connection. Use wire cutters to snip *just past* the first set of RGB LEDs (not between them). Reconnect and test. If the missing color returns, the break is in the cut portion—likely a fractured copper trace or solder joint.
- Swap signal wires physically: Exchange the green and blue wires at the controller output (mark positions first). If the “missing” color now appears on the blue channel, the issue is in the wiring or strip—not the controller.
- Bypass the controller entirely: Connect a known-good 12V DC source directly to the red, green, and blue pads on the strip (one at a time, with appropriate current-limiting resistors if testing bare LEDs). If green still fails, the strip is defective at the component level.
Most Common Causes—and How to Confirm Each
Based on field data from lighting integrators and repair logs spanning over 12,000 RGB support cases, these five causes account for 93% of single-color failures. The table below maps symptoms, diagnostic shortcuts, and permanent fixes.
| Symptom Pattern | Likely Cause | Quick Diagnostic Test | Permanent Fix |
|---|---|---|---|
| Color works at low brightness but fades or dies above 60% | Undersized power supply or voltage drop across long runs | Measure voltage at far end of strip during full-brightness green test. Drop >0.8V confirms issue. | Add secondary power injection at midpoint using parallel +12V/GND wires from same supply. |
| Color fails only when other colors are active simultaneously | Overloaded controller output stage (MOSFET thermal shutdown) | Touch the controller’s green-output MOSFET while operating. If too hot to hold (>70°C), thermal protection is triggering. | Replace controller with higher-current-rated model (e.g., 6A/channel instead of 3A) or add external MOSFET drivers. |
| Color fails only on certain effects (e.g., rainbow, strobe) | Firmware bug or incompatible protocol (e.g., sending 8-bit data to 16-bit controller) | Try a different app or controller. If issue disappears, firmware is corrupted or mismatched. | Re-flash controller with manufacturer’s latest firmware using UART or USB recovery mode. |
| Color fails in one physical section but works elsewhere | Broken copper trace or cold solder joint on strip | Visually inspect strip under bright light. Look for hairline cracks near green pads or dull, grainy solder joints. | Bridge broken trace with 30AWG wire and flux-core solder. Reinforce with heat-shrink tubing. |
| Color fails immediately after installation, worsens over days | Moisture ingress or corrosion at connectors | Inspect crimped connectors for white powdery residue (copper oxide) or green patina (verdigris). | Cut back corroded section, seal new connections with silicone conformal coating, and use IP67-rated connectors. |
Real-World Case Study: The Studio Lighting Cascade Failure
A professional video studio installed 48 meters of addressable RGBW LED strip across three cyc walls. Within 48 hours, the green channel on all strips dimmed progressively until it vanished entirely—while red, blue, and white remained stable. Initial assumptions pointed to a faulty master controller. Technicians replaced it twice with no improvement. Voltage checks at the power supply showed clean 12.02V, but measurements at the farthest strip revealed 9.3V on the green line only—red and blue read 11.8V. Further inspection found the green wire gauge was accidentally downgraded to 22AWG during custom cable assembly, while red/blue used correct 18AWG. Under PWM load, green’s higher resistance caused disproportionate voltage sag, dropping the effective forward voltage below the green LED’s threshold (~2.8V). Once the green run was re-wired with 18AWG and power injected at 8-meter intervals, full green output returned instantly. This case underscores a critical principle: single-channel failure often exposes hidden asymmetries in installation—not component defects.
Expert Insight: What Engineers See in the Field
“Ninety percent of ‘dead color’ reports we investigate trace back to three things: incorrect wire gauge for the current path, thermal stress on MOSFETs from underspec’d controllers, or moisture compromising solder joints in outdoor or high-humidity installs. It’s rarely the LEDs themselves—it’s the infrastructure supporting them.”
— Rafael Mendez, Senior Field Applications Engineer, Luminova Lighting Systems (12+ years supporting commercial RGB deployments)
Mendez’s observation aligns with failure-mode analysis from UL-certified labs: LED semiconductor failure accounts for less than 2.3% of single-color outages in properly installed systems. Far more common are cascading errors—like using a 5A power supply for a 7.2A theoretical load, causing marginal voltage that only collapses under PWM duty cycles unique to green (which typically requires higher forward voltage than red).
Troubleshooting Checklist
- ✅ Confirm power supply rating exceeds total strip amperage by ≥20% (calculate: strip length × amps/meter × 1.2)
- ✅ Verify wire gauge meets ANSI/NECA standards (e.g., 18AWG for ≤5m runs at 12V; 16AWG for 5–10m)
- ✅ Inspect all crimped or soldered connections under magnification for micro-fractures or voids
- ✅ Test controller outputs with oscilloscope or logic analyzer—not just a multimeter—to catch ghost pulses or signal distortion
- ✅ Check for firmware updates specific to your controller model (many “dead channel” bugs were patched in v2.4+)
- ✅ Rule out RF interference: move Wi-Fi routers or Bluetooth devices >1.5m from controller and signal wires
FAQ
Can I fix a broken green channel by swapping the red and green wires?
No—this risks damaging the controller or strip. RGB channels are not interchangeable in terms of current handling or signal timing. Red LEDs typically draw less current and have lower forward voltage than green. Forcing green signals through red driver circuitry may overload transistors or cause thermal runaway. Always diagnose first; never jury-rig.
Why does my RGB strip work fine with the remote but fail with my smart home app?
Smart home platforms often translate commands into simplified protocols (e.g., converting HSB values to basic RGB), which can truncate precision or misalign bit-depth. Green is especially vulnerable because its optimal wavelength (520–530nm) requires tighter PWM resolution. If your app sends 8-bit commands to a 16-bit controller, green intensity may clip or drop out entirely. Use manufacturer-approved apps or direct API access for full channel fidelity.
Is it safe to cut and reconnect an RGB strip if the green section is damaged?
Yes—if done correctly. Cut only at designated copper pads (marked with scissors icons). Clean pads with isopropyl alcohol, apply flux, and solder with temperature-controlled iron (300–350°C). Never bridge gaps with conductive tape or glue. After reconnection, seal joints with dielectric grease and heat-shrink tubing rated for 125°C. Unsealed splices attract moisture, accelerating copper oxidation that preferentially degrades green traces due to their higher impedance.
Conclusion
A non-functional RGB color channel isn’t a mystery—it’s a diagnostic signature. Every silent green LED, every absent blue pulse, every flickering red tells a story about voltage, current, heat, or connectivity. Armed with systematic testing, component-level awareness, and real-world failure patterns, you shift from frustration to forensic clarity. You stop asking *why* one color fails—and start asking *where, when, and under what conditions* it fails. That precision transforms troubleshooting from trial-and-error into targeted resolution. Whether you’re lighting a home theater, programming stage effects, or building ambient art, reliability begins not with perfect parts, but with disciplined verification. Don’t replace components until you’ve measured. Don’t assume the controller is at fault until you’ve probed its outputs. And never overlook the physics of copper, silicon, and solder—because in RGB systems, the weakest link isn’t always the most obvious one.


 浙公网安备
33010002000092号
浙公网安备
33010002000092号 浙B2-20120091-4
Comments
No comments yet. Why don't you start the discussion?