
As the holiday season approaches, few things are more frustrating than stringing up your favorite Christmas lights only to find that part of the strand glows brightly—while another section flickers weakly or appears noticeably dimmer. This inconsistency not only ruins the aesthetic but can also signal underlying electrical issues. Understanding the root causes behind uneven brightness in Christmas light strands is essential for both safety and performance. Whether you're dealing with traditional incandescent bulbs or modern LED sets, several factors—from wiring design to voltage drop—can create this puzzling effect.
How Christmas Light Circuits Work
Most Christmas lights are wired in either series or parallel circuits—or a hybrid of both. Knowing the difference is key to diagnosing brightness issues.
In a series circuit, electricity flows through each bulb in sequence. If one bulb burns out or becomes loose, the entire circuit breaks, and the whole strand goes dark. Older incandescent strands often use this setup. However, many modern strings use a parallel-wired segment design, where groups of bulbs are connected in series but the segments themselves are wired in parallel across the main power line.
This hybrid approach explains why only one section might dim: if one segment experiences resistance or a fault, it affects only that portion, while the rest remain illuminated at full brightness. Voltage is distributed across each parallel branch, so a problem in one doesn’t necessarily impact the others—unless the total load or wiring quality is compromised.
“Many people assume all lights on a strand should behave uniformly, but segmented wiring means localized faults can cause isolated dimming without total failure.” — Daniel Reeves, Electrical Systems Technician
Common Causes of Uneven Brightness
Dimming in just one section typically points to specific technical issues rather than random malfunction. The most frequent culprits include:
- Voltage drop due to long wire runs: In longer strands, especially those exceeding 50 feet, resistance in the copper wire reduces the voltage delivered to later segments. This results in visibly dimmer bulbs toward the end.
- Faulty or high-resistance connections: Corrosion, bent pins in sockets, or poor solder joints increase resistance in a circuit, reducing current flow and causing dimming.
- Damaged or aging wires: Frayed insulation or internal breaks in stranded wire can restrict current, particularly under load.
- Mismatched bulbs or mixed technologies: Replacing an LED bulb with an incandescent one (or vice versa) alters power draw and can dim adjacent bulbs.
- Overloaded circuits: Plugging too many strands into a single outlet or daisy-chaining beyond manufacturer limits causes voltage sag, affecting downstream sections first.
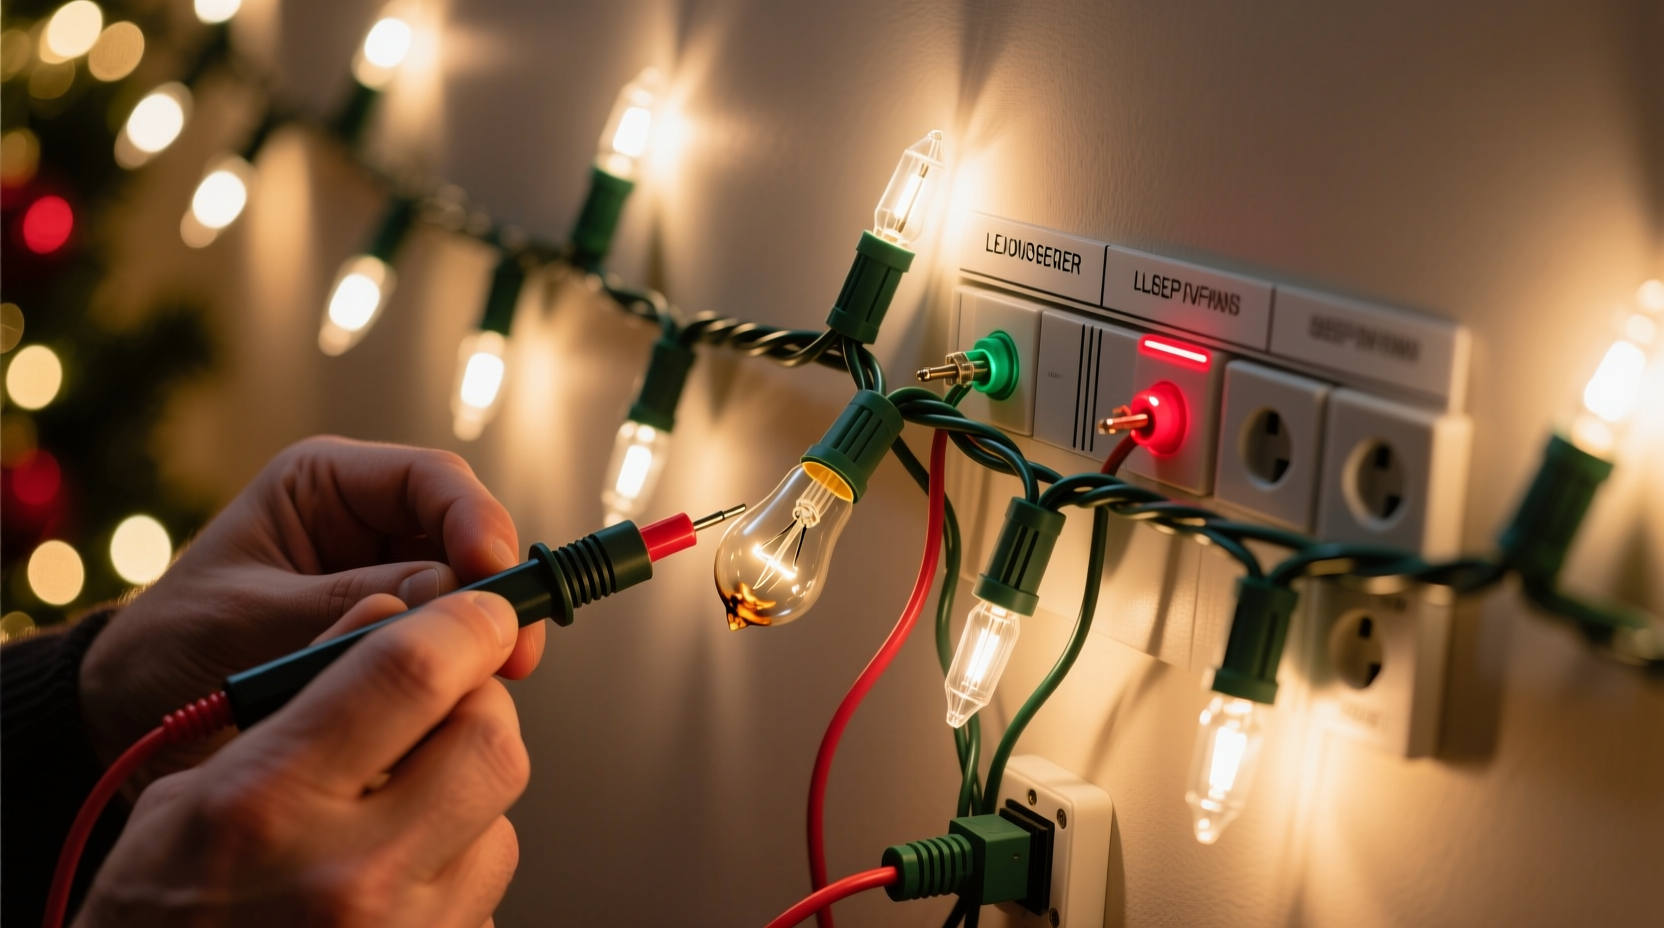
Step-by-Step Guide to Diagnose and Fix Dim Sections
Follow this practical troubleshooting process to identify and resolve the issue efficiently and safely.
- Unplug the lights immediately. Never inspect or handle faulty electrical components while powered.
- Inspect for visible damage. Look along the wire path of the dim section for cuts, kinks, or crushed insulation. Check each socket for discoloration, melting, or loose bulbs.
- Test each bulb in the dim section. Use a bulb tester or swap bulbs from the bright section to see if brightness improves. A single failing bulb—especially in a series segment—can reduce overall current.
- Check for tight connections. Wiggle each bulb gently to ensure it's seated properly. Poor contact increases resistance and generates heat, leading to dimming.
- Measure voltage at different points (if you have a multimeter). Test input voltage at the plug, then again at the start and end of the dim segment. A drop of more than 5% indicates excessive resistance.
- Verify compatibility. Ensure all bulbs are the same type, wattage, and color temperature. Mixing warm white and cool white LEDs, for example, won't cause dimming—but mixing 20mA and 30mA LEDs will.
- Reduce the load. Unplug other strands from the same circuit or avoid daisy-chaining beyond the rated limit. Plug the suspect strand directly into a wall outlet to test performance.
If none of these steps restore even brightness, the issue may lie in internal wire degradation or a failed shunt (in LEDs), which requires replacement rather than repair.
LED vs. Incandescent: Why Technology Matters
The behavior of dimming differs significantly between LED and incandescent Christmas lights due to their electrical characteristics.
| Feature | Incandescent Lights | LED Lights |
|---|---|---|
| Power Consumption | High (40–100W per strand) | Low (2–7W per strand) |
| Voltage Sensitivity | Moderate – dim gradually with lower voltage | High – may flicker or cut out below threshold |
| Heat Output | High – contributes to insulation damage over time | Low – safer for indoor and delicate displays |
| Response to Faults | Entire series fails if one bulb blows | Shunts bypass dead LEDs; partial dimming possible |
| Lifespan | 1,000–2,000 hours | 25,000–50,000 hours |
With LEDs, a single failed diode might not go dark thanks to built-in shunts, but increased resistance in that segment can still reduce current flow, resulting in dimmer output. In contrast, incandescent strands usually fail completely unless there’s a partial connection issue like a frayed wire feeding one segment.
Mini Case Study: The Persistent Patio Problem
Janet from Portland decorated her porch with three identical 50-light LED strands daisy-chained together. Each year, the third strand was noticeably dimmer, especially at dusk when ambient light faded. She replaced bulbs multiple times but saw no improvement.
After consulting an electrician, she discovered two issues: first, the total chain exceeded the manufacturer’s recommended limit by 20 feet, causing voltage drop. Second, the outdoor outlet was old and corroded, increasing resistance at the source. By plugging each strand into separate GFCI-protected outlets and using shorter runs, her lights returned to uniform brightness. She also upgraded her outdoor box to prevent moisture ingress—a move that improved both performance and safety.
This case illustrates how environmental wear and improper setup compound over time, creating persistent problems that seem mysterious but are rooted in basic electrical principles.
Prevention Checklist: Keep Your Lights Bright Year After Year
To avoid recurring dimming issues, follow this seasonal checklist:
- ✅ Store lights on reels or cardboard spools to prevent wire kinking
- ✅ Label strands by type, length, and location for consistent setup
- ✅ Inspect all cords and sockets before installation each year
- ✅ Replace missing or cracked bulbs before hanging
- ✅ Avoid running lights over sharp edges or under heavy furniture
- ✅ Use surge protectors and timers to reduce electrical stress
- ✅ Never mix old and new strands unless confirmed compatible
- ✅ Clean plastic covers gently with a damp cloth to maintain light output
Frequently Asked Questions
Can cold weather make my Christmas lights dim?
Cold temperatures alone don’t cause dimming, but they can exacerbate existing issues. Low temps increase wire resistance slightly, and brittle wires are more prone to microfractures. LEDs may appear brighter in cold conditions due to improved efficiency, but voltage drop issues become more apparent when combined with long runs or weak connections.
Why do my lights dim when I turn on other appliances?
This suggests circuit overload. Household circuits share capacity—when high-draw devices (like space heaters or refrigerators) activate, they cause momentary voltage sags. If your lights are on the same circuit, they’ll dim briefly. Solution: Plug lights into a dedicated outlet or use a power conditioner.
Is it safe to keep using lights with a dim section?
Not always. While occasional dimming due to minor voltage drop may be harmless, persistent or worsening dimness often signals resistance buildup—which creates heat and fire risk. Discontinue use if you notice warmth in the cord, discolored sockets, or flickering. Safety should outweigh seasonal sentiment.
Expert Insight: Design Limitations You Should Know
Manufacturers balance cost, safety, and performance when designing light strands. Many budget-friendly sets use thinner gauge wire to save material, which inherently increases resistance over distance.
“The wire in many consumer-grade light strings is 22–24 AWG—fine for short runs, but inadequate for long chains. That’s why we see so many voltage drop complaints.” — Maria Lin, Product Safety Engineer at Holiday Lighting Labs
Higher-end commercial strands often use 18–20 AWG wire and thicker insulation, minimizing resistance and improving longevity. Investing in better-quality lights may cost more upfront but reduces maintenance and replacement costs over time.
Conclusion: Take Control of Your Holiday Lighting
Uneven brightness in Christmas lights isn’t just a cosmetic annoyance—it’s a warning sign that something in the circuit isn’t functioning as intended. From simple fixes like reseating bulbs to more involved solutions like rewiring or upgrading your electrical setup, addressing the issue promptly ensures a safer, more beautiful display. Understanding the interplay between circuit design, wire quality, and load management empowers you to troubleshoot confidently and decorate with peace of mind.


 浙公网安备
33010002000092号
浙公网安备
33010002000092号 浙B2-20120091-4
Comments
No comments yet. Why don't you start the discussion?