
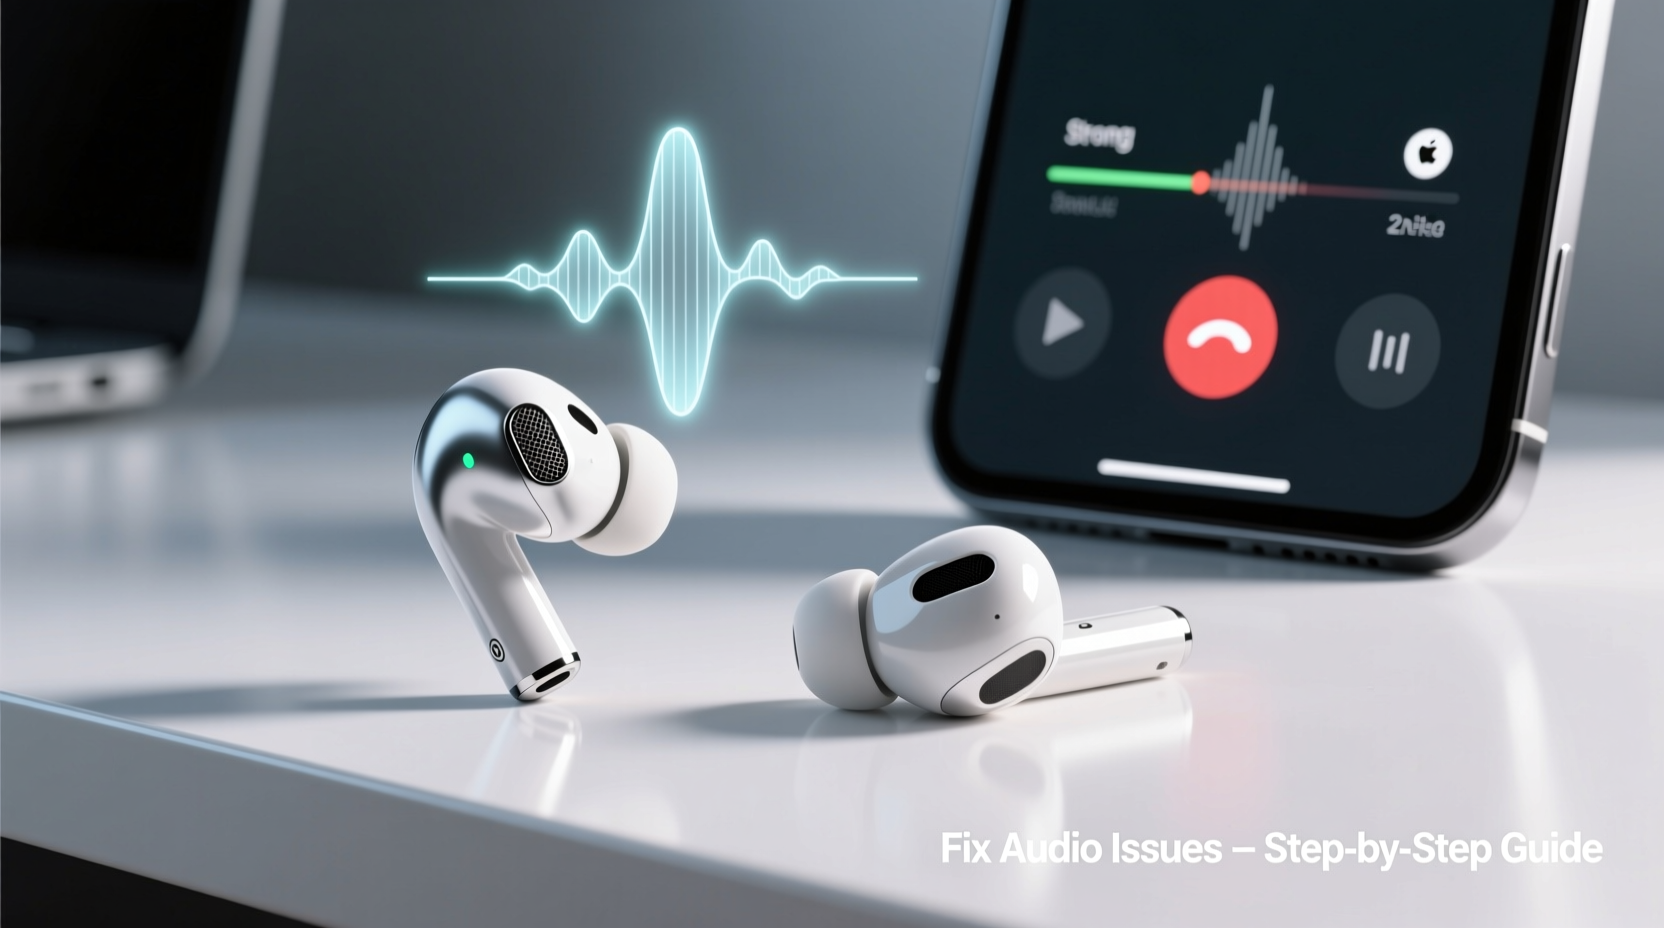
If you've ever been told, “I can barely hear you,” during a call on your AirPods, you're not alone. Many users experience muffled or low microphone volume, which can be frustrating—especially when you're relying on them for work meetings, personal conversations, or voice commands. The issue isn't always due to faulty hardware; often, it stems from environmental factors, incorrect settings, or simple maintenance oversights. Understanding the root cause is key to restoring clear, reliable audio.
AirPods are engineered for seamless integration with Apple devices, but even the most advanced tech can encounter performance hiccups. Whether you own first-generation AirPods or the latest AirPods Pro, microphone clarity depends on a combination of physical condition, software configuration, and usage context. This guide breaks down every possible reason your AirPods mic might be too quiet—and exactly how to fix it.
Common Causes of Low AirPods Microphone Volume
The microphone on AirPods is designed to pick up your voice clearly while filtering out ambient noise. However, several factors can interfere with this process:
- Dirt and debris buildup – Earwax, dust, and pocket lint can clog the tiny mic ports, especially on in-ear models like AirPods Pro.
- Incorrect mic selection – AirPods allow you to choose whether the left, right, or automatic earbud acts as the primary microphone. If set incorrectly, it may use the bud farther from your mouth.
- Software glitches – iOS bugs, firmware mismatches, or Bluetooth interference can disrupt audio transmission.
- Poor fit (for in-ear models) – If AirPods Pro don’t seal properly in your ears, sound leakage and weak mic input can occur.
- Noisy environments – While Active Noise Cancellation helps, extremely loud backgrounds can overwhelm the beamforming microphones.
- Hardware damage – Drops, moisture exposure, or internal component failure may permanently affect mic sensitivity.
Before assuming your AirPods are defective, rule out these common, fixable causes.
Step-by-Step Guide to Fix Quiet AirPods Microphone
Follow this systematic approach to diagnose and resolve low microphone volume. Start with the simplest solutions and progress to more advanced troubleshooting.
- Inspect and clean the microphone ports
Locate the small grilles near the stem of your AirPods (AirPods 1–3) or along the shaft (AirPods Pro). Use a dry, soft-bristled brush or a clean toothbrush to gently dislodge any debris. For stubborn buildup, lightly wipe with a cotton swab dampened with isopropyl alcohol—never insert anything sharp into the ports. - Check microphone settings on your device
Go to Settings > Bluetooth, tap the “i” icon next to your AirPods, and ensure “Microphone” is set to “Automatically Switch.” This allows iOS to choose the bud closest to your mouth. If you prefer one side consistently, select “Use Left/Right Earbud Only.” - Reset your AirPods
Place both AirPods in the case, close the lid for 30 seconds, then open it. Press and hold the setup button on the back for 15 seconds until the status light flashes amber, then white. Re-pair them to your device. - Update firmware and iOS
AirPods firmware updates happen automatically when connected to an updated iPhone. Ensure your iPhone runs the latest iOS version via Settings > General > Software Update. Firmware version can be checked under the AirPods’ Bluetooth info screen. - Test in a quiet environment
Move to a quieter space and make a test call. Background noise can trick the system into suppressing your voice. Also, speak directly into the mic area—just below the top of the stem. - Try a different app or device
Some apps (e.g., Zoom, WhatsApp) have their own audio gain controls. Test your AirPods on FaceTime, Phone app, or Voice Memos to determine if the issue is app-specific. - Check ear tip fit (AirPods Pro)
An improper seal affects both sound quality and microphone performance. Try switching to a different-sized silicone tip to ensure a snug fit. Run the Ear Tip Fit Test in Settings > Bluetooth > AirPods Pro > More Info > Ear Tip Fit Test.
Do’s and Don’ts When Troubleshooting AirPods Mic Issues
| Do’s | Don’ts |
|---|---|
| Regularly clean mic ports with a soft brush | Use sharp objects like pins or needles to clean ports |
| Keep AirPods dry and away from moisture | Expose them to water beyond IPX4-rated resistance (e.g., showers, swimming) |
| Enable Automatic Microphone Switching | Assume the mic is broken without testing all settings |
| Update iOS and ensure AirPods are charged | Ignore persistent firmware update prompts |
| Use Voice Memos to test mic input objectively | Blame network issues without verifying local audio |
Real-World Example: Resolving a Persistent Mic Issue
Consider Sarah, a freelance consultant who relies on her AirPods Pro for daily client calls. She began receiving feedback that her voice sounded distant and muffled. Initially, she assumed her AirPods were failing. After trying a reset and checking settings, the problem persisted. She then recorded a voice memo and noticed the audio was clearer when speaking into the right bud. Reviewing her Bluetooth settings, she discovered the mic was set to “Left Earbud Only”—likely changed accidentally during a previous device switch. Switching back to “Automatically Switch” resolved the issue instantly.
Sarah’s case highlights how easily a minor setting change can mimic hardware failure. It also underscores the importance of methodical testing rather than immediate replacement.
“Most AirPods microphone complaints stem from user settings or environmental factors, not hardware defects. A structured diagnostic approach saves time and money.” — James Lin, Senior Audio Engineer at SoundLogic Labs
When to Seek Hardware Repair or Replacement
If you’ve completed all software and cleaning steps without improvement, the issue may be hardware-related. Signs of physical damage include:
- No microphone response on either bud
- Distorted or crackling input
- One AirPod working fine while the other remains silent
- Error messages during pairing or firmware updates
For AirPods under warranty or covered by AppleCare+, visit an Apple Store or authorized service provider. Even without coverage, Apple offers out-of-warranty repair options. Note that AirPods are not user-repairable due to sealed design and proprietary components.
In some cases, third-party repairs claim to fix mic issues, but these often void any remaining protection and risk further damage. Stick with Apple-certified services for reliability.
Frequently Asked Questions
Can sweat or moisture damage the AirPods microphone?
AirPods Pro have an IPX4 rating, meaning they resist sweat and light splashes. However, prolonged exposure to moisture—especially from intense workouts—can degrade the microphone over time. Always dry them thoroughly after use and avoid charging while damp.
Why does only one AirPod pick up my voice?
This is normal behavior. During calls, AirPods use one microphone at a time—whichever earbud is designated as active based on your settings. It switches dynamically if you move the buds between ears. If only one works consistently and the other never activates, it may indicate a hardware fault.
Does noise cancellation affect microphone quality?
Yes, indirectly. Active Noise Cancellation (ANC) improves incoming audio clarity, but Transparency mode and ANC rely on external mics that also handle voice pickup. If ANC is malfunctioning, it may impact overall mic processing. Resetting the audio signal chain through a restart can help recalibrate these systems.
Preventive Maintenance Checklist
To avoid future microphone issues, follow this monthly maintenance routine:
- ✅ Clean mic and speaker meshes with a dry microfiber cloth or soft brush
- ✅ Check for iOS and AirPods firmware updates
- ✅ Verify microphone settings are set to “Automatically Switch”
- ✅ Test microphone using Voice Memos or Siri
- ✅ Store AirPods in a dry, temperature-controlled case
- ✅ Avoid placing AirPods in pockets with keys or coins that can scratch or block ports
Conclusion: Restore Clarity and Confidence in Your Calls
A quiet AirPods microphone doesn’t have to derail your communication. Most issues are solvable with basic cleaning, correct settings, and awareness of how the technology functions. By understanding the interplay between hardware, software, and environment, you regain control over your audio experience. Don’t rush to replace your AirPods—first, apply the steps outlined here to diagnose and fix the real cause.
Clear audio isn’t just about convenience; it’s about being heard. Whether you’re closing a business deal or catching up with family, your voice deserves to come through loud and clear. Take action today—clean your AirPods, verify your settings, and make a test call. You’ll likely find the solution was simpler than you thought.


 浙公网安备
33010002000092号
浙公网安备
33010002000092号 浙B2-20120091-4
Comments
No comments yet. Why don't you start the discussion?