
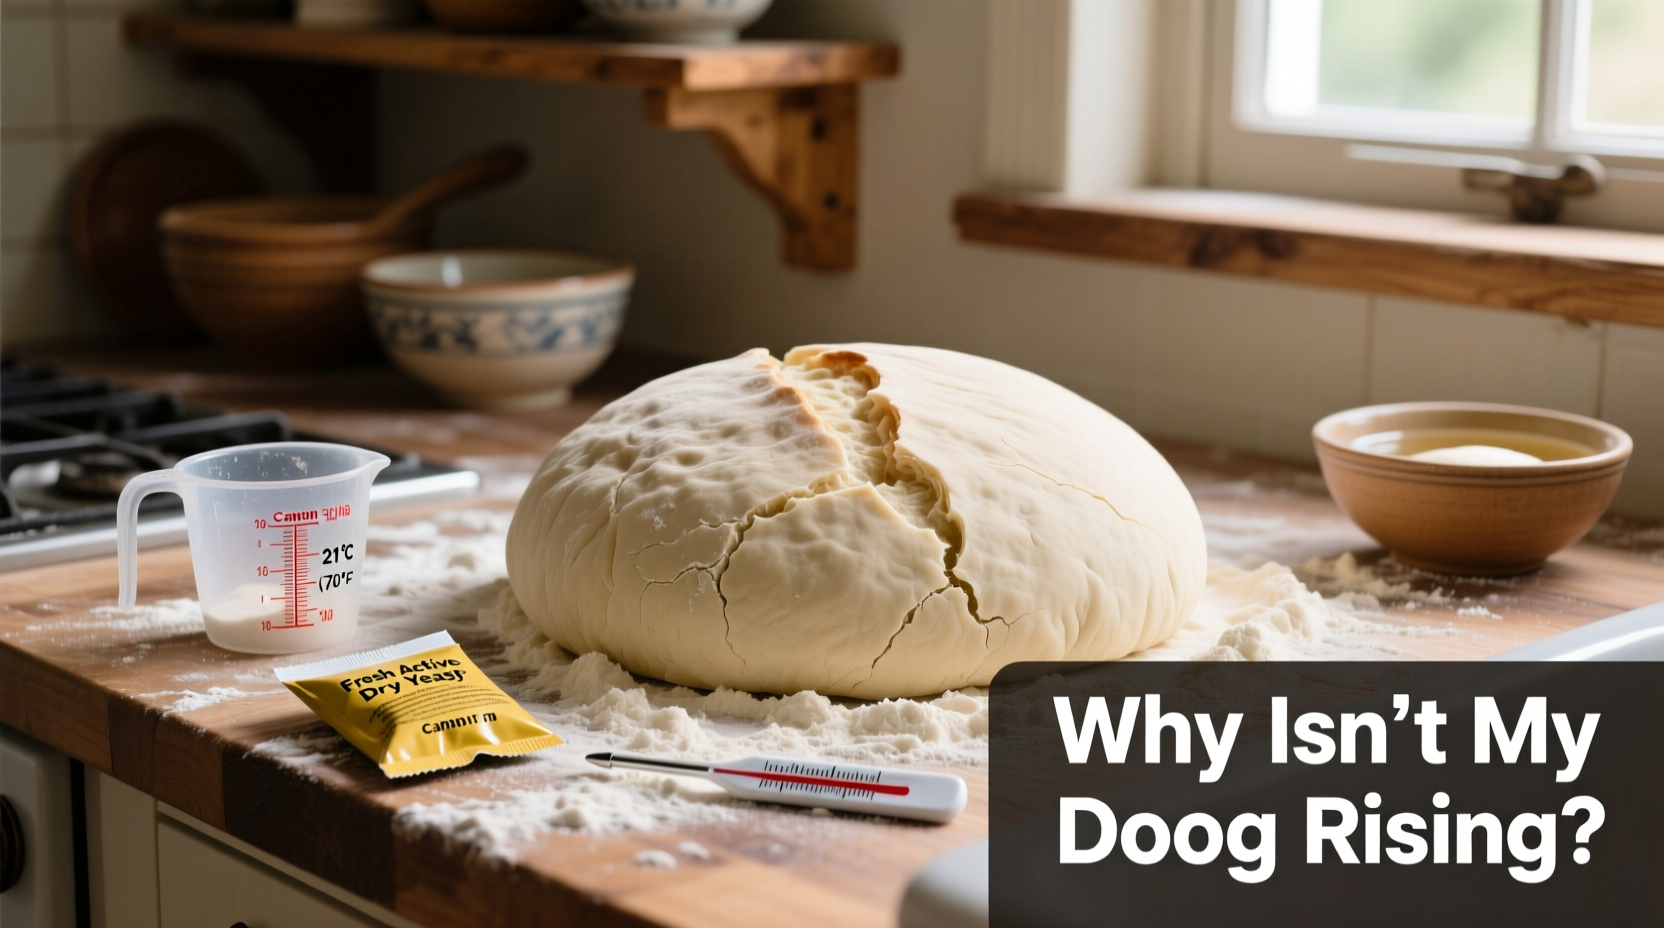
Baking bread at home should be a rewarding experience—fragrant, satisfying, and delicious. But when your dough refuses to rise, even after using fresh yeast, it can feel like a mystery with no clear answer. You followed the recipe, measured carefully, and used active ingredients. So what went wrong?
The truth is, yeast alone doesn’t guarantee a successful rise. Many factors influence fermentation, from water temperature to flour quality, ambient environment to mixing technique. Understanding these elements can transform failed bakes into consistent successes.
This guide dives deep into the science and practical realities behind dough that won’t rise—despite fresh yeast—and provides actionable solutions you can apply immediately in your kitchen.
Understanding Yeast Activity and Fermentation Basics
Yeast—specifically *Saccharomyces cerevisiae*—is a living microorganism responsible for leavening bread. When fed sugars (either naturally present in flour or added), it produces carbon dioxide and alcohol through fermentation. The gas gets trapped in gluten networks, causing the dough to expand.
Fresh yeast, whether active dry, instant, or compressed cake form, must be viable and activated under the right conditions. However, viability doesn't always equal activity. Even if your yeast is within its expiration date and stored properly, external factors can inhibit its performance.
For optimal fermentation, yeast needs three essentials:
- Food: Simple sugars derived from starch breakdown in flour.
- Moderate warmth: Ideal range between 75°F and 85°F (24°C–29°C).
- Moisture: Hydration allows enzyme activity and yeast mobility.
If any of these are compromised, fermentation slows or stops entirely—even with fresh yeast.
Common Reasons Dough Fails to Rise (Despite Fresh Yeast)
Many home bakers assume yeast freshness is the sole determinant of rise. In reality, numerous other variables play critical roles. Here are the most frequent culprits:
1. Incorrect Water Temperature
Water that’s too cold won’t activate yeast effectively; water that’s too hot kills it instantly. Temperatures above 130°F (54°C) begin to destroy yeast cells. Conversely, below 70°F (21°C), yeast becomes dormant.
Use a thermometer to verify water temperature. For most recipes, aim for 105°F–115°F (40°C–46°C) when dissolving yeast, and ensure final dough temperature lands around 78°F–82°F (25°C–28°C).
2. Poor Flour Quality or Type
Not all flours behave the same. Low-protein flours (like cake or pastry flour) lack sufficient gluten to trap gas. Whole grain flours absorb more water and contain bran particles that cut gluten strands, slowing rise.
Additionally, old flour loses enzymatic activity over time, reducing sugar availability for yeast. Store flour in airtight containers away from heat and light, and avoid using flour past six months unless frozen.
3. Inadequate Salt Balance
Salt strengthens gluten and controls fermentation—but too much can inhibit yeast. A general rule: salt should be about 1.8% to 2% of flour weight. Exceeding this can slow or halt rising.
Always mix salt separately from direct yeast contact during initial mixing to prevent localized damage.
4. Cold Environment
Dough rises best in a warm, draft-free space. Kitchens near exterior walls, especially in winter, may remain too cool for proper fermentation. A dough that sits at 65°F (18°C) may take twice as long—or not rise at all.
Consider creating a DIY proofing box: place a bowl of hot water in your oven with the light on, or use a microwave-safe cup of boiling water alongside the dough.
5. Over- or Under-Mixing
Mixing develops gluten structure necessary to hold gas. Under-mixed dough lacks elasticity and collapses easily. Over-mixed dough overheats and damages gluten, becoming sticky and weak.
For hand-kneaded dough, 8–12 minutes is typically sufficient. With stand mixers, monitor closely—high speeds generate heat quickly.
Solutions Checklist: What to Do When Dough Won’t Rise
If your dough shows no signs of life after an hour, don’t give up. Try these troubleshooting steps:
- Check the room temperature—move dough to a warmer spot (80°F ideal).
- Verify yeast was properly proofed (if using active dry).
- Add 1/2 teaspoon of sugar and gently fold into dough to feed remaining yeast.
- Place dough in a lightly oiled bowl, cover tightly, and wait another 60–90 minutes.
- Assess dough texture: if still dense and cold, warm it slightly by placing near a radiator (not directly on it).
- If no change occurs after two hours total, consider starting over with new yeast and adjusted water temp.
Do’s and Don’ts: Managing Dough Rise Conditions
| Do | Don’t |
|---|---|
| Use lukewarm water (105°F–115°F) for activating yeast | Use boiling or ice-cold water |
| Store yeast in the freezer (for long-term) | Leave yeast exposed to humidity or heat |
| Proof yeast before use (especially active dry) | Assume all yeast packets are viable without testing |
| Cover dough with damp cloth or plastic wrap | Leave dough uncovered, leading to drying skin |
| Allow adequate bulk fermentation time | Rush the process by cranking up oven heat |
| Use a digital thermometer to check dough temp | Guess temperatures based on touch alone |
A Real Example: Troubleshooting a Failed Sourdough Attempt
Sarah, an avid home baker in Portland, Oregon, consistently struggled with her sourdough loaves failing to rise. She used organic all-purpose flour, filtered water, and kept her starter fed weekly. Despite following online tutorials, her dough remained flat and dense.
After consulting a local baking instructor, she discovered two key issues: her kitchen averaged 64°F overnight, far too cold for wild yeast activity, and she was refrigerating her starter immediately after feeding—slowing microbial metabolism.
She adjusted by placing her starter near a heating vent, covering it with a breathable lid, and allowing 4–6 hours of room-temperature ripening before use. She also pre-warmed her mixing bowl with hot water before combining ingredients. Within a week, her loaves doubled in volume and developed open crumb structure.
Sarah’s case illustrates how environmental control often matters more than ingredient perfection.
Expert Insight: What Professionals Know About Dough Development
“Even with perfect ingredients, timing, and tools, bread is ultimately shaped by environment. Professional bakers control temperature and humidity because they know yeast isn’t just alive—it’s sensitive.” — Chef Marcus Lin, Artisan Bread Instructor at San Francisco Baking Institute
“The biggest mistake I see? People blame the yeast when the real issue is dough temperature. Measure it. Adjust for it. That single habit improves consistency more than any other.” — Naomi Patel, Founder of HomeBread Lab
Step-by-Step Guide to Reviving Non-Rising Dough
If your dough hasn’t risen after the expected time, follow this recovery protocol:
- Assess the current state: Is the dough cold? Sticky? Smells sour or alcoholic? These clues indicate stalled fermentation.
- Warm the environment: Move to a warmer area (ideally 78°F–82°F). Place near a preheated oven (turned off), sunny window, or atop a refrigerator.
- Feed the yeast: Dissolve 1/2 tsp sugar in 1 tbsp warm water, sprinkle over dough surface, then gently fold in.
- Re-cover and wait: Use plastic wrap or a damp towel to prevent drying. Allow up to 90 additional minutes.
- Test for readiness: Perform the finger poke test—if indentation slowly springs back halfway, it’s ready to shape.
- If still unresponsive: Consider repurposing as flatbread or pizza base, or start again with fresh yeast and corrected conditions.
Frequently Asked Questions
Can I add more yeast if my dough isn’t rising?
Yes, but only if the dough is still within the first hour of bulk fermentation. Mix 1/2 teaspoon instant yeast with 1 tablespoon warm water and a pinch of sugar, let sit 5 minutes, then knead into the dough. Be aware that adding extra yeast may alter flavor due to faster fermentation.
Why does my dough rise in the fridge but not at room temperature?
This usually indicates a very cold room temperature. Refrigeration slows yeast activity but doesn’t stop it. If dough rises in the fridge but not on the counter, your kitchen is likely below 68°F (20°C). Try warming the space or extending proofing time.
Does altitude affect dough rising?
Yes. At higher elevations (above 3,000 feet), lower air pressure causes gases to expand faster, while drier air affects hydration. Bakers at altitude often reduce yeast by 25%, increase liquid slightly, and shorten proofing times. Monitor dough behavior closely rather than relying solely on timers.
Final Thoughts and Action Plan
Dough that fails to rise—even with fresh yeast—is rarely about one single error. It’s usually a combination of subtle imbalances: temperature too low, hydration off, salt distribution uneven, or time misjudged. The good news is that each factor is controllable with attention and practice.
Start tracking your baking conditions: note room temperature, water temp, mixing time, and rise duration. Keep a simple log for three batches. You’ll likely spot patterns that explain inconsistent results.
Remember, great bread isn’t born from perfection—it’s built through observation, adjustment, and persistence. Every collapsed loaf teaches something valuable.


 浙公网安备
33010002000092号
浙公网安备
33010002000092号 浙B2-20120091-4
Comments
No comments yet. Why don't you start the discussion?