
Baking bread at home should be a rewarding experience—golden crust, soft crumb, and that unmistakable aroma filling the kitchen. But when your dough refuses to rise, it’s disheartening and confusing. You followed the recipe, measured carefully, and waited… only to find a dense, flat loaf. The culprit? Often, it's yeast-related. Yeast is a living organism, sensitive to conditions like temperature, moisture, and food supply. When any of these factors are off, your bread won’t rise as expected. Understanding the science behind yeast activity and recognizing common mistakes can transform your baking from frustrating to flawless.
The Role of Yeast in Bread Making
Yeast, specifically *Saccharomyces cerevisiae*, is responsible for leavening bread by converting sugars into carbon dioxide and alcohol through fermentation. This process creates air bubbles in the dough, which expand during baking and give bread its light, airy texture. For this to work effectively, yeast must be alive, active, and in an environment that supports its metabolism.
If your dough doesn’t rise, it means fermentation either didn’t start or stalled early. While other factors like gluten development and oven spring play roles, yeast performance is the foundation of successful rising. Before blaming your recipe or technique, examine whether your yeast was up to the task.
Common Causes of Failed Dough Rise
Dough failure rarely stems from a single mistake. More often, it’s a combination of overlooked details. Here are the most frequent reasons bread fails to rise due to yeast issues:
1. Dead or Inactive Yeast
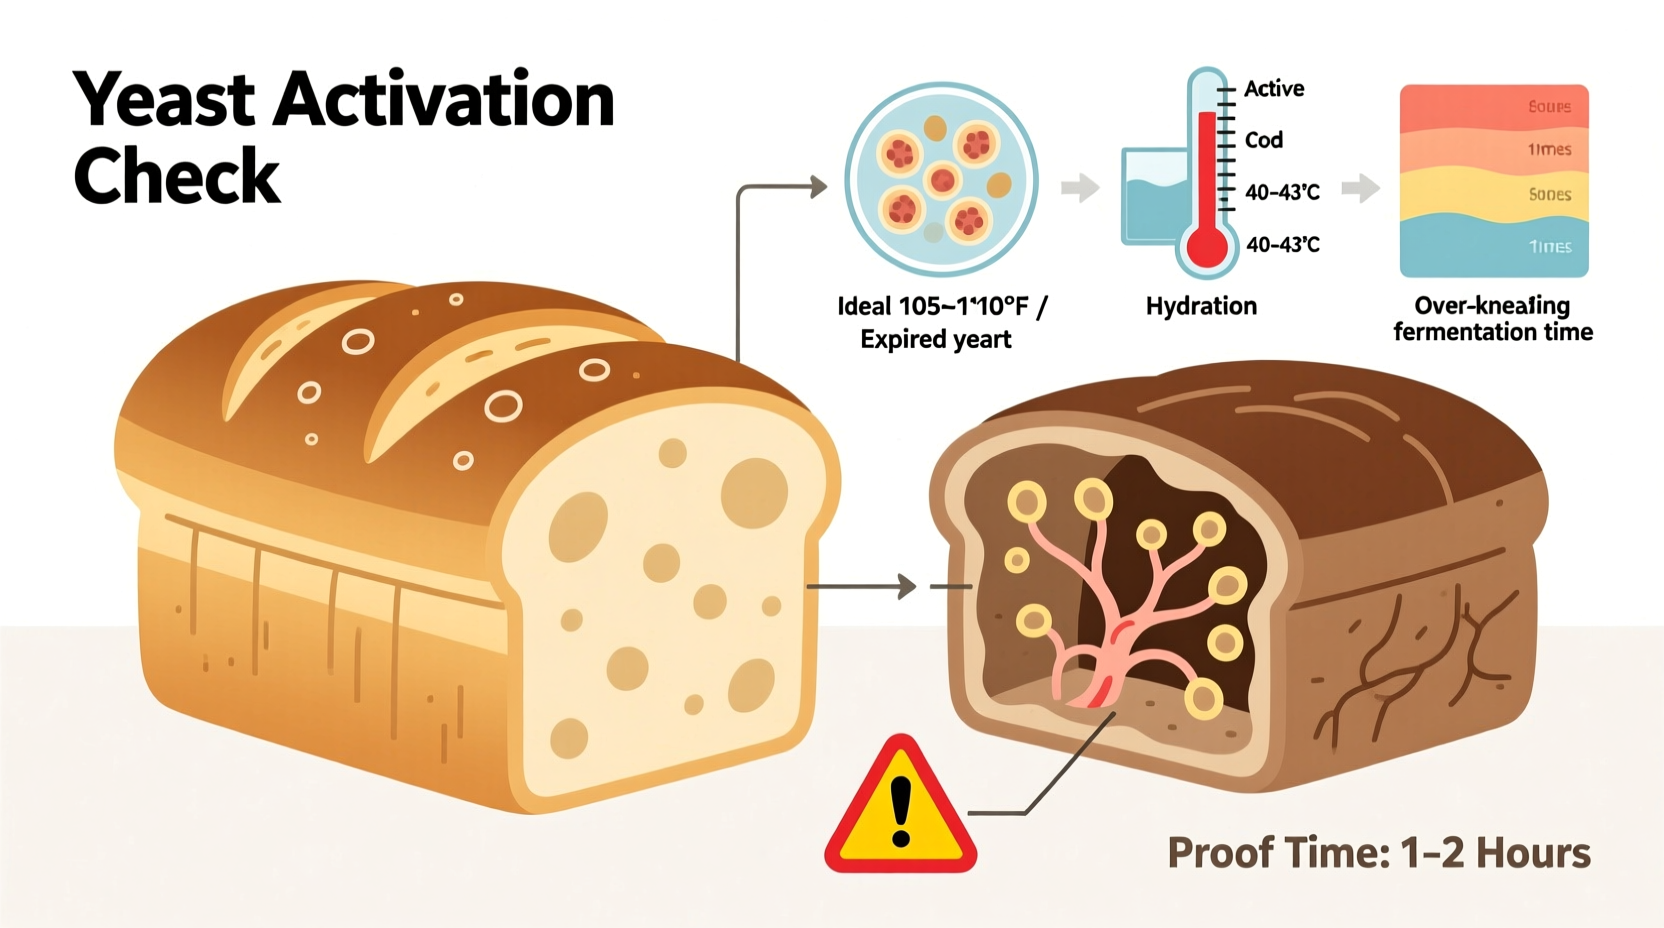
Yeast has a shelf life. Expired yeast may appear fine but lacks the vitality to ferment. Even within its expiration window, improper storage—such as exposure to heat, humidity, or air—can kill yeast cells prematurely.
2. Incorrect Water Temperature
Water used to activate yeast must be between 105°F and 115°F (40°C–46°C). Too cold, and yeast remains dormant; too hot, and it dies. Boiling water or tap water straight from a hot setting can easily exceed safe temperatures, especially in homes with high water heater settings.
3. Chlorinated Tap Water
Some municipal water supplies contain chlorine or chloramine, both of which can inhibit yeast growth. If you live in an area with heavily treated water, consider using filtered or bottled water for proofing.
4. Sugar and Salt Imbalance
While yeast feeds on sugar, excessive salt can dehydrate and slow yeast activity. Adding salt directly to undiluted yeast or using too much without balancing hydration can suppress fermentation.
5. Cold Environment
Yeast thrives in warmth. A chilly kitchen or drafty countertop can drastically slow or halt rising. Ideal proofing temperature is around 75°F–80°F (24°C–27°C). Below 65°F (18°C), yeast becomes sluggish.
6. Old or Improperly Stored Flour
Flour provides the starches that enzymes convert into sugars for yeast consumption. Stale or rancid flour may lack enzymatic activity, reducing available food for yeast. Whole grain flours ferment faster than white flour due to higher nutrient content, so adjustments may be needed.
“Yeast is alive—treat it like a pet. Feed it properly, keep it warm, and don’t expose it to extremes.” — Dr. Laura Chen, Food Microbiologist and Baking Science Researcher
Step-by-Step Guide to Testing and Reviving Yeast
Before discarding a batch, verify whether your yeast is still viable. Follow this simple diagnostic process:
- Gather Supplies: 1 packet (2¼ tsp) active dry yeast, ¼ cup lukewarm water (105°F–115°F), ½ tsp sugar, clear glass or bowl.
- Mix Ingredients: Combine water, sugar, and yeast. Stir gently to dissolve.
- Wait 10 Minutes: Observe the mixture. Healthy yeast will foam vigorously, rising to nearly fill the container.
- Evaluate Results:
- Foamy and bubbly? Yeast is active—proceed with recipe.
- Minimal bubbles or no reaction? Yeast is dead or weak. Discard and use fresh yeast.
- Adjust if Needed: If yeast activates slowly, extend bulk fermentation time or place dough in a warmer spot.
This test takes minutes but saves hours of waiting for unresponsive dough. Instant yeast does not require proofing, but if you suspect issues, testing it the same way provides clarity.
Troubleshooting Checklist: Why Isn’t My Bread Rising?
- ✅ Check yeast expiration date
- ✅ Use a thermometer to verify water temperature
- ✅ Proof yeast in sugar water (for active dry)
- ✅ Store yeast in the freezer after opening
- ✅ Mix salt separately from direct yeast contact
- ✅ Maintain room temperature above 70°F during proofing
- ✅ Cover dough to prevent drying out
- ✅ Allow sufficient time—some recipes need 1.5–2 hours for first rise
Do’s and Don’ts of Yeast Handling
| Do’s | Don’ts |
|---|---|
| Store opened yeast in an airtight container in the freezer | Leave yeast in a warm pantry or near the stove |
| Use filtered or bottled water if tap water smells strongly of chlorine | Assume all tap water is yeast-safe |
| Add sugar to proofing liquid to feed yeast | Pour boiling water directly over yeast |
| Let dough rise in a turned-off oven with a pan of hot water below | Place dough near drafts or AC vents |
| Knead thoroughly to develop gluten structure that traps gas | Over-knead, which can damage gluten and collapse bubbles |
Real Example: Sarah’s Sourdough Struggles
Sarah, an enthusiastic home baker in Denver, spent weeks trying to revive her sourdough starter and bake a proper loaf. Despite following online tutorials, her dough remained dense and barely expanded. She tested her oven temperature, adjusted hydration, and even bought new flour—but nothing worked.
The turning point came when she tested her well water. With a pH of 8.2 and detectable chloramines, it was hostile to microbial life. After switching to bottled spring water for feeding her starter and mixing dough, her levain bubbled vigorously within 4 hours, and her next loaf had a 2-inch oven spring and open crumb.
Sarah’s story highlights how environmental factors outside the recipe can sabotage yeast activity—even in naturally leavened bread.
Understanding Different Types of Yeast
Not all yeast behaves the same. Using the wrong type or substituting incorrectly can affect rising power and timing.
- Active Dry Yeast: Requires rehydration in warm water before use. Slightly less potent than instant yeast; best proofed first.
- Instant Yeast (Rapid-Rise): Can be mixed directly into flour. More concentrated and faster-acting. Not always interchangeable 1:1 with active dry without adjusting time.
- Fresh Cake Yeast: Moist block form, perishable, used commercially and in artisan baking. Must be dissolved in liquid and used quickly.
- Sourdough Starter: Wild yeast and bacteria culture. Slower fermentation, requires regular feeding. Performance depends on health, temperature, and refreshment schedule.
If substituting instant for active dry, use about 25% less instant yeast. Conversely, when replacing instant with active dry, increase quantity slightly and allow extra rise time.
Creating the Ideal Proofing Environment
Even with healthy yeast, poor conditions can stop rising. Dough needs consistent warmth and humidity to ferment properly. Here are practical ways to create an optimal proofing space:
- Oven Method: Turn off oven, place a pan of boiling water on the lower rack, and set dough on the middle rack. Close door. Replenish water if extending proof beyond 90 minutes.
- Microwave Trick: Heat a cup of water for 2 minutes. Remove water, place dough inside with door closed. Creates a warm, humid microclimate.
- Proofing Box or Cabinet: Dedicated appliances maintain steady 78°F with 75% humidity—ideal for consistent results.
- Warm Corner: Near a refrigerator motor, water heater, or sunlight-exposed counter (but avoid direct sun).
Avoid placing dough near windows in winter or under ceiling fans. Even slight drafts can cool the surface enough to slow fermentation.
Frequently Asked Questions
Can I rescue dough that hasn’t risen?
Yes, in many cases. First, check yeast viability by pinching a small piece of dough and placing it in warm water. If it floats after 5–10 minutes, yeast is still active and needs more time. Move dough to a warmer spot and wait another hour. If inactive, you can try dissolving fresh yeast in warm water, kneading it into the dough, and restarting the rise.
Why did my dough rise once but not the second time?
Over-proofing during the first rise can exhaust yeast reserves. By the second rise, there’s little gas production left. Also, punching down too aggressively or deflating completely can disrupt bubble structure. Aim for gentle handling and monitor time closely—underproofed dough can recover; overproofed often cannot.
Is it safe to eat bread made with dead yeast?
Yes. Dead yeast is harmless and commonly found in pasteurized foods. The bread will be dense and crumbly, lacking flavor development from fermentation, but it won’t make you sick. Consider repurposing it as croutons or breadcrumbs.
Final Tips for Reliable Bread Rising
Success in bread baking hinges on consistency and attention to detail. Treat yeast with care—it’s not just an ingredient, but a living partner in the process. Keep yeast frozen unless using soon, measure water temperature accurately, and create a stable environment for fermentation. Track variables like room temperature, water source, and rise times in a baking journal to identify patterns.
Remember, not every loaf will be perfect. But each one teaches something valuable. Over time, you’ll learn to read dough—its elasticity, puffiness, and resilience—and anticipate problems before they ruin your bake.
“The difference between good bread and great bread is patience and understanding of fermentation.” — Daniel Klein, Artisan Baker and Instructor
Conclusion
When your bread isn’t rising, the answer usually lies in yeast health and environmental support. From expired packets to cold kitchens, small oversights have big consequences. By mastering yeast activation, optimizing proofing conditions, and learning to troubleshoot early signs of trouble, you gain control over one of baking’s most essential processes.


 浙公网安备
33010002000092号
浙公网安备
33010002000092号 浙B2-20120091-4
Comments
No comments yet. Why don't you start the discussion?