
A well-seasoned cast iron skillet should be smooth, slick, and naturally non-stick—ready to sear, fry, or bake without food clinging to its surface. Yet many home cooks find themselves frustrated when their skillet feels tacky or sticky after what they believed was a proper seasoning session. This issue is more common than you might think, especially among beginners. The stickiness isn't a flaw in the pan; it's a sign that something went wrong during the seasoning process. Understanding the root causes—and how to fix them—is essential to unlocking the full potential of your cast iron cookware.
Seasoning is not just about slathering oil on metal and baking it. It’s a precise chemical transformation where oil polymerizes into a hard, glass-like coating. When done correctly, this layer protects against rust and provides a slick cooking surface. But when mistakes are made, the result can be a gummy, sticky residue that makes cooking a chore instead of a joy. Let’s break down the most frequent errors that lead to this problem and how to correct them for lasting results.
Understanding the Science Behind Seasoning
At its core, seasoning cast iron involves applying a thin layer of oil to the metal and heating it beyond its smoke point. This heat triggers polymerization—a chemical reaction where the oil molecules bond together and with the iron, forming a durable, hydrophobic layer. This process doesn’t happen instantly; it requires the right oil, proper temperature, and sufficient time.
The key misconception is that more oil equals better seasoning. In reality, excess oil cannot fully polymerize. Instead, it remains unreacted and creates a sticky film. The ideal seasoning builds up gradually through multiple thin layers, each one baked until fully cured. Rushing the process or skipping steps leads to incomplete polymerization—the primary cause of stickiness.
“Seasoning isn’t a one-time event. It’s an ongoing relationship between the cook, the oil, and the iron.” — Dr. Harold McGee, Food Scientist and Author of *On Food and Cooking*
Top 5 Beginner Errors That Cause Sticky Skillets
Most sticky skillets stem from simple but preventable mistakes. Identifying these early can save you hours of frustration and rework.
1. Using Too Much Oil
This is the single most common error. Beginners often believe that generously coating the skillet will create a stronger seasoning. In truth, excess oil pools and never fully hardens. What remains is a soft, sticky residue that attracts dust and debris.
2. Choosing the Wrong Type of Oil
Not all oils are suitable for seasoning. Oils with low smoke points or high levels of saturated fats (like butter or olive oil) break down too quickly or leave behind gummy residues. Ideal oils have high smoke points and contain polyunsaturated fats that polymerize effectively.
3. Inadequate Oven Temperature or Time
For polymerization to occur, the oven must reach and maintain a temperature above the oil’s smoke point—typically between 450°F and 500°F—for at least one hour. Lower temperatures or shorter durations result in incomplete curing, leaving behind uncured oil.
4. Skipping the Cooling Phase
Removing the skillet too soon after turning off the oven interrupts the curing process. As the pan cools slowly inside the oven, residual heat continues to harden the seasoning. Taking it out while still blazing hot can trap moisture and soften the layer.
5. Neglecting Surface Preparation
If the skillet isn’t properly cleaned and dried before seasoning, any grease, food residue, or moisture interferes with oil adhesion. A dirty surface prevents uniform polymerization, leading to patchy, sticky areas.
Do’s and Don’ts of Cast Iron Seasoning
| Do’s | Don’ts |
|---|---|
| Use high-smoke-point oils like flaxseed, grapeseed, or refined avocado oil | Use butter, extra virgin olive oil, or bacon grease for initial seasoning |
| Apply a micro-thin layer—wipe thoroughly with a lint-free cloth | Leave visible oil pooling in the pan or on the handle |
| Bake upside down in the oven at 475°F for 1 hour | Bake at 350°F or below, assuming lower heat is safer |
| Let the pan cool completely in the oven after turning it off | Remove the pan immediately after the timer goes off |
| Repeat the process 3–5 times for a strong base layer | Expect a perfect finish after a single seasoning round |
Step-by-Step Guide to Proper Seasoning
Follow this proven method to build a durable, non-sticky seasoning layer from scratch or to repair a damaged one.
- Clean the skillet thoroughly. If new, wash with warm water and mild soap to remove factory wax. For rusty or gunk-covered pans, scrub with steel wool or kosher salt, then rinse and dry completely.
- Preheat your oven to 475°F (245°C). Ensure accurate temperature using an oven thermometer—many ovens run cooler than displayed.
- Apply a thin coat of oil. Use a paper towel or cloth to rub a high-smoke-point oil over the entire surface, including sides and handle. Then, take a clean cloth and wipe it off entirely—this step is crucial.
- Place the skillet upside down in the oven. Put it on the middle rack with a foil-lined baking sheet on the lower rack to catch any drips.
- Bake for 1 hour. Maintain temperature throughout. Avoid opening the oven door frequently.
- Turn off the oven and let the skillet cool inside. This gradual cooldown helps complete the curing process.
- Repeat 3–5 times. Each layer builds upon the last, creating a harder, smoother finish.
Real Example: Fixing a Sticky Skillet
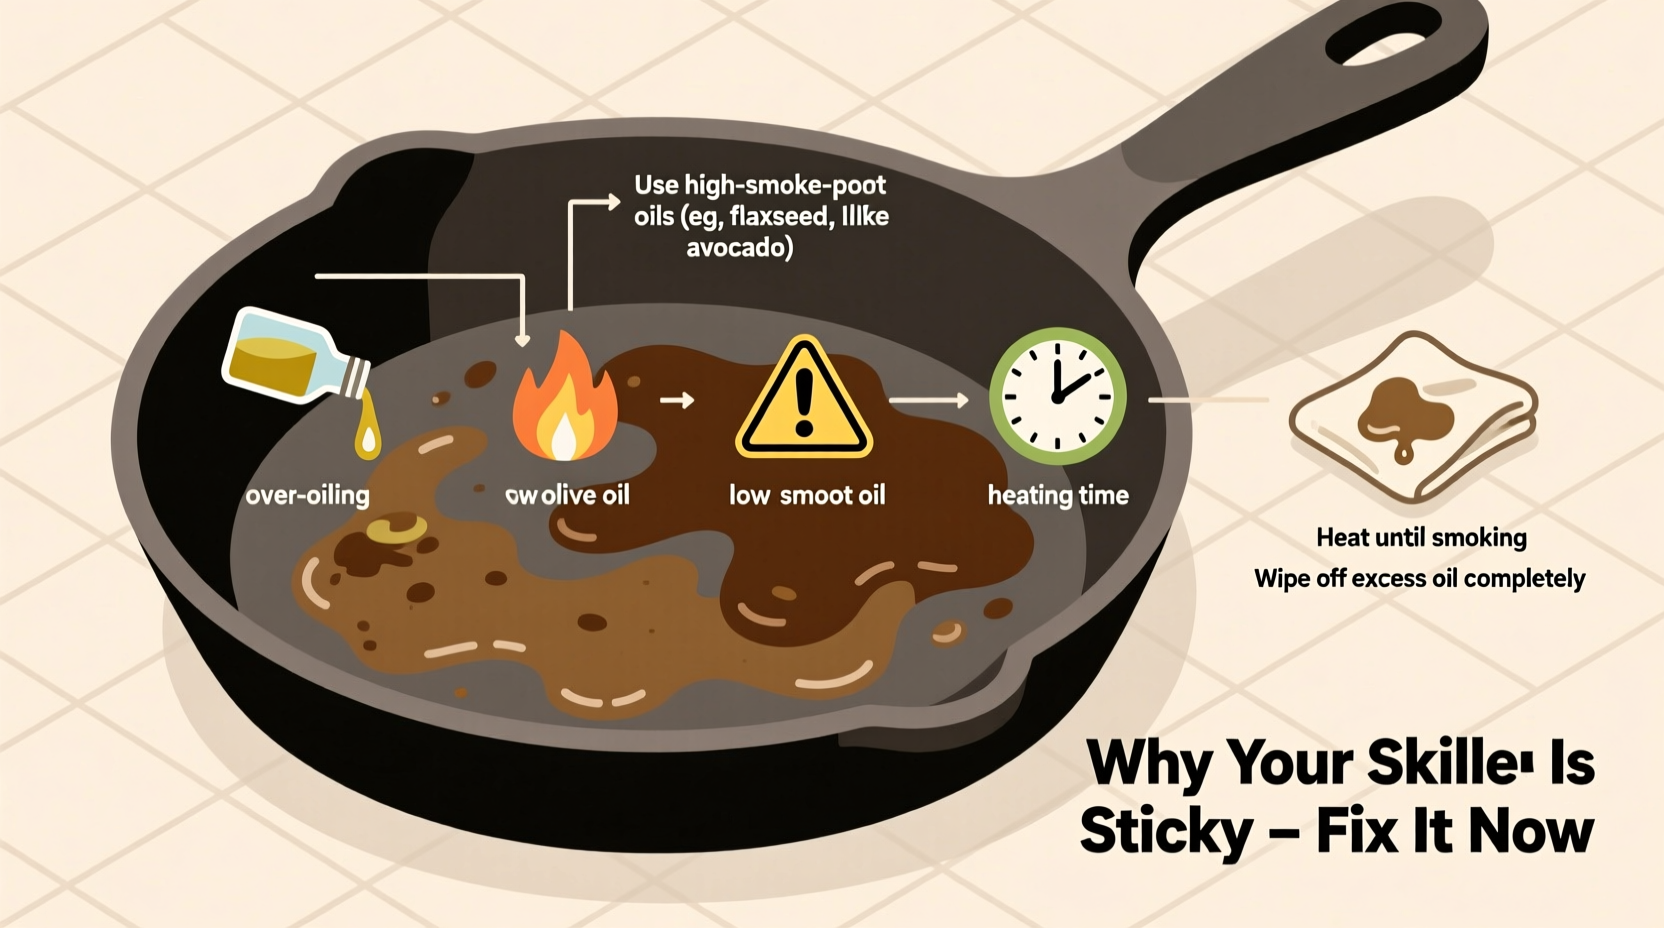
Sarah, a first-time cast iron owner, bought a vintage skillet from a flea market. Excited to restore it, she scrubbed off rust, applied a generous layer of olive oil, and baked it at 375°F for 45 minutes. When she pulled it out, the pan looked shiny but felt sticky to the touch. Eggs stuck badly during her first cook.
After researching, Sarah realized three errors: she used olive oil (smoke point too low), didn’t wipe off excess oil, and underbaked the pan. She stripped the seasoning with oven cleaner, then followed the correct process using grapeseed oil, wiped it bone-dry, baked at 475°F for one hour, and repeated four times. The result? A silky black surface that released scrambled eggs effortlessly.
Her experience underscores that even small deviations from best practices can sabotage the outcome—but correction is always possible.
How to Fix a Sticky Seasoning Layer
If your skillet is already sticky, don’t throw it away. You can restore it with a few corrective steps.
- Strip the old seasoning. Use lye-based oven cleaner, electrolysis, or a paste of baking soda and vinegar to remove the sticky layer completely. Rinse and dry thoroughly.
- Inspect for bare spots or rust. Sand lightly with fine steel wool if needed, then wipe clean.
- Re-season properly. Follow the step-by-step guide above, paying strict attention to oil amount and temperature.
- Test the surface. After cooling, rub your finger across the cooking surface. It should feel smooth and slightly slick—not greasy or tacky.
Patience is critical. Rushing back into cooking before the seasoning has built up will undo your progress. Stick to low-stick tasks like frying eggs only after at least three solid layers are in place.
Frequently Asked Questions
Can I season my skillet on the stovetop?
You can, but oven seasoning is more consistent. Stovetop methods expose the pan to uneven heat and require constant attention. For reliable results, especially for beginners, the oven method is superior.
Why does my skillet smell smoky during seasoning?
Some smoke is normal as the oil reaches its smoke point and begins to polymerize. However, excessive smoke may indicate too much oil or an oil type breaking down prematurely. Ensure you’ve wiped the pan thoroughly and use a well-ventilated area or turn on your exhaust fan.
Is flaxseed oil the best choice for seasoning?
Flaxseed oil produces a very hard seasoning due to its high polyunsaturated fat content, which polymerizes well. However, it can be brittle and prone to flaking over time. Many experts now recommend a balance—using flaxseed for the first 1–2 layers, then switching to more stable oils like grapeseed or sunflower for longevity.
Maintenance Checklist for Long-Term Success
- ✅ Always dry the skillet completely after washing
- ✅ Apply a light coat of oil after each use while the pan is still warm
- ✅ Avoid soaking or dishwashing, which strip seasoning
- ✅ Cook with fats (oil, butter) regularly to reinforce the layer
- ✅ Re-season in the oven every few months or if food starts sticking
- ✅ Store in a dry place with light ventilation—avoid sealed plastic bags
“The best cast iron doesn’t come from a factory—it’s earned through care, use, and patience.” — America’s Test Kitchen
Conclusion: Building Confidence Through Consistency
A sticky cast iron skillet isn’t a lost cause—it’s a learning opportunity. Most issues arise not from the material itself, but from misunderstandings about the chemistry and technique behind seasoning. By avoiding common pitfalls like using too much oil, choosing poor oils, or cutting corners on temperature and time, you can develop a resilient, naturally non-stick surface that improves with every use.
The beauty of cast iron lies in its durability and responsiveness to care. Each time you cook with it, clean it properly, and maintain its seasoning, you’re adding to its legacy. Whether you inherited a family heirloom or bought your first pan last week, the path to a perfect finish is the same: attention to detail, consistency, and respect for the process.


 浙公网安备
33010002000092号
浙公网安备
33010002000092号 浙B2-20120091-4
Comments
No comments yet. Why don't you start the discussion?