
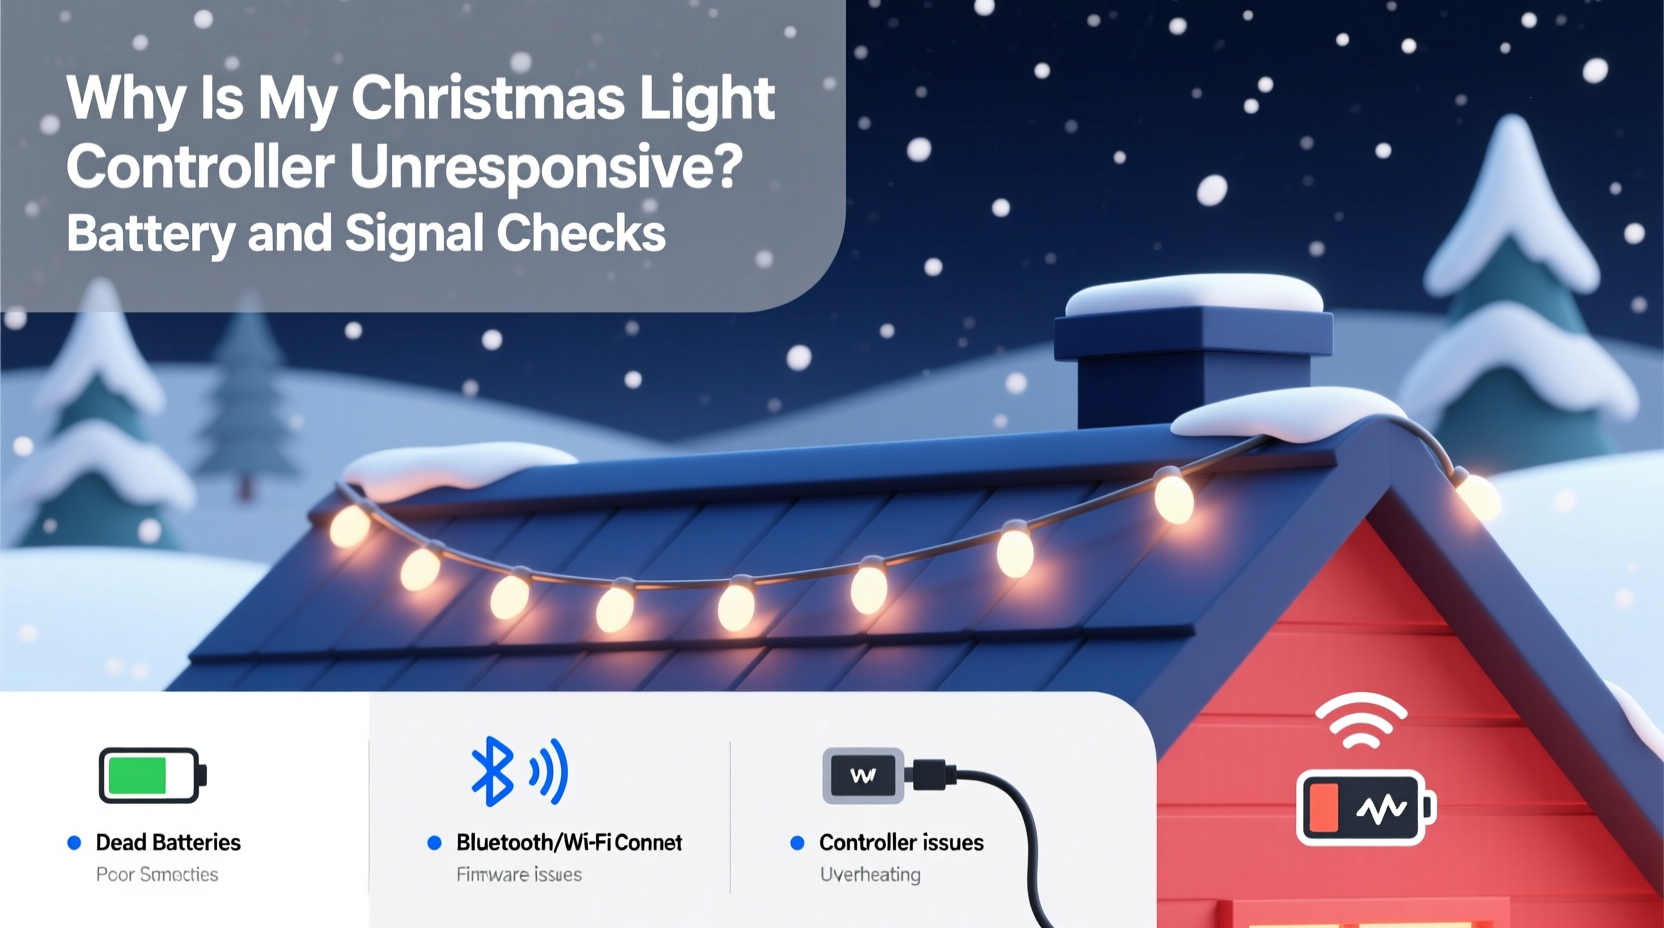
As the holiday season approaches, few things are more frustrating than a Christmas light display that won’t respond to its remote or wall-mounted controller. You’ve strung the lights perfectly, synced them to music in your head, only to find the controller dead—no response, no blinking, nothing. Before you write off your entire setup or buy a replacement, it’s essential to understand the most common causes: power supply failures and signal interference. More often than not, the issue lies in something as simple as weak batteries or blocked infrared signals. This guide walks you through a systematic diagnosis of your unresponsive Christmas light controller, focusing on battery performance and signal integrity.
Understanding How Christmas Light Controllers Work
Most modern Christmas light controllers—especially those paired with LED string lights—operate via infrared (IR) or radio frequency (RF) signals. IR remotes require line-of-sight and send pulses of invisible light to communicate with the receiver unit attached to the lights. RF remotes, on the other hand, use wireless radio waves and can work through walls or from greater distances. Both types rely on a small internal circuit board within the controller box, which interprets incoming signals and adjusts lighting modes, speed, brightness, or color patterns accordingly.
The controller itself requires power to function. For many models, this comes from either AA or AAA batteries housed in the remote and sometimes in the receiver unit. If either component lacks sufficient voltage, communication breaks down entirely. Additionally, environmental factors like moisture, temperature extremes, or electromagnetic interference can disrupt signal transmission even when batteries appear functional.
“Over 70% of ‘broken’ holiday light controllers brought into repair clinics are actually suffering from low battery voltage or signal misalignment—not hardware failure.” — Derek Langston, Seasonal Lighting Technician, 15+ years in holiday display maintenance
Step-by-Step Diagnosis: Battery and Power Checks
The first step in troubleshooting any unresponsive controller is verifying that both the remote and the receiver have adequate power. A weak battery may still allow the remote’s LED to blink faintly but lack enough voltage to transmit a usable signal.
1. Inspect Remote Batteries
Open the battery compartment of your remote control. Look for signs of corrosion, leakage, or swelling. These can prevent proper electrical contact and render even fresh batteries ineffective.
- Remove old batteries and clean terminals with a cotton swab dipped in white vinegar or rubbing alcohol.
- Insert new, high-quality alkaline batteries—avoid rechargeables unless specified by the manufacturer, as their lower voltage (1.2V vs. 1.5V) may impair signal strength.
- Ensure correct polarity (+/-) alignment before closing the compartment.
2. Check Receiver Unit Power Source
Some controllers—particularly plug-in wall units—have built-in battery backups or auxiliary power inputs. Even if the main unit is plugged into an outlet, a secondary battery may be needed for memory retention or signal processing.
- Locate the receiver box (usually where the first string connects).
- Inspect for a secondary battery slot or backup battery housing.
- Replace any suspect batteries, especially if the unit has been stored for months.
3. Verify Outlet and Fuse Integrity
If the controller plugs into a wall outlet, ensure the outlet is live. Use a lamp or phone charger to test. Also, inspect the fuse inside the plug end of the light strand—if present—and replace it with an identical rating (typically 3A for standard sets).
Signal Transmission Troubleshooting
Even with full batteries, a controller may remain unresponsive due to signal blockage or interference. The following steps help isolate and resolve communication breakdowns between remote and receiver.
1. Confirm Line-of-Sight (For IR Remotes)
Infrared signals require direct visibility between the remote’s emitter (front tip) and the receiver’s sensor (usually a small dark window on the controller box). Obstructions such as snow buildup, tree branches, or decorative elements can block transmission.
- Clean the sensor window with a dry microfiber cloth.
- Aim the remote directly at the sensor from no more than 10 feet away.
- Press buttons firmly and hold for 2–3 seconds to allow signal registration.
2. Eliminate Signal Interference
Bright sunlight contains infrared radiation that can overwhelm IR receivers. Similarly, nearby electronics like TVs, audio systems, or fluorescent lights emit frequencies that interfere with both IR and RF signals.
3. Reset the Controller
Many controllers lock up after prolonged storage or exposure to static electricity. Perform a hard reset:
- Unplug the light strand from power.
- Remove batteries from both remote and receiver (if applicable).
- Wait 2 minutes to discharge residual current.
- Reinsert batteries and restore power.
- Re-pair the remote by holding the “Sync” or “Mode” button for 5 seconds until indicator lights flash.
Common Problems and Real-World Fixes
Let’s look at a real scenario that illustrates how multiple small issues compound into apparent device failure.
Mini Case Study: The Silent Strand on Pine Lane
Homeowner Maria installed her pre-lit wreath and railing lights in early December. By mid-month, she noticed the remote wouldn’t change colors. She assumed the controller died and nearly ordered a new one. Instead, she followed a neighbor’s advice to check systematically.
She started with the remote—batteries were original and over a year old. After replacing them, no improvement. Then she inspected the receiver box mounted under the eaves. Snow had packed around the sensor during a recent storm. Clearing the snow helped slightly, but only partial response returned.
Finally, she unplugged everything, removed all batteries, waited two minutes, and reconnected. On reboot, the system responded fully. Later, she discovered her outdoor spotlight (installed weeks prior) emitted strong IR radiation that interfered with the receiver. Relocating the light three feet away resolved the conflict permanently.
Maria’s experience shows that what seems like hardware failure is often a chain of minor oversights—old batteries, environmental blockage, and electromagnetic interference—all solvable without spending a dime.
Troubleshooting Checklist
Use this checklist to methodically verify every potential point of failure:
- ✅ Replace remote batteries with fresh alkaline cells
- ✅ Clean battery contacts in remote and receiver
- ✅ Confirm receiver unit is receiving main power (test outlet)
- ✅ Check for blown fuses in plug or inline fuse holder
- ✅ Ensure line-of-sight between remote and receiver sensor (for IR models)
- ✅ Remove snow, dirt, or debris covering the sensor
- ✅ Test remote functionality in low-light conditions
- ✅ Power cycle the entire system (unplug + remove batteries + wait 2 min)
- ✅ Re-sync remote and receiver per manufacturer instructions
- ✅ Eliminate sources of electromagnetic or IR interference nearby
Battery and Signal Comparison Table
| Issue Type | Symptom | Quick Fix | Prevention |
|---|---|---|---|
| Battery Failure | Remote LEDs dim or don't light; no response | Replace with new alkaline batteries | Replace annually before season starts |
| Contact Corrosion | Batteries appear charged but device unresponsive | Clean terminals with vinegar or alcohol | Store in dry place; use anti-corrosion pads |
| Signal Blockage (IR) | Works up close but not from distance | Clear path to sensor; avoid obstructions | Mount sensor in visible, sheltered location |
| EM Interference | Erratic behavior or complete silence | Relocate interfering devices or receiver | Keep away from speakers, transformers, spotlights |
| Firmware Lockup | No response despite power and batteries | Power cycle and re-sync | Reset after long storage periods |
Frequently Asked Questions
Can I use rechargeable batteries in my Christmas light remote?
While technically possible, standard NiMH rechargeables output 1.2 volts per cell compared to 1.5 volts in alkaline batteries. This voltage drop can reduce transmission range or prevent signal recognition in sensitive controllers. If you must use rechargeables, choose high-output models and ensure they’re fully charged. Lithium primary (non-rechargeable) batteries are a better alternative—they maintain stable voltage and perform well in cold weather.
Why does my remote work only when I’m right next to the lights?
This typically indicates weak batteries, poor alignment, or sensor obstruction. It can also mean the IR emitter in the remote is degrading. Try replacing batteries first. If the issue persists, test the remote with a smartphone camera: point the remote at your phone’s camera and press a button. If you see a faint white or purple glow on screen, the IR emitter is working. No glow suggests a faulty remote.
My controller has no batteries—why isn’t it working even when plugged in?
Some plug-in controllers still rely on a small internal battery to store settings or maintain signal decoding logic. If this backup battery dies (common in lithium coin cells), the unit may power on but fail to respond to commands. Consult your model’s manual to locate and replace any auxiliary batteries inside the receiver housing.
Final Steps and When to Replace
After completing the above diagnostics, most unresponsive controllers will return to normal operation. However, if you’ve replaced batteries, cleared interference, reset the system, and confirmed power delivery—with no response—it’s time to consider hardware failure.
Signs of irreversible damage include:
- Visible burn marks or melted plastic on the controller
- Water intrusion inside the receiver box
- Intermittent flickering unrelated to settings
- Smell of overheating electronics
In such cases, replacement is safer and more cost-effective than repair. Modern smart controllers offer Wi-Fi or app-based control, eliminating remote dependency altogether. Brands like Govee, Twinkly, and Philips Hue provide reliable alternatives with mobile interfaces and scheduling features.
Conclusion: Take Control of Your Holiday Lights
An unresponsive Christmas light controller doesn’t have to ruin your festive plans. Most issues stem from overlooked basics: expired batteries, blocked signals, or temporary electronic glitches. By applying a structured approach—starting with power verification and moving through signal testing—you can revive your display quickly and confidently. Don’t rush to replace equipment until you’ve ruled out simple fixes. With proper care, many controllers last five seasons or more.


 浙公网安备
33010002000092号
浙公网安备
33010002000092号 浙B2-20120091-4
Comments
No comments yet. Why don't you start the discussion?