
As the holiday season approaches, nothing sets the festive mood quite like a string of twinkling Christmas lights glowing on schedule each evening. But when your timer fails to turn them on—leaving your display dark and disappointing—it can be more than just an annoyance. A malfunctioning timer disrupts routines, raises safety concerns, and may even shorten the life of your lights due to inconsistent use. Understanding why your Christmas light timer isn’t working—and how to fix it—is essential for both convenience and peace of mind.
Timers are designed to automate lighting displays, saving energy and enhancing curb appeal without requiring manual intervention. However, like any electrical device, they are prone to failure from environmental exposure, power issues, or internal wear. The good news: most problems have simple solutions once you know where to look.
Common Causes of Timer Failure
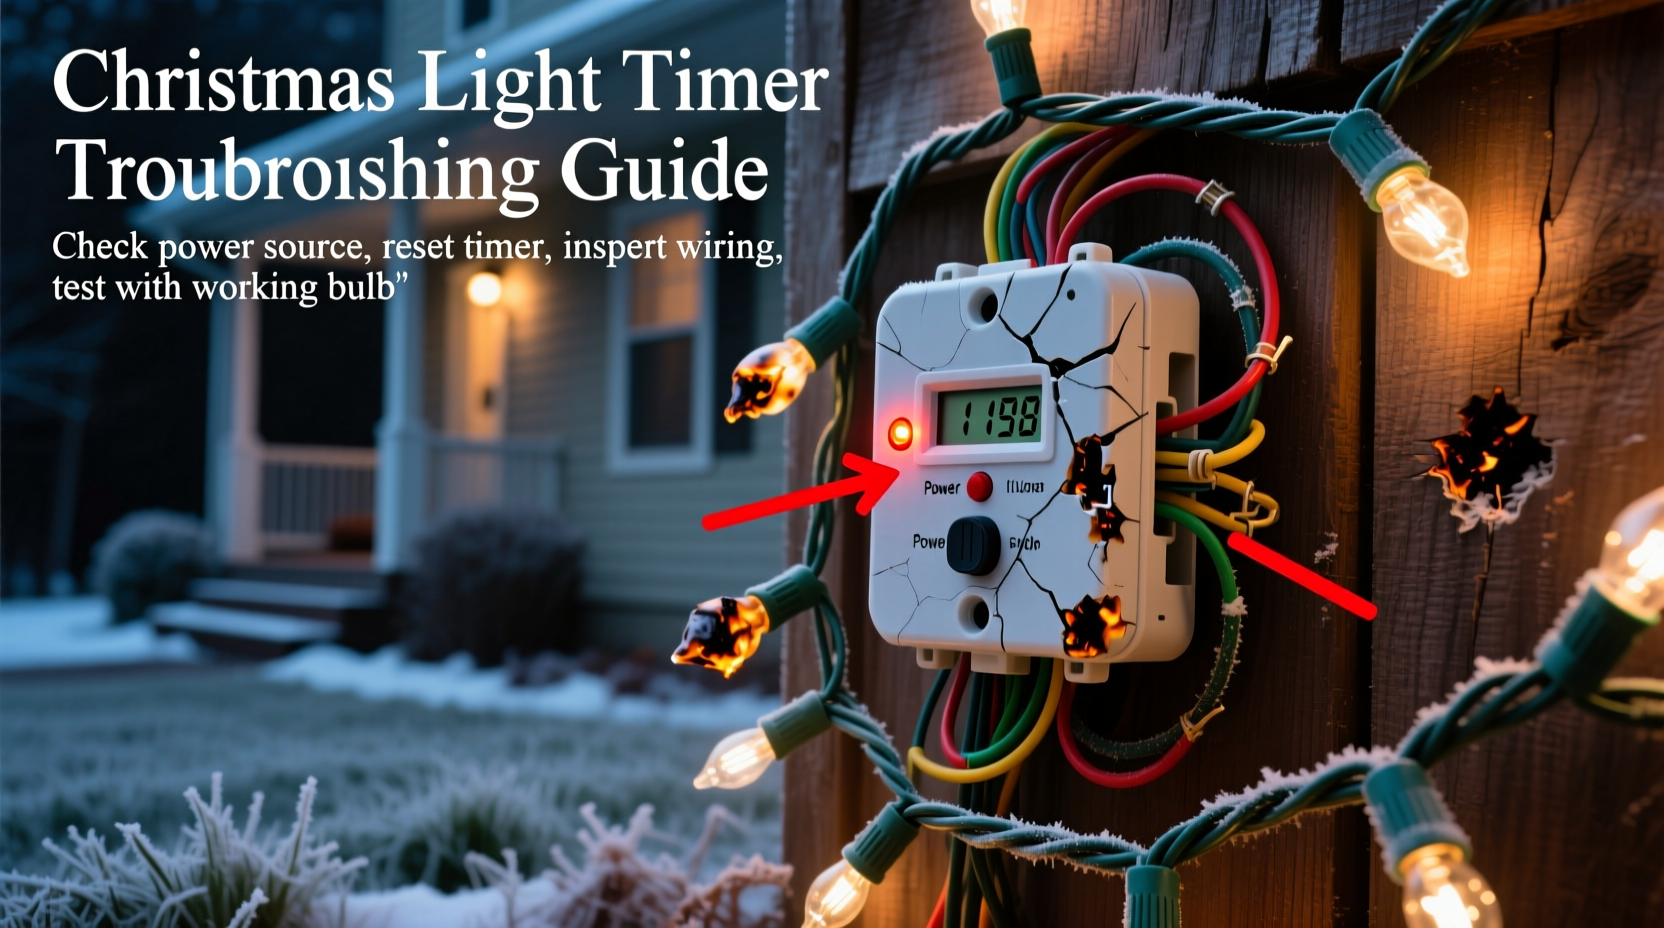
Before diving into fixes, it’s important to identify what might be causing the issue in the first place. Many people assume their lights are broken when, in fact, the problem lies with the timer. Here are the most frequent culprits:
- Power supply interruption: The outlet may not be receiving electricity due to tripped breakers, blown fuses, or GFCI outlets that have shut off.
- Battery failure (in digital timers): Some electronic timers use backup batteries to retain time settings during outages. A dead battery can cause incorrect timing or reset behavior.
- Moisture damage: Outdoor timers exposed to rain, snow, or condensation can short-circuit internally, especially if not rated for wet locations.
- Overloaded circuit: Plugging too many light strands into a single timer can exceed its wattage rating, leading to overheating or failure.
- Mechanical wear: Mechanical dial timers rely on small motors that degrade over time. After several seasons, these motors may stop turning altogether.
- User error: Incorrect programming, mismatched time zones after daylight saving changes, or accidental override settings can make it seem like the timer is broken when it’s simply misconfigured.
Step-by-Step Troubleshooting Guide
Follow this systematic approach to diagnose and resolve timer issues efficiently. Start with the simplest checks and move toward more involved diagnostics.
- Verify power at the outlet
Plug a known-working device (like a lamp) into the same outlet. If it doesn’t turn on, check your home’s breaker panel for a tripped switch or reset the GFCI outlet if applicable. - Check the timer’s power source
If the timer has a battery compartment, remove and test the battery with a multimeter or replace it with a fresh one. Even if the timer is plugged in, some models require a functioning battery to maintain clock accuracy. - Inspect for physical damage
Look for cracks, discoloration, melted plastic, or signs of water intrusion. These indicate unsafe conditions—replace the unit immediately if found. - Test the lights independently
Bypass the timer by plugging the lights directly into the outlet. If they work, the issue is likely the timer. If not, troubleshoot the lights separately. - Reset the timer
Unplug the timer for at least 30 seconds, then reconnect it. For digital models, this often clears software glitches. Re-program the on/off times afterward. - Review programming settings
Ensure the correct time is set and that the timer is in “auto” mode rather than “on” or “off.” Check whether a temporary override function was activated. - Test with a lower load
Disconnect all but one string of lights and see if the timer functions. Gradually add more strands to determine if overload is the issue.
Do’s and Don’ts When Using Outdoor Light Timers
| Do’s | Don’ts |
|---|---|
| Use timers rated for outdoor/wet locations (look for UL listing) | Expose indoor-rated timers to rain or snow |
| Plug the timer into a GFCI-protected outlet | Ignore tripped GFCI outlets—always reset them promptly |
| Keep connections elevated off the ground using a weatherproof enclosure | Let cords sit in puddles or under snow accumulation |
| Check manufacturer's maximum wattage limit and stay under it | Daisy-chain more lights than recommended |
| Replace mechanical timers every 3–5 years as preventive maintenance | Continue using a timer that makes buzzing sounds or emits heat |
Real-World Example: A Holiday Display Gone Dark
Mark, a homeowner in Vermont, installed his annual Christmas light display in early December. He used a digital outdoor timer to control five strands of LED lights on his roofline. On December 10th, the lights stopped coming on at dusk. He assumed the timer had failed and considered buying a new one.
Instead, he followed a methodical process. First, he tested the outlet with a portable radio—power was present. Then he bypassed the timer and plugged in the lights directly—they worked perfectly. Next, he opened the timer’s cover and noticed slight corrosion on the terminals. After drying it thoroughly and replacing the backup battery, he reset the device. The lights resumed operation the next evening.
The root cause? Condensation had entered the housing during a thaw-freeze cycle, temporarily disrupting the circuit. By addressing moisture and refreshing the battery, Mark saved $25 and avoided unnecessary waste.
“Many timer failures aren’t truly failures—they’re preventable issues caused by environment and usage patterns. Regular inspection and proper selection go a long way.” — Daniel Reyes, Electrical Systems Technician with 18 years of residential experience
Choosing the Right Timer: Analog vs. Digital
Not all timers are created equal. Your choice between mechanical (analog) and digital models affects reliability, precision, and longevity.
- Analog (Dial) Timers: Operate via a rotating clock motor. Simple, durable, and unaffected by electromagnetic interference. Best for basic on/off schedules. However, they drift over time and lack flexibility for seasonal adjustments.
- Digital Timers: Offer precise programming, multiple daily cycles, random modes, and sometimes smartphone integration. More versatile but depend on internal electronics and batteries. Sensitive to power surges and extreme temperatures.
For outdoor holiday use, a mid-range digital timer with surge protection and waterproof housing often provides the best balance. Look for features like “random fade” for realism and “sunrise/sunset tracking” for automatic seasonal adjustment.
Preventive Maintenance Checklist
Extend the life of your Christmas light timer with routine care. Use this checklist annually before deployment:
- ✅ Clean dust and debris from vents and plug prongs
- ✅ Inspect cord insulation for cracks or fraying
- ✅ Confirm battery is functional (if applicable)
- ✅ Verify accurate time setting and correct AM/PM
- ✅ Test in a dry indoor location before outdoor installation
- ✅ Ensure tight fit in outlet—loose connections generate heat
- ✅ Confirm compatibility with LED or incandescent loads (some older timers don’t handle low-wattage LEDs well)
Frequently Asked Questions
Why do my lights come on at the wrong time?
This usually happens because the timer’s internal clock is incorrect. Reset the current time and ensure daylight saving time adjustments are applied manually unless the model supports auto-adjustment. Also, verify that the timer hasn’t been overridden into “on” or “off” mode.
Can I use a smart plug instead of a traditional timer?
Absolutely. Smart plugs offer greater control through apps, voice commands, and geofencing. They also eliminate the need for physical access once set up. Just ensure the smart plug is rated for outdoor use or kept in a protected enclosure. Note: Wi-Fi outages may affect performance unless local control is supported.
My timer works fine indoors but fails outside—what gives?
Temperature extremes and moisture are the usual suspects. Indoor timers aren’t built to withstand freezing conditions or humidity. Always use outdoor-rated devices for exterior applications. Additionally, thermal expansion can loosen internal components over time, so periodic checks are crucial.
Conclusion: Keep the Holidays Bright Without the Hassle
A non-working Christmas light timer doesn’t mean your holiday display has to stay dark. With a clear understanding of common causes—from simple power issues to environmental damage—you can quickly restore automated lighting with minimal effort. Most problems are fixable with basic tools and a few minutes of troubleshooting.
Equally important is prevention. By selecting the right equipment, maintaining it properly, and inspecting it annually, you’ll reduce future frustrations and enjoy reliable, hands-free holiday lighting for years. Don’t wait until next December to act—store your timer correctly now (in a dry, temperature-stable space), and label it for easy retrieval.


 浙公网安备
33010002000092号
浙公网安备
33010002000092号 浙B2-20120091-4
Comments
No comments yet. Why don't you start the discussion?