
Essential oil diffusers are a popular way to infuse homes with calming scents, support respiratory health, and elevate mood. However, many users report a common issue: sticky or waxy buildup inside the diffuser and on surrounding surfaces. This residue not only affects performance but can also pose risks if left unattended. Understanding why this happens and how to address it—especially using natural methods—is essential for maintaining both device longevity and indoor air quality.
The presence of residue often surprises people who assume that because essential oils are “natural,” they won’t leave behind deposits. But plant-based compounds contain terpenes, resins, and other organic materials that can oxidize and accumulate over time. The good news is that with proper knowledge and routine care, you can prevent buildup and restore your diffuser to peak condition—without harsh chemicals.
Why Essential Oil Diffusers Leave Residue
Residue in diffusers typically stems from the chemical composition of the oils themselves, especially when certain types are used frequently or improperly diluted. Unlike synthetic fragrances designed for even dispersion, pure essential oils contain complex phytochemicals that don't always evaporate completely.
One primary culprit is the presence of **sesquiterpenes and resinous compounds** found in oils like frankincense, myrrh, patchouli, vetiver, and sandalwood. These thicker, denser oils are prized for their grounding aroma and therapeutic benefits, but they tend to leave behind a fine film or sticky deposit after diffusion. Over time, repeated use without cleaning leads to clogged mist outlets, reduced output, and even motor strain.
Another factor is oil quality. Lower-grade or adulterated essential oils may contain added carriers (like vegetable oils), synthetic extenders, or impurities that increase residue formation. Even high-quality oils can degrade if stored improperly—exposure to heat, light, or oxygen causes oxidation, altering their viscosity and volatility.
Additionally, ultrasonic diffusers work by vibrating water and oil into a fine mist. If too much oil is added beyond the recommended ratio (typically 3–6 drops per 100ml of water), excess oil fails to aerosolize and instead settles as a greasy layer. This is particularly noticeable on nearby furniture, walls, or window sills.
“Natural doesn’t mean residue-free. Many botanical extracts contain lipophilic compounds that bind to surfaces over time.” — Dr. Lena Torres, Aromatherapy Researcher at the Holistic Wellness Institute
Common Types of Residue and What They Mean
Not all buildup looks the same, and identifying the type can help determine its cause and appropriate cleaning method:
| Type of Residue | Appearance | Most Likely Cause |
|---|---|---|
| Sticky Film | Clear, slightly tacky coating on interior or nearby surfaces | Use of resin-rich oils (e.g., frankincense) or excessive oil volume |
| White Chalky Buildup | Dry, powdery deposits near water tank base | Mineral deposits from tap water reacting with oil components |
| Dark Grease Spots | Brownish or yellowish oily smears | Oxidized or rancid oils; possible adulteration with carrier oils |
| Film with Particles | Speckled or cloudy layer | Low-quality oils with sediment or fillers |
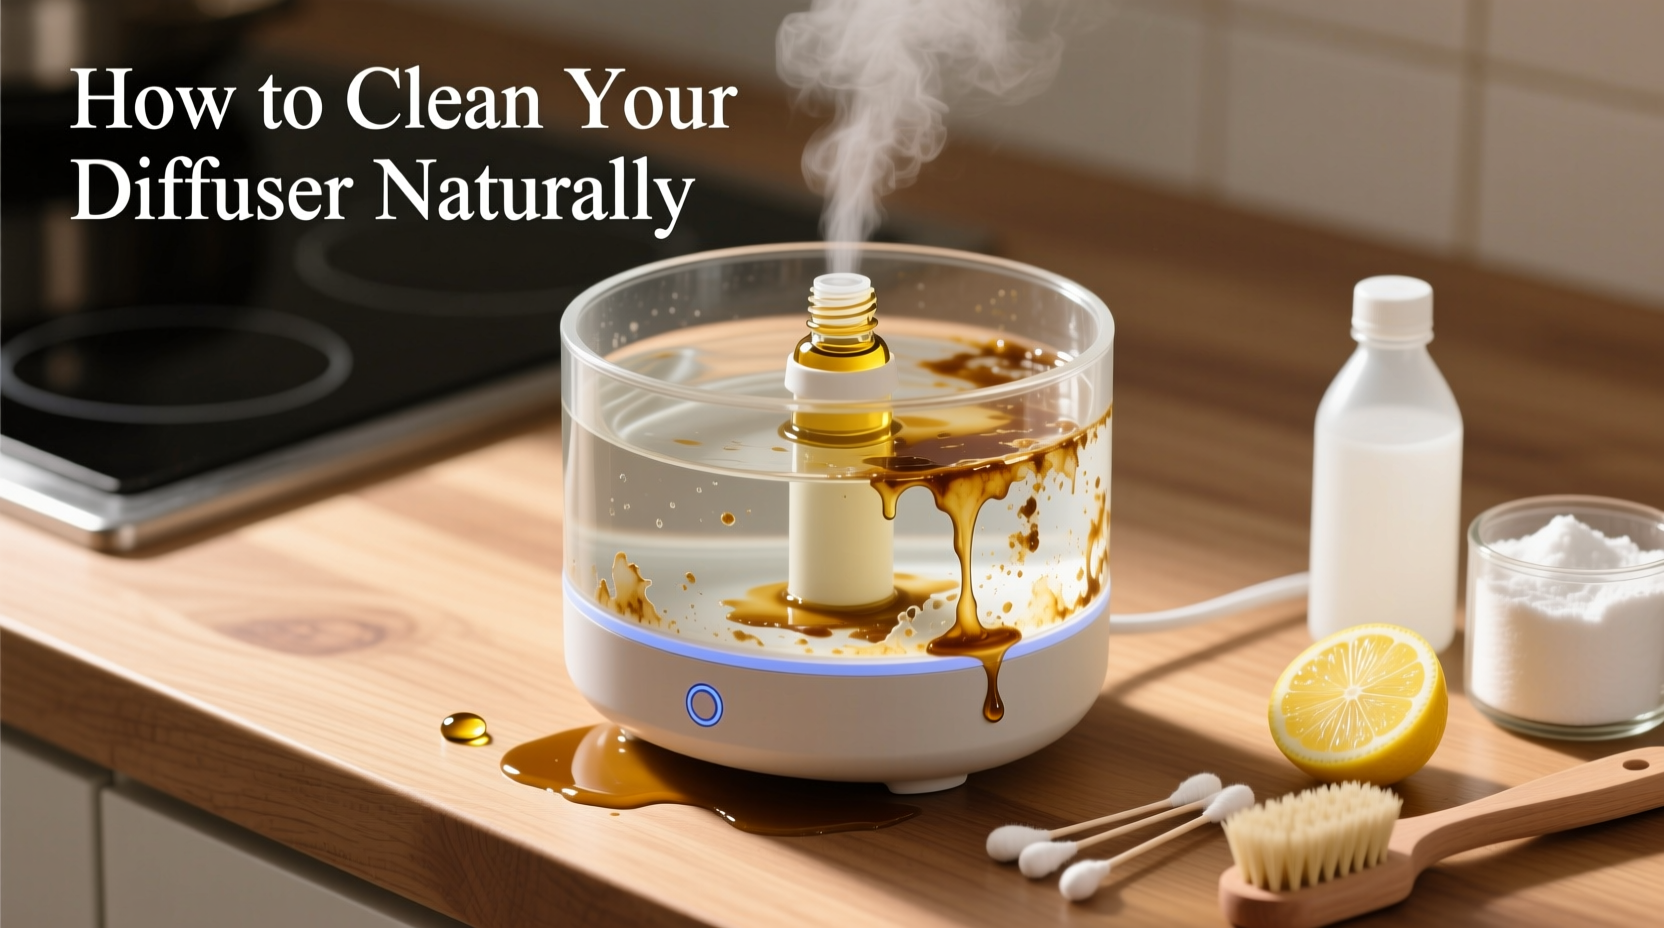
How to Clean Your Diffuser Naturally: A Step-by-Step Guide
Regular cleaning prevents residue accumulation and ensures consistent performance. Here’s a safe, effective, and entirely natural method to deep-clean your ultrasonic diffuser:
- Unplug and empty the unit. Remove any remaining water-oil mixture and wipe out loose debris with a soft cloth.
- Create a vinegar-citrus solution. Mix equal parts white vinegar and warm distilled water. Add 1 tablespoon of lemon juice or a few slices of fresh lemon for enhanced degreasing power. Lemon contains d-limonene, a natural solvent found in many eco-friendly cleaners.
- Fill the reservoir halfway. Pour the solution into the diffuser bowl up to the maximum fill line.
- Run the diffuser for 5–10 minutes. Turn it on and let it diffuse the solution. The vibrations will help loosen stuck-on residue from internal components, including the nebulizer plate.
- Turn off and soak for 30 minutes. Allow the acidic solution to break down waxy deposits and dissolve mineral scale.
- Scrub gently with a soft brush. Use a clean toothbrush or silicone scrubber to reach crevices and the mist outlet. Avoid metal tools that could damage plastic or ceramic parts.
- Rinse thoroughly. Empty the solution and rinse multiple times with distilled water until no vinegar smell remains.
- Wipe dry and air-dry overnight. Use a microfiber cloth to absorb moisture, then leave the unit open to fully dry before reuse.
This process removes both oily residue and hard water minerals while disinfecting the chamber naturally. For monthly maintenance, repeat this full cycle. Between uses, a quick rinse with plain water helps prevent accumulation.
Natural Alternatives for Deep Cleaning
If vinegar isn’t available, several household ingredients offer effective cleaning properties without toxic fumes:
- Baking Soda Paste: Mix with a small amount of water to form a paste. Apply to stubborn spots and gently scrub. Baking soda acts as a mild abrasive and deodorizer.
- Isopropyl Alcohol (70%) – Plant-Based Option: While not edible, food-grade ethanol or plant-derived rubbing alcohol effectively dissolves oil residue. Dampen a cotton swab and carefully clean the ultrasonic plate. Rinse well afterward.
- Hydrogen Peroxide (3%): Excellent for sanitizing and breaking down organic matter. Combine with water (1:1) and run through the diffuser briefly, followed by rinsing.
Avoid mixing vinegar with hydrogen peroxide or alcohol, as this creates unsafe compounds. Always clean in a well-ventilated area and never operate the diffuser without liquid.
Mini Case Study: Sarah’s Sticky Diffuser Problem
Sarah, a yoga instructor from Portland, used her diffuser daily with lavender and frankincense to create a relaxing atmosphere in her home studio. After three months, she noticed a faint haze forming on her wooden shelf and a decline in mist output. She assumed the device was faulty and considered replacing it.
Instead, she researched natural cleaning options and discovered that frankincense, while beneficial, is known for leaving residue. Following the vinegar-lemon method outlined above, she ran a cleaning cycle and gently brushed the base. To her surprise, the diffuser resumed full function, and the sticky shelf surface wiped clean with a vinegar-water spray.
Since then, Sarah rotates her oils weekly, avoids exceeding five drops per session, and performs a deep clean every four weeks. Her diffuser now lasts longer, and her space stays fresh without unwanted buildup.
Prevention Checklist: Keep Your Diffuser Residue-Free
Preventing residue is easier than removing it. Follow this checklist to maintain optimal operation:
- ✅ Use only 3–6 drops of essential oil per 100ml of water
- ✅ Choose high-quality, 100% pure essential oils from reputable brands
- ✅ Always use distilled or filtered water to minimize mineral deposits
- ✅ Clean the diffuser after every 3–4 uses with a quick water rinse
- ✅ Perform a deep clean monthly using natural agents (vinegar, lemon, baking soda)
- ✅ Allow the unit to air-dry completely before storing or refilling
- ✅ Avoid continuous operation—limit sessions to 30–60 minutes at a time
- ✅ Wipe down surrounding surfaces weekly to catch early residue signs
Do’s and Don’ts of Diffuser Maintenance
| Do’s | Don’ts |
|---|---|
| Use distilled water to prevent limescale | Never use tap water long-term (minerals accelerate buildup) |
| Dilute thick oils with lighter ones (e.g., blend frankincense with orange) | Don’t overload the tank with oil—more isn’t better |
| Clean regularly with natural acids like vinegar or citric acid | Don’t use bleach or ammonia-based cleaners—they corrode internal parts |
| Store oils in dark glass bottles away from sunlight | Don’t use expired or cloudy oils—they’ve oxidized and leave more residue |
| Place diffuser on a tray or mat to catch spills | Don’t place directly on polished wood or delicate finishes |
FAQ: Common Questions About Diffuser Residue
Can I use dish soap to clean my diffuser?
You can use a single drop of natural, fragrance-free dish soap mixed with warm water for a manual wash. However, never run soapy water through the diffuser mechanism, as it may damage electronic components or leave a foamy residue. Always rinse extremely well and dry completely.
Is residue harmful to breathe?
The residue itself isn’t typically inhaled during normal operation, but degraded or overheated oils can release irritants. Consistent buildup may also harbor mold or bacteria if combined with stagnant water. Regular cleaning minimizes these risks and supports safer aromatherapy.
Why does my diffuser smell bad even when clean?
A lingering sour or musty odor usually indicates microbial growth in hidden crevices. Run a disinfecting cycle using 1 part white vinegar to 3 parts water for 10 minutes, followed by thorough rinsing. Ensure complete drying between uses to prevent dampness-related odors.
Conclusion: Maintain Purity in Every Drop
Your essential oil diffuser should enhance wellness, not compromise it. Residue is a common but manageable issue rooted in oil chemistry, usage habits, and maintenance routines. By understanding the causes and adopting natural cleaning practices, you preserve both the device and the integrity of your aromatherapy experience.
Start today: unplug your diffuser, inspect for buildup, and perform a simple vinegar-lemon cleanse. Make cleaning part of your self-care ritual—just as you choose pure oils for your body, give your tools the same respect. A well-maintained diffuser works more efficiently, lasts longer, and keeps your space truly fresh.


 浙公网安备
33010002000092号
浙公网安备
33010002000092号 浙B2-20120091-4
Comments
No comments yet. Why don't you start the discussion?