
Making yogurt at home is a rewarding process that allows full control over ingredients, flavor, and texture. Yet many home fermenters face the same frustrating issue: their yogurt turns out too runny. While a slightly soft set can be normal, consistently thin or watery results point to specific controllable factors—most commonly involving culture temperature, incubation duration, milk preparation, and straining practices. Understanding these variables is essential to achieving the thick, creamy yogurt you expect from homemade batches.
The good news is that runny yogurt is rarely a lost cause. With precise adjustments to your method, especially around temperature management and post-fermentation processing, you can transform even the thinnest batch into something rich and spoonable. This guide dives deep into the science behind yogurt thickness, identifies the most common pitfalls, and offers practical solutions grounded in food microbiology and kitchen experience.
The Science Behind Yogurt Thickness
Yogurt’s texture comes from the transformation of milk proteins during fermentation. When live bacterial cultures (typically *Lactobacillus bulgaricus* and *Streptococcus thermophilus*) are introduced to warm milk, they consume lactose and produce lactic acid. As acidity increases, the pH drops, causing casein proteins in the milk to coagulate and form a gel network. This process is what gives yogurt its structure.
If this coagulation is incomplete or unstable, the result is a loose, soupy texture. Several conditions must align for optimal gel formation:
- Proper protein denaturation: Heating milk to near-boiling before cooling helps unfold whey proteins, allowing them to integrate into the gel matrix.
- Accurate inoculation temperature: Adding starter culture when milk is between 108°F and 112°F (42°C–44°C) ensures bacteria activate without being killed by excessive heat or slowed by cold.
- Sustained incubation: A consistent temperature over 6–12 hours allows bacteria to multiply and acidify the milk sufficiently.
- Adequate straining (if desired): Removing excess whey after fermentation concentrates proteins and fats, increasing thickness.
When any of these steps go off course, the final product suffers. Runniness isn’t just cosmetic—it reflects an incomplete fermentation or structural weakness in the protein network.
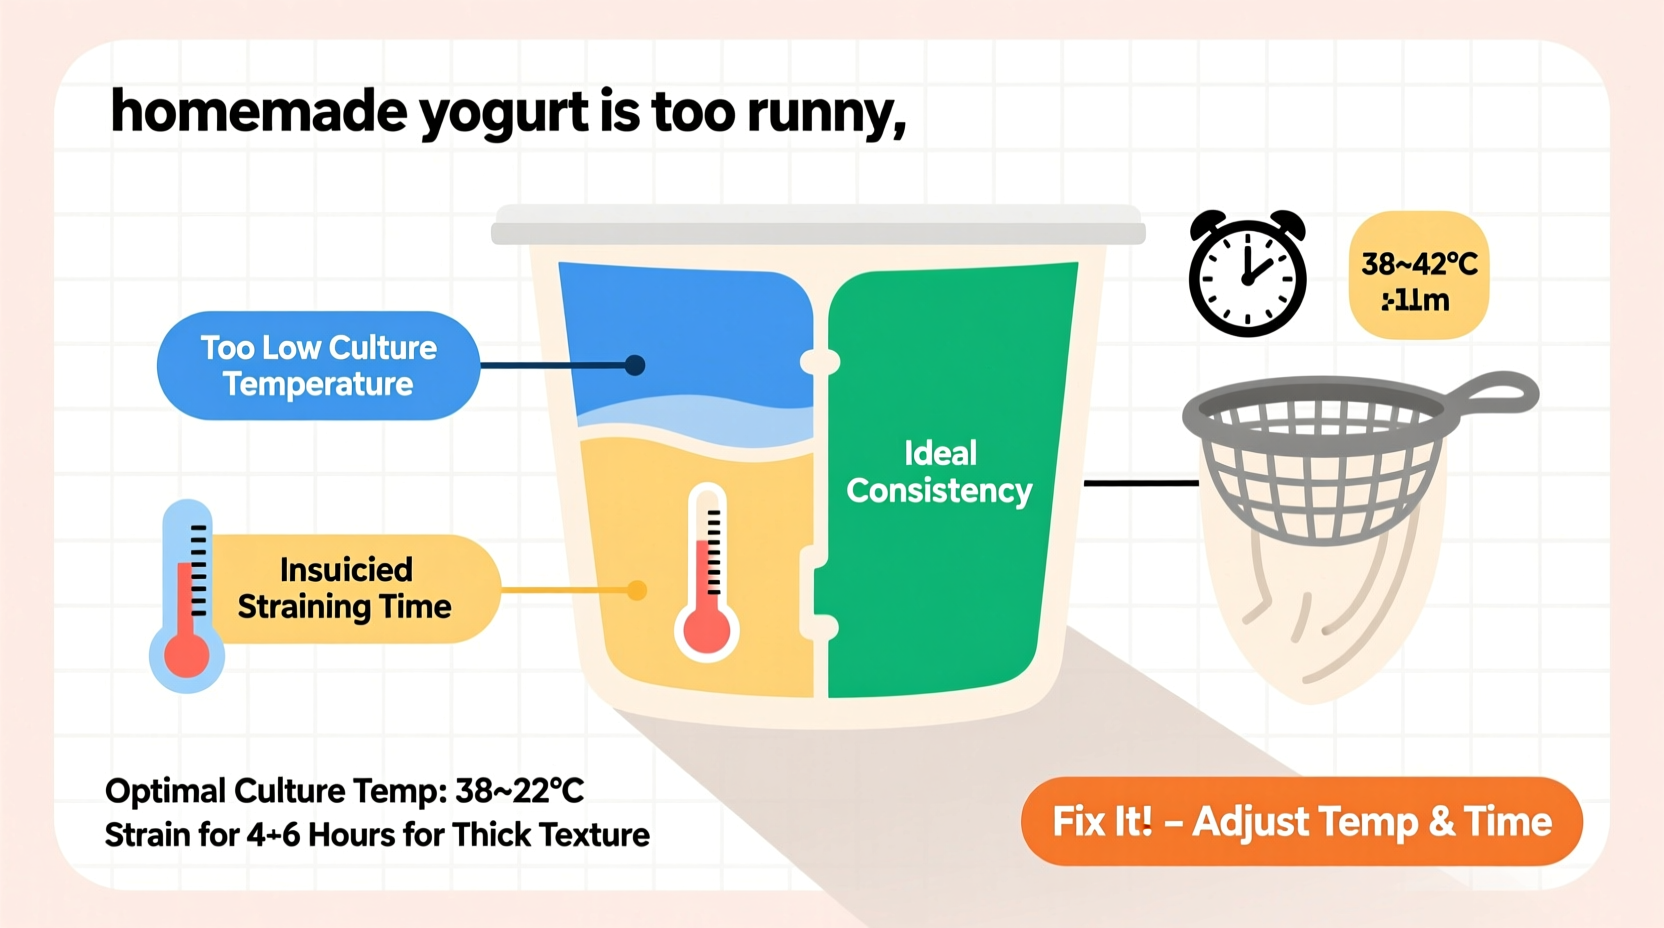
Culture Temperature: The Make-or-Break Factor
Temperature control is arguably the most critical element in yogurt-making. Bacteria used in yogurt production are mesophilic or thermophilic, meaning they thrive within narrow thermal ranges. Thermophilic strains—used in most traditional yogurt recipes—require sustained warmth between 108°F and 112°F (42°C–44°C). Deviating from this range disrupts bacterial activity.
If milk is too hot (>115°F / 46°C) when culture is added, live bacteria die. If it's too cool (<105°F / 40°C), they remain dormant or grow too slowly, leading to weak acid development and poor gelation. Even brief exposure to incorrect temperatures can impair fermentation.
Common causes of temperature mismanagement include:
- Using a microwave to heat milk, which creates uneven hot spots.
- Failing to pre-warm jars or containers, causing rapid cooling upon transfer.
- Incubating in unreliable environments like ovens with lights only, where temperature fluctuates.
To ensure accuracy, follow a precise heating and cooling protocol. Heat milk slowly to 180°F (82°C), stirring frequently to prevent scorching. Hold it there for 20 minutes if possible—this step improves protein hydration and enhances final thickness. Then cool gradually, placing the pot in a cold water bath while monitoring with a thermometer until it reaches 110°F (43°C).
“Consistency in temperature is non-negotiable. A variation of just 5 degrees during incubation can mean the difference between custard-like yogurt and soup.” — Dr. Elena Torres, Food Microbiologist and Fermentation Specialist
Straining Time and Technique: How Long to Drain Whey
Even perfectly fermented yogurt may appear thin initially. That’s because the natural state of set yogurt includes a layer of clear liquid on top—whey—which contains water, lactose, and some minerals. Straining removes this whey, concentrating the remaining proteins and fat to create thicker textures like Greek or labneh-style yogurt.
The longer you strain, the thicker the result. However, timing depends on desired outcome:
| Straining Duration | Resulting Consistency | Best For |
|---|---|---|
| 1–2 hours | Slightly thicker than regular yogurt | Smoothies, dressings |
| 3–4 hours | Greek-style, spoonable | Eating plain, fruit toppings |
| 6–8 hours | Dense, spreadable | Dips, baking, low-sugar diets |
| 12–24 hours | Cheese-like (labneh) | Spreads, bagels, savory applications |
Use a fine-mesh strainer lined with cheesecloth, coffee filters, or a reusable nut milk bag. Place over a bowl and refrigerate during straining to prevent spoilage. Avoid pressing down unless aiming for maximum thickness—gentle gravity drainage preserves smoothness.
Step-by-Step Guide to Fixing Runny Yogurt
If your last batch came out too thin, don’t discard it. Here’s a systematic approach to diagnose and correct the issue—either immediately or in your next attempt.
- Assess the fermentation duration. Did you incubate for at least 8 hours? Shorter times often yield softer sets. Extend incubation up to 12 hours for stronger acidity and better gel structure.
- Check your starter source. Old or weak starters lose potency. Use fresh store-bought plain yogurt with live cultures or a freeze-dried starter culture. Avoid using the same batch as starter beyond 3 generations.
- Verify milk type. Low-fat or ultra-pasteurized milk often produces thinner yogurt due to reduced protein stability. Opt for whole pasteurized milk or add dry milk powder (¼ cup per quart) to boost solids.
- Reheat and re-incubate (if needed). If the batch is only mildly runny and smells clean (tangy, not sour or off), gently reheat to 110°F, add a fresh dose of starter, and incubate another 4–6 hours.
- Strain to desired thickness. Transfer the yogurt to a strainer and allow it to drain in the fridge. Start checking texture after one hour and stop once it reaches your preferred consistency.
This process turns imperfect batches into usable products while teaching valuable lessons about your equipment and environment.
Mini Case Study: From Runny Failure to Creamy Success
Sarah, a home cook in Portland, had been making yogurt weekly for months but struggled with inconsistent results. One week it was thick and tangy; the next, it resembled milk with bits of curd. Frustrated, she began tracking variables: milk brand, heating time, incubation method, and ambient room temperature.
She discovered her oven—her primary incubator—cooled below 100°F after five hours, cutting fermentation short. She switched to a dedicated yogurt maker with precise thermostat control. She also started using organic whole milk instead of ultra-filtered varieties and increased heating time to 20 minutes at 180°F.
Her next batch set firmly. After straining for four hours, she achieved a rich, Greek-style texture. By identifying temperature instability as the root cause, Sarah turned a recurring problem into a repeatable success.
Do’s and Don’ts for Thick Homemade Yogurt
| Do’s | Don’ts |
|---|---|
| Heat milk to 180°F and hold for 10–20 minutes | Use raw or cold milk without heating |
| Cool milk to 110°F before adding culture | Add starter to boiling or lukewarm milk |
| Incubate at 108–112°F for 8–12 hours | Let temperature drop below 100°F during fermentation |
| Use whole milk or add dry milk powder | Rely solely on skim or plant-based milks (without modification) |
| Strain for 3+ hours for thicker results | Expect thick yogurt without straining if using low-protein milk |
Frequently Asked Questions
Can I fix runny yogurt after refrigeration?
Yes. Cold doesn’t permanently set yogurt. You can strain refrigerated yogurt just as effectively as warm. Simply place it in a lined strainer and let it drain in the fridge for several hours.
Why does my yogurt separate into liquid and solids?
Some separation (whey pooling) is normal and harmless. Excessive separation usually indicates over-fermentation, temperature fluctuations, or disturbance during setting. Stirring gently before straining resolves this.
Is runny yogurt safe to eat?
If it smells pleasantly tangy and shows no signs of mold, pink hues, or foul odor, runny yogurt is safe. Texture issues are rarely safety concerns—they reflect process errors, not contamination.
Final Checklist for Perfect Yogurt Every Time
- ✅ Heat milk to 180°F and hold for 10–20 minutes
- ✅ Cool precisely to 110°F before adding culture
- ✅ Use a fresh, active starter (store-bought or direct-set culture)
- ✅ Maintain incubation temperature between 108°F–112°F for 8–12 hours
- ✅ Choose whole dairy milk or enrich skim milk with powdered milk
- ✅ Strain for 3+ hours for thicker consistency
- ✅ Keep equipment clean and sterile to avoid competing microbes
Conclusion: Take Control of Your Yogurt Results
Runny homemade yogurt isn’t a failure—it’s feedback. Each batch teaches you more about the delicate balance of temperature, time, and technique required for perfect fermentation. By focusing on accurate culture temperature and adjusting straining duration, you gain full command over texture. Whether you prefer drinkable kefir-style yogurt or dense, scoopable spreads, the power lies in your hands.
Start applying these insights today. Refine your process, keep notes, and celebrate incremental improvements. Soon, consistently creamy yogurt will become your kitchen norm—not a lucky accident.


 浙公网安备
33010002000092号
浙公网安备
33010002000092号 浙B2-20120091-4
Comments
No comments yet. Why don't you start the discussion?