
Making yogurt at home is a rewarding process that gives you control over ingredients, flavor, and texture. But nothing is more frustrating than opening your jar after hours of incubation only to find a thin, soupy result instead of the thick, creamy yogurt you expected. Runny homemade yogurt is a common issue — but it’s not a lost cause. The good news is that most causes are preventable, and nearly all can be corrected with simple, natural methods.
The texture of yogurt depends on a delicate balance of milk composition, bacterial activity, temperature control, and processing techniques. When one of these elements is off, the result can be overly liquid yogurt. Understanding the science behind yogurt formation helps demystify the problem and empowers you to make consistent, high-quality batches every time.
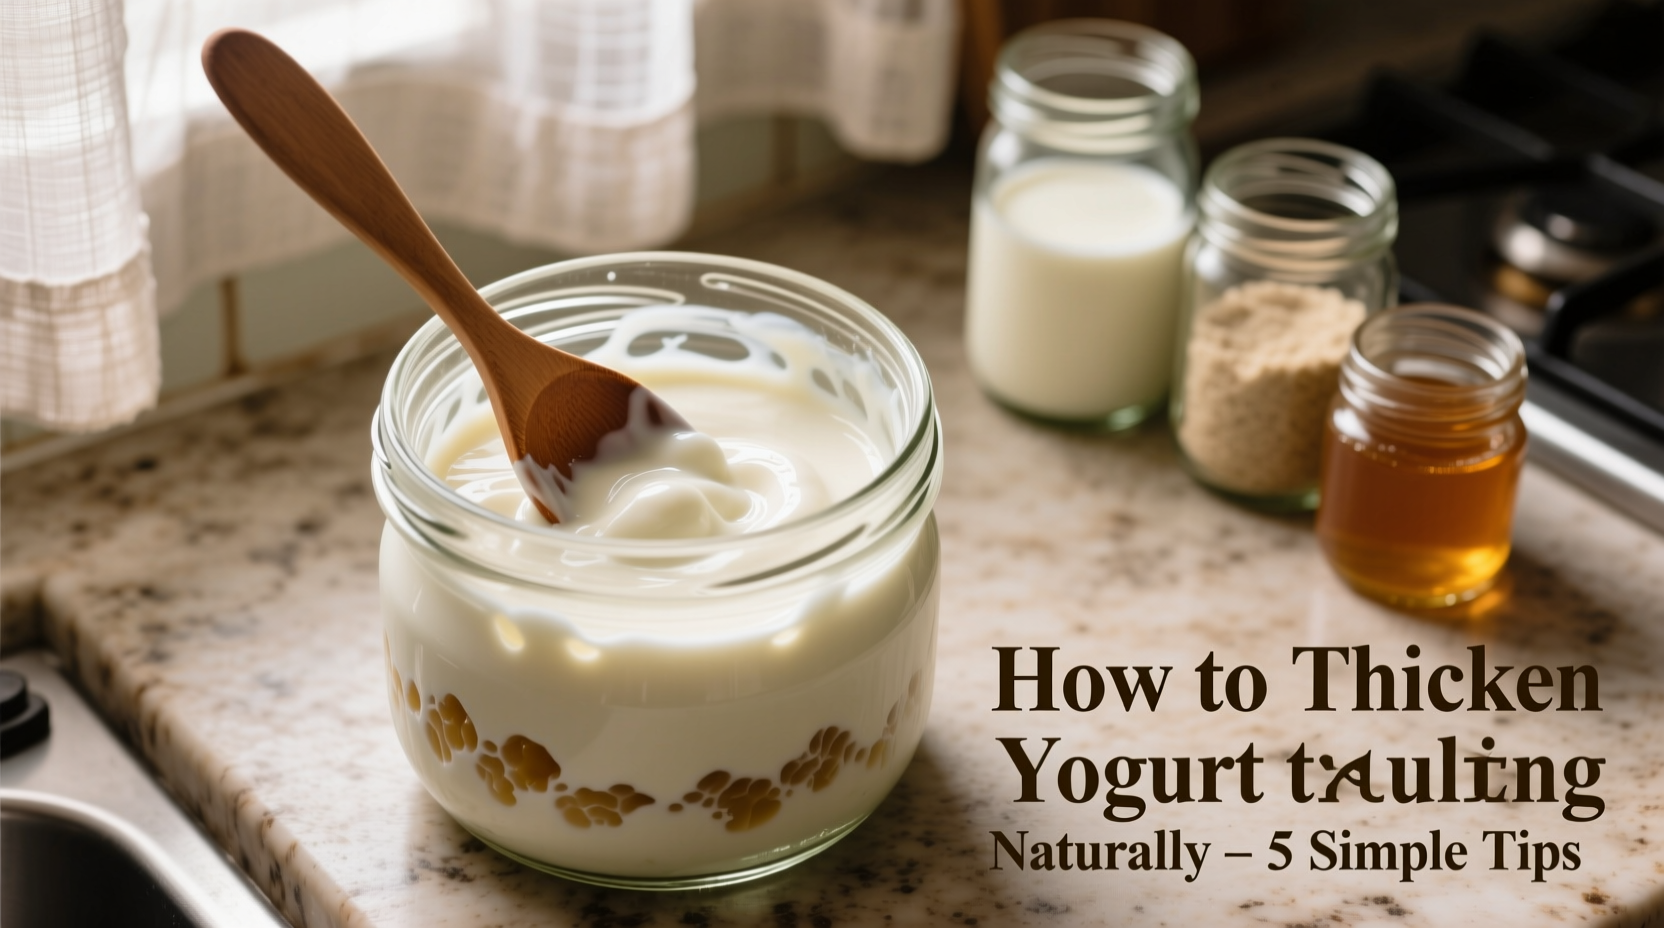
Understanding How Yogurt Thickens Naturally
Yogurt forms when beneficial bacteria — typically *Lactobacillus* and *Streptococcus thermophilus* — ferment lactose (milk sugar) into lactic acid. As acidity increases, the pH drops, causing milk proteins (mainly casein) to coagulate and form a gel-like network. This transformation turns liquid milk into semi-solid yogurt.
The thickness of the final product depends on:
- The concentration of milk solids, especially protein
- The integrity of the protein structure during heating and cooling
- The length and consistency of fermentation
- Post-incubation handling, such as cooling and straining
When any part of this chain breaks down, the gel structure weakens or fails to form properly, leading to runniness. Fortunately, each factor can be adjusted using kitchen-tested, additive-free techniques.
Common Causes of Runny Homemade Yogurt
Before fixing the problem, identify what went wrong. Here are the most frequent culprits behind thin yogurt:
- Inadequate heating of milk: Skipping or shortening the scalding step prevents protein denaturation, weakening the gel structure.
- Low-protein milk: Using skim or low-fat milk reduces the available casein, limiting thickening potential.
- Insufficient incubation time: Fermenting for less than 6–8 hours may not allow full acidification and setting.
- Temperature fluctuations: Inconsistent warmth during incubation disrupts bacterial activity.
- Over-incubation: Excessive fermentation can break down proteins, causing separation and whey leakage.
- Disturbing the yogurt during setting: Jostling or stirring the jar mid-process interrupts gel formation.
- Using old or weak starter culture: Inactive bacteria fail to produce enough acid for proper coagulation.
Each of these issues has a direct solution. By adjusting your method accordingly, you can consistently achieve rich, spoonable yogurt.
Natural Methods to Thicken Homemade Yogurt
No stabilizers, no gelatin, no thickeners needed. These proven, all-natural techniques enhance texture while preserving purity and probiotic benefits.
1. Heat Milk to 180°F (82°C)
Heating milk just below boiling serves two critical functions: it kills competing microbes and unfolds (denatures) whey proteins like lactoglobulin, allowing them to integrate into the casein network. This creates a denser, more stable gel.
Hold the temperature at 180°F for 20–30 minutes, stirring occasionally to prevent scorching. Then cool to 110°F (43°C) before adding your starter.
2. Use Whole Milk or Add Dry Milk Powder
Fat contributes to mouthfeel, but protein builds structure. Whole milk naturally contains more fat and slightly more solids than skim, but for even better results, add ½ to 1 cup of nonfat dry milk powder per quart of liquid milk.
Dry milk boosts protein and lactose content, feeding the bacteria and reinforcing the gel matrix. It dissolves easily when mixed into cold milk before heating.
3. Extend Incubation Time
Most recipes suggest 6–8 hours, but longer fermentation (up to 12 hours) increases acidity and firmness. Extended incubation also enhances tanginess and reduces lactose, making it more digestible.
Monitor your yogurt: if it jiggles like firm Jell-O and separates slightly from the jar’s edge, it’s ready. Avoid exceeding 14 hours unless you’re aiming for labneh or strained yogurt, as over-fermentation can weaken structure.
4. Strain Through Cheesecloth or Coffee Filter
This is the most effective way to thicken yogurt without altering the recipe. Straining removes excess whey, concentrating proteins and fats.
Line a colander with cheesecloth or a coffee filter, place over a bowl, and pour in the set yogurt. Refrigerate for 1–4 hours depending on desired thickness:
- 1 hour: Slightly thicker, drinkable consistency
- 2 hours: Standard Greek-style
- 4+ hours: Luxuriously thick, nearly spreadable
The leftover whey is nutritious and can be used in smoothies, bread dough, or soups.
5. Cool Slowly After Incubation
Rapid cooling can shock the protein structure. Let the jars sit at room temperature for 30–60 minutes post-incubation before refrigerating. This gradual transition supports continued gel development.
Step-by-Step Guide to Perfect Thick Yogurt
Follow this reliable process to avoid runniness and achieve consistent results:
- Gather ingredients: 1 quart whole milk, 2 tablespoons plain live-culture yogurt (or freeze-dried starter), optional ½ cup dry milk powder.
- Heat milk: Pour milk into a heavy-bottomed pot. Heat slowly to 180°F, stirring often. Hold for 20–30 minutes.
- Cool milk: Place pot in an ice bath or let stand, stirring occasionally, until temperature reaches 110°F.
- Add starter: Whisk in starter yogurt until fully blended. Avoid clumps.
- Incubate: Pour into clean jars, cover, and place in a yogurt maker, oven with light on, or insulated cooler with warm water. Maintain 108–112°F for 8–12 hours.
- Cool gradually: Remove from heat source. Let sit at room temperature for 30 minutes.
- Refrigerate: Chill for at least 6 hours to complete setting.
- Strain (optional): For thicker texture, strain using cheesecloth for 1–4 hours.
This method maximizes protein functionality and bacterial efficiency, yielding a luxuriously thick, tart, and creamy result.
Do’s and Don’ts for Thick Homemade Yogurt
| Do’s | Don’ts |
|---|---|
| Use fresh, high-quality starter culture | Use expired or pasteurized commercial yogurt without live cultures |
| Heat milk to 180°F and hold for 20+ minutes | Skip scalding to save time |
| Add dry milk powder for extra protein | Use only skim milk without supplementation |
| Incubate at steady 110°F for 8–12 hours | Move jars frequently or expose to drafts |
| Chill slowly, then refrigerate before serving | Stir or shake yogurt immediately after incubation |
Real Example: From Runny to Restaurant-Quality
Sarah had been making yogurt for months with inconsistent results. Her first batches were always watery, despite following online recipes. She tried different brands of starter and milk types, but the texture remained disappointing.
After researching, she realized she’d been skipping the scalding step to save time. She also used 2% milk and incubated for only 6 hours. Once she switched to whole milk, added ½ cup dry milk powder, heated to 180°F for 30 minutes, and extended incubation to 10 hours, her next batch set firmly. After straining for 2 hours, she achieved a rich, velvety texture comparable to store-bought Greek yogurt — without additives or expense.
“I was shocked at how much difference those small changes made,” Sarah said. “Now I make perfect yogurt every single time.”
“Proper thermal treatment of milk is the cornerstone of thick homemade yogurt. Denaturing whey proteins through controlled heating dramatically improves gel strength.” — Dr. Lydia Chen, Food Scientist & Dairy Fermentation Specialist
FAQ: Common Questions About Runny Yogurt
Can I fix runny yogurt after it’s already made?
Yes. If your yogurt is already incubated but too thin, chill it first, then strain it using cheesecloth or a coffee filter. You can also reheat it gently to 180°F, cool, and re-inoculate with fresh starter for a second fermentation — though this risks introducing contaminants if equipment isn’t sterilized.
Is runny yogurt safe to eat?
Yes, as long as it smells pleasantly sour and shows no signs of mold or spoilage (off odors, pink hues, sliminess). Thin texture doesn’t indicate contamination; it reflects process variables. Use it in smoothies, dressings, or baking if you don’t prefer it plain.
Why does my yogurt separate into liquid and solids?
The liquid is whey, a natural byproduct of fermentation. Some separation is normal, especially with longer fermentation. Stirring it back in is safe and common. Excessive separation usually means over-fermentation or temperature swings during incubation.
Conclusion: Take Control of Your Yogurt Texture
Runny homemade yogurt isn’t a failure — it’s feedback. Each batch teaches you something about your ingredients, equipment, and environment. With attention to milk preparation, temperature control, and fermentation time, you can consistently produce thick, satisfying yogurt using only natural methods.
Whether you prefer silky drinkable yogurt or dense, spoon-standing varieties, the power is in your hands. Adjust one variable at a time, document your results, and refine your technique. Soon, you’ll develop a rhythm that delivers perfect yogurt with minimal effort.


 浙公网安备
33010002000092号
浙公网安备
33010002000092号 浙B2-20120091-4
Comments
No comments yet. Why don't you start the discussion?