
If your refrigerator’s ice maker isn’t producing ice as quickly as it used to—or worse, barely works at all—it can be frustrating, especially when you’re hosting guests or just craving a cold drink. Before you assume the worst and schedule a costly service call, consider this: most slow ice maker issues stem from preventable, fixable problems. In fact, industry data suggests that over 70% of appliance service calls for ice makers could have been avoided with basic maintenance.
The good news? You don’t need to be a technician to troubleshoot common causes. With a few simple checks and adjustments, you can often restore full performance in under an hour. This guide walks through the most frequent culprits behind sluggish ice production and how to resolve them—saving you time, money, and unnecessary stress.
Check the Freezer Temperature First
The foundation of efficient ice making is temperature. Ice makers rely on a consistently cold environment to freeze water rapidly. If your freezer is running too warm—even by just a few degrees—the freezing process slows dramatically.
Most manufacturers recommend setting your freezer between **0°F and 5°F (–18°C to –15°C)** for optimal ice production. Anything above 10°F will significantly delay freezing cycles, sometimes doubling or tripling the time it takes to produce a batch.
To adjust:
- Locate your fridge’s temperature controls (usually inside the fresh food compartment or on the control panel).
- Lower the freezer setting by one degree.
- Wait 24 hours and recheck both the temperature and ice output.
- Repeat if necessary until reaching the ideal range.
Avoid cranking the temperature down too fast. Sudden drops can trigger defrost cycle interruptions or compressor strain.
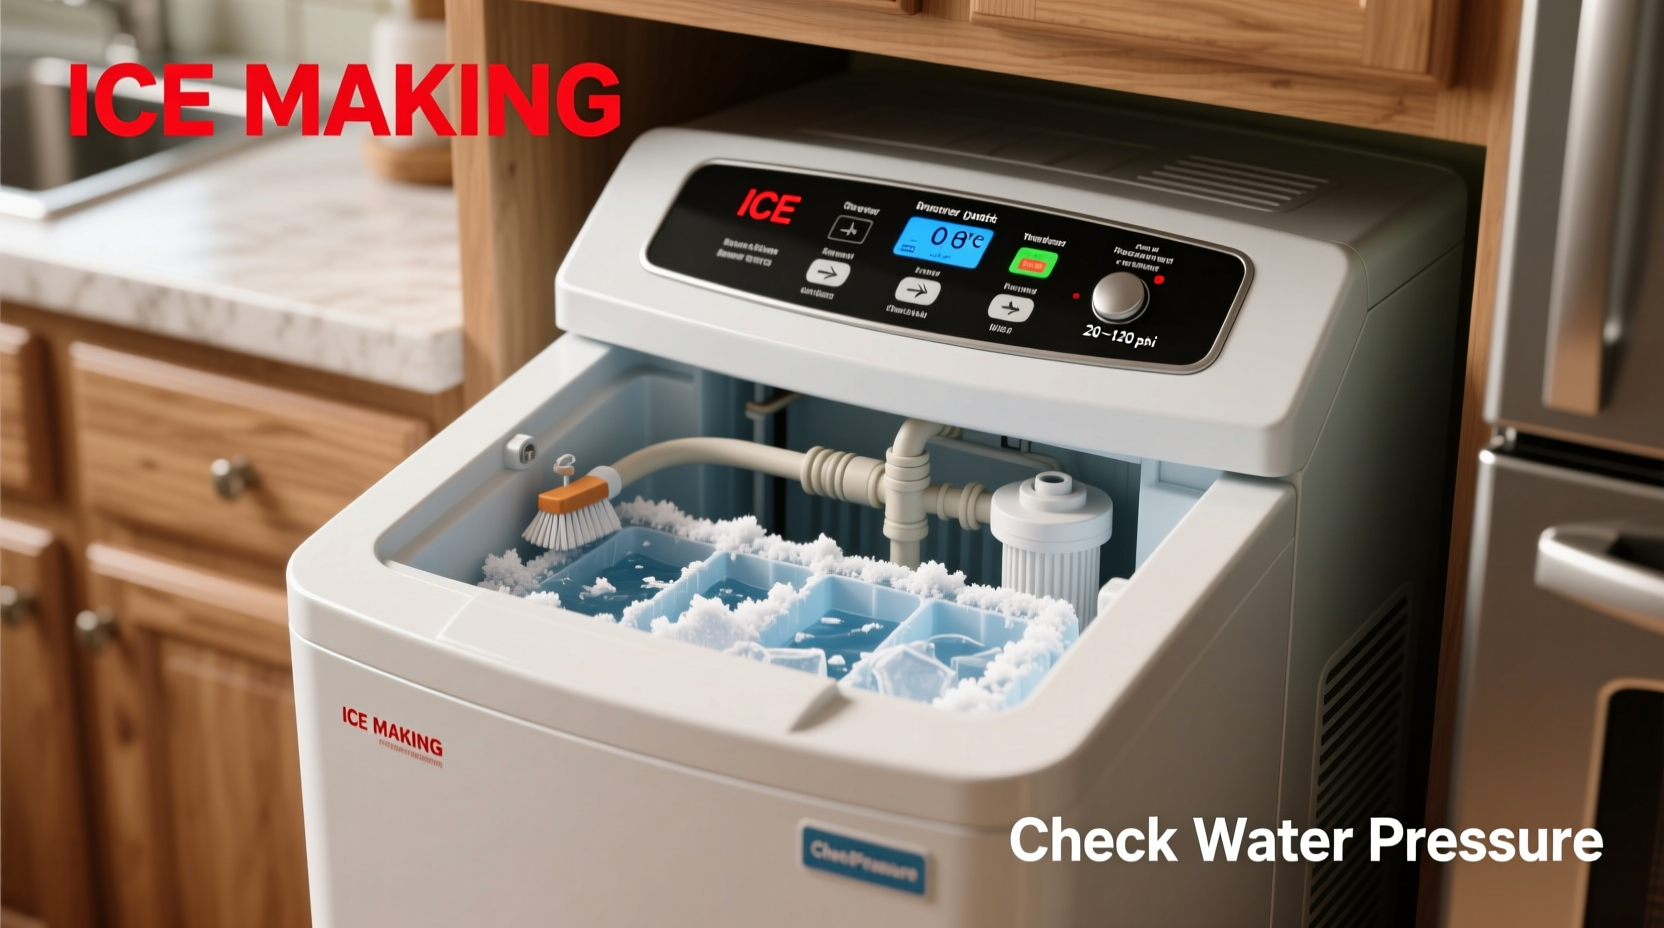
Inspect the Water Supply Line and Pressure
Your ice maker is only as good as the water it receives. Low water pressure is one of the top reasons for incomplete fills, thin ice cubes, or skipped cycles altogether.
Refrigerators typically require **20 to 120 psi** of water pressure to operate the solenoid valve properly. Most home plumbing systems run between 40–60 psi, which should be sufficient—but kinks, clogs, or improperly installed valves can reduce flow below functional levels.
How to Test Water Pressure Manually
- Turn off the water supply valve (usually located under the sink or behind the fridge).
- Disconnect the water line from the back of the refrigerator.
- Hold the line over a measuring cup.
- Turn the valve on for 15 seconds.
- Measure how much water flows out.
You should collect **at least 1/2 cup (4 oz) in 15 seconds**. Less than that indicates low pressure or a blockage.
| Water Output in 15 Seconds | Interpretation | Action Needed |
|---|---|---|
| Less than 1/4 cup | Critical low flow | Inspect filter, valve, and line for clogs |
| 1/4 to 1/2 cup | Marginal flow | Clean or replace filter; check valve operation |
| More than 1/2 cup | Adequate flow | Rule out pressure as cause |
Common issues include:
- Clogged inline water filter (even if not overdue for replacement)
- Kinked copper or plastic tubing behind the fridge
- Partially closed shutoff valve
- Faulty water inlet valve (makes a faint clicking sound when cycling)
“Water pressure is the silent killer of ice maker performance. I’ve seen perfectly functioning units produce half the ice because of a slightly bent tube.” — Mark Tran, Appliance Repair Technician with 18 years of field experience
Clear Frost Buildup and Clean the Components
Over time, moisture can seep into the ice maker assembly, leading to frost accumulation around the mold, motor, and sensors. This buildup insulates the heating elements during the release phase and slows down freezing cycles.
If your ice cubes are sticking together, coming out cloudy, or being ejected incompletely, frost may be the culprit.
Step-by-Step Frost Removal
- Turn off the ice maker using the switch (usually on the front or side of the unit).
- Remove any existing ice from the bin and set it aside.
- Unplug the refrigerator or shut off power at the breaker.
- Use a hairdryer on low heat to gently melt visible frost around the ice mold. Do not use sharp tools.
- Wipe away melted water with a microfiber cloth.
- Inspect the ejection fingers for stiffness or ice jam.
- Let the unit dry completely before restoring power.
While cleaning, take the opportunity to wipe down the ice bin and check for mold or odors. A mild vinegar-water solution (1:1) works well for sanitizing without damaging plastic.
Replace or Flush the Water Filter
Even if your water tastes fine, a clogged or expired filter can restrict flow to the ice maker. Manufacturers recommend replacing filters every **six months**, but homes with hard water or well systems may need changes every three to four months.
A restricted filter doesn’t just slow ice production—it can also lead to smaller cubes, odd tastes, or even complete shutdown if the system detects insufficient flow.
To test:
- Remove the old filter and inspect for discoloration or sediment.
- Run a cycle without the filter (if your model allows bypassing temporarily).
- Observe whether ice production improves.
If output increases noticeably, install a new OEM-compatible filter immediately. Third-party filters may fit but often lack proper flow calibration.
Do’s and Don’ts of Water Filters
| Do | Don't |
|---|---|
| Replace every 6 months regardless of usage | Forget to flush the new filter before use |
| Flush new filters per manufacturer instructions (usually 3–5 gallons) | Reuse old filters after cleaning—they’re not washable |
| Check if your model has an auto-shutoff when filter is expired | Assume the filter is fine because the water dispenser works |
Ensure Proper Door Seal and Airflow
An often-overlooked factor in slow ice making is air leakage. Every time the freezer door opens, warm air enters and raises the internal temperature. Frequent access or a damaged gasket forces the compressor to work harder, delaying recovery and slowing ice formation.
To test the seal:
- Close the freezer door on a dollar bill or piece of paper.
- Try to pull it out. If it slides easily, the seal is weak.
- Repeat at multiple points around the door.
If the seal fails in one area, clean the gasket with warm, soapy water and a soft cloth. Residue, mold, or dried spills can prevent a tight closure. For cracked or brittle seals, replacement is necessary—most models have user-replaceable gaskets available online.
Also, avoid overloading the freezer. While it might seem counterintuitive, too many items block airflow and create warm spots, especially near the evaporator coil. Keep the interior organized and allow space around vents for consistent cooling.
Mini Case Study: The Weekend Host’s Ice Crisis
Sarah from Austin hosted a backyard barbecue every summer weekend. One July, her ice maker couldn’t keep up—producing only two trays in 24 hours. She was about to book a $150 diagnostic when her neighbor suggested checking the water filter.
She removed the six-month-old filter and found it dark brown with mineral deposits. After installing a new one and flushing the line, ice production returned to normal within six hours. The total cost: $32. The lesson? “I now mark my calendar for filter changes,” she says. “It’s cheaper than emergency ice runs.”
Troubleshooting Checklist: What to Do Before Calling Repair
Before scheduling a technician, go through this checklist to rule out simple fixes:
- ✅ Confirm freezer temp is between 0°F and 5°F
- ✅ Verify water pressure meets minimum flow (½ cup in 15 sec)
- ✅ Inspect and replace water filter if older than 6 months
- ✅ Check for frost buildup on ice mold or ejection arms
- ✅ Ensure the ice maker is turned ON (switch not accidentally toggled)
- ✅ Examine door seal with the dollar bill test
- ✅ Make sure water supply valve is fully open
- ✅ Listen for the fill cycle—should hear water flowing every 90–120 mins
If all items are confirmed and the issue persists, it may be time to consult a professional. Possible internal failures at that point include a faulty solenoid valve, malfunctioning thermostat, or failing control board.
Frequently Asked Questions
How long should it take for an ice maker to produce a batch?
Under ideal conditions—proper temperature, water pressure, and no obstructions—an ice maker should complete a cycle every 90 minutes to 2 hours, yielding 8–10 cubes per batch. Production can slow in warmer kitchens or during heavy usage.
Can a dirty condenser coil affect ice making?
Yes. Dust and debris on the condenser coils force the compressor to run longer and less efficiently, raising internal temperatures. Cleaning coils every 6–12 months helps maintain optimal cooling and indirectly supports faster ice production.
Why does my ice taste bad even after fixing speed issues?
Stale or off-flavors usually come from old water sitting in the lines or a contaminated filter. Flush the system by dispensing 5–10 glasses of water and discarding them. Also, store unused ice for no more than 2–3 weeks to prevent odor absorption.
Conclusion: Act Now, Save Later
A slow ice maker rarely signals a terminal failure. More often, it’s a cry for routine care—a reminder that even smart appliances depend on consistent maintenance. By addressing temperature, water quality, airflow, and cleanliness, you can restore peak performance without spending a dime on repairs.
Start today: pull out that freezer thermometer, check your water filter date, and listen for the next fill cycle. Small actions now prevent bigger headaches later. And the next time someone asks why your drinks are always perfectly chilled, you’ll know exactly what kept the ice flowing.


 浙公网安备
33010002000092号
浙公网安备
33010002000092号 浙B2-20120091-4
Comments
No comments yet. Why don't you start the discussion?