
A sticky laptop keyboard is more than just annoying—it can disrupt productivity, slow down typing speed, and even lead to hardware failure over time. If you’ve noticed keys resisting movement, leaving residue on your fingers, or making faint clicking sounds, you’re likely dealing with a buildup of debris, oils, or spilled liquids beneath the surface. The good news: most cases are fixable with careful cleaning. Understanding the causes and applying the right techniques can restore your keyboard to near-new condition without costly repairs.
What Causes a Sticky Laptop Keyboard?
Laptop keyboards are exposed to daily hazards—fingers coated in hand lotion, crumbs from snacks, dust accumulation, and occasional spills of coffee or soda. Over time, these substances seep between keys and coat internal mechanisms. Unlike desktop keyboards, laptop models are tightly integrated into the device, making them harder to clean and more vulnerable to damage from moisture or improper handling.
The primary culprits behind stickiness include:
- Skin oils and sweat: Natural oils from fingertips transfer onto keycaps and gradually gum up the underlying switches.
- Food particles: Crumbs from eating near the laptop fall between keys, attracting bacteria and forming a sticky paste when mixed with moisture.
- Spilled liquids: Even small amounts of sugary drinks like soda or juice leave behind residue that dries into a tacky film.
- Dust and pet hair: Accumulates over time, especially in dry or high-traffic environments.
- Wear and tear: Older laptops may develop worn-out rubber domes or misaligned scissor mechanisms, mimicking stickiness even after cleaning.
“Over 60% of laptop performance issues related to input devices stem from poor maintenance rather than hardware defects.” — Dr. Alan Reyes, Electronics Maintenance Specialist at TechCare Labs
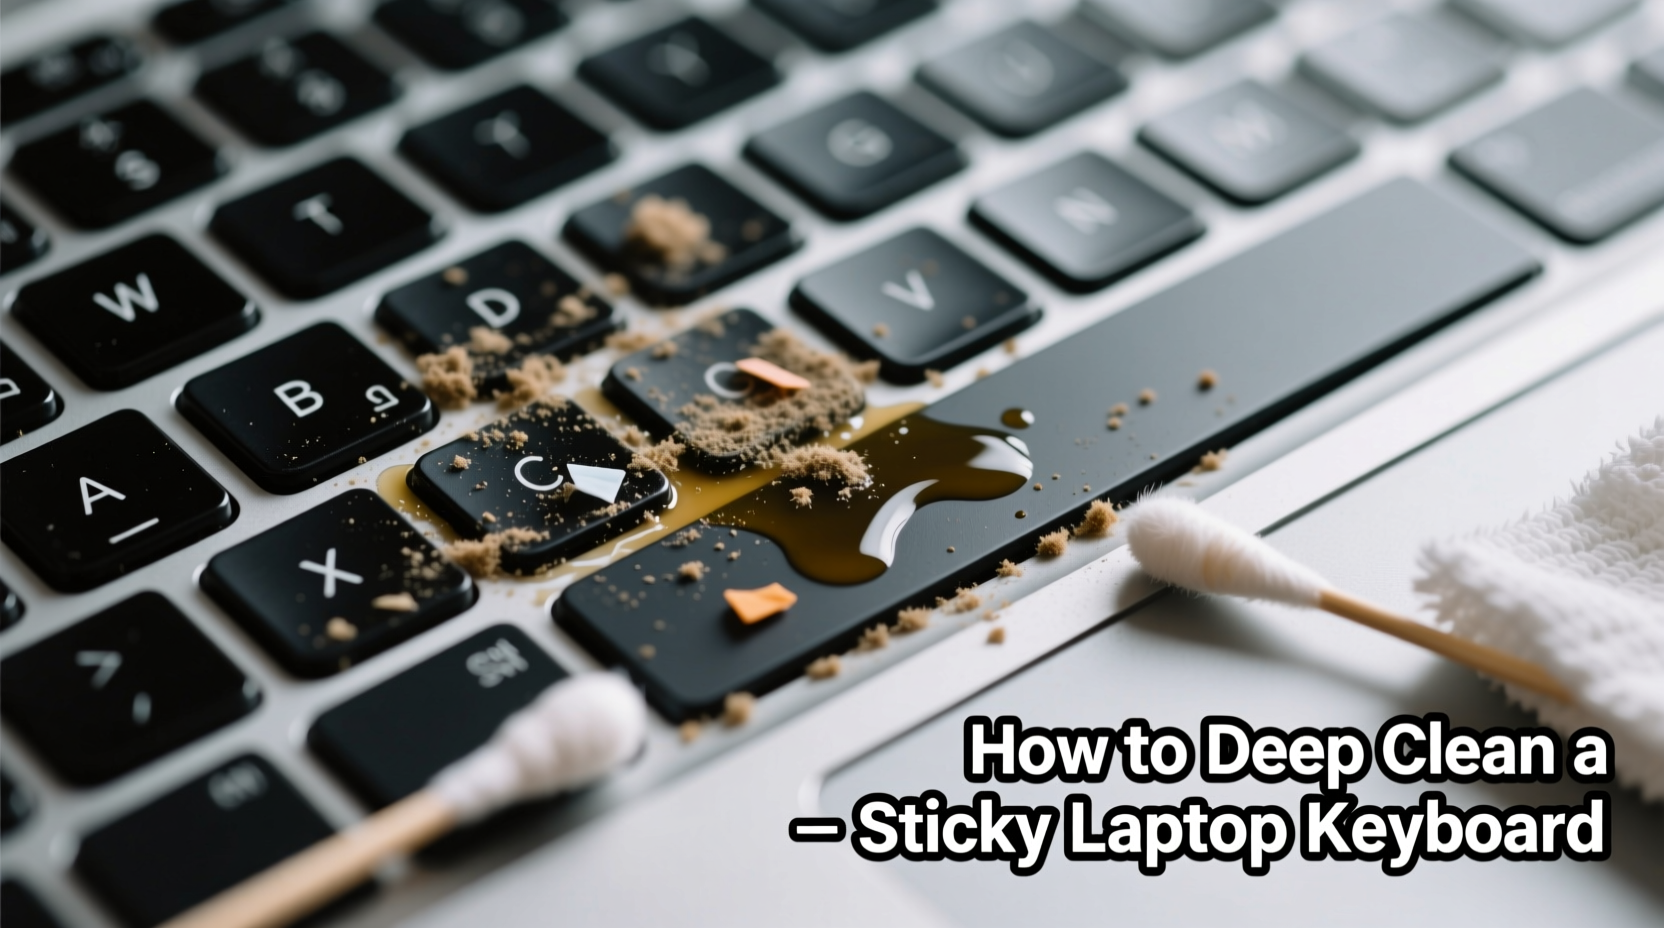
Step-by-Step Guide to Deep Clean Your Laptop Keyboard
Cleaning a laptop keyboard requires patience and precision. Rushing the process or using inappropriate tools can cause irreversible damage. Follow this comprehensive sequence to ensure a thorough yet safe cleanup.
- Power down and unplug the laptop. Shut it off completely and disconnect the charger. If you have a removable battery, take it out for added safety.
- Tilt the laptop at a 75-degree angle. This helps dislodge loose debris without pushing it deeper into the chassis.
- Use compressed air to blow out particles. Hold the can upright and spray short bursts between keys. Move methodically across each row, angling the nozzle to reach under key edges.
- Wipe the surface with an alcohol wipe (70% isopropyl). Gently clean the top of each keycap. Do not saturate—moisture should never drip between keys.
- Address sticky spots with a cotton swab. Dampen a swab slightly with isopropyl alcohol and carefully run it along the base of affected keys. Rotate the swab frequently to avoid re-depositing grime.
- Allow the keyboard to dry for at least 30 minutes. Never power on the laptop until all moisture has evaporated completely.
- Test key responsiveness. Turn the laptop back on and type a few sentences to check if the issue persists.
If stickiness remains after surface cleaning, deeper intervention may be required—especially if residue has penetrated below the keycaps.
When to Remove Keycaps for Cleaning
Some laptops allow individual keycaps to be removed safely using a plastic pry tool. This is common with larger keys like Shift, Enter, and Spacebar, which use a scissor-switch mechanism with retaining clips. Removing them grants access to the rubber dome and switch housing underneath.
Proceed only if you’re confident in your model’s design. Consult your laptop’s service manual or manufacturer support site before attempting removal. Never use metal tools, as they can scratch or short-circuit components.
After removal:
- Soak keycaps in warm, soapy water for 10–15 minutes.
- Scrub gently with a soft toothbrush to remove residue.
- Rinse and dry thoroughly—wait at least two hours before reattaching.
- Use a microfiber cloth to wipe the exposed membrane and surrounding area.
Do’s and Don’ts of Laptop Keyboard Cleaning
| Do’s | Don’ts |
|---|---|
| Use 70% isopropyl alcohol for disinfecting surfaces | Use household cleaners like Windex or bleach |
| Use compressed air regularly to prevent buildup | Shake or invert the laptop aggressively |
| Let all parts dry fully before reassembly | Apply liquids directly to the keyboard |
| Use a soft-bristle brush for stubborn grime | Use fingernails or sharp objects to scrape under keys |
| Work in a well-lit, static-free environment | Disassemble components beyond your skill level |
Real Example: Recovering a Coffee-Damaged Keyboard
Mark, a freelance writer based in Portland, accidentally knocked over his morning latte while working remotely. The liquid pooled around the bottom row of keys—Ctrl, Alt, and Spacebar—immediately becoming sticky once dried. After initial panic, he powered down, wiped the surface with a dry cloth, and waited four hours before attempting any cleaning.
He used compressed air followed by alcohol-dampened swabs, focusing on the affected zone. When the Spacebar still felt sluggish, he carefully removed it using a plastic spudger, discovering a hardened ring of sugar residue around the stabilizer bar. After soaking the keycap and cleaning the underside with a cotton swab, he let everything dry overnight. The next day, full functionality returned—no replacement needed.
Mark now keeps a silicone keyboard cover on his laptop and avoids having drinks nearby—a lesson learned the hard way.
Preventive Maintenance Checklist
Regular upkeep prevents most sticky keyboard issues before they start. Incorporate these habits into your routine:
- ✅ Clean the keyboard surface weekly with a dry microfiber cloth
- ✅ Use compressed air every two weeks to clear debris
- ✅ Disinfect monthly with alcohol wipes (70% concentration)
- ✅ Avoid eating or drinking within 2 feet of the laptop
- ✅ Store the laptop in a protective case when traveling
- ✅ Consider using a thin, transparent silicone keyboard cover
- ✅ Keep hands clean and dry before typing
Frequently Asked Questions
Can I use water to clean my laptop keyboard?
No, plain water is not recommended. It lacks disinfecting properties and can leave mineral deposits or promote corrosion. If absolutely necessary, use distilled water sparingly on a cloth—not directly on the keyboard—and always follow with a dry pass. Isopropyl alcohol is far safer and more effective.
Why do some keys remain sticky after cleaning?
Residual gunk may still be trapped beneath the key mechanism, especially if a sugary liquid was involved. In such cases, physical removal of the keycap might be necessary. Alternatively, repeated gentle cleaning over a few days can dissolve stubborn films. If the issue persists, internal wear or damaged switches may require professional repair.
Is it safe to use a vacuum cleaner on my keyboard?
Handheld vacuums with soft brushes and low suction can help remove surface dust, but they’re less effective than compressed air. Avoid standard household vacuums—they generate static electricity that can damage sensitive electronics. If using a vacuum, choose one designed for electronics with ESD (electrostatic discharge) protection.
Know When to Seek Professional Help
While many sticky keyboard problems are solvable at home, certain situations demand expert attention. These include:
- Liquid penetration involving sugary or acidic beverages (e.g., soda, energy drinks)
- Multple unresponsive or double-registering keys after cleaning
- Visible corrosion or discoloration under keycaps
- Keys that physically wobble or fail to reattach properly
In such cases, a certified technician can disassemble the keyboard module, clean internal contacts, and replace faulty components. Attempting advanced repairs without proper tools increases the risk of permanent damage.
“A single spill can compromise circuitry beneath the keyboard. Early professional intervention often saves hundreds in replacement costs.” — Lena Torres, Senior Repair Technician at FixHub Electronics
Conclusion: Restore Functionality and Extend Lifespan
A sticky laptop keyboard doesn’t mean it’s time for a new machine. With the right knowledge and tools, most issues can be resolved through careful, systematic cleaning. Identifying the root cause—whether it’s crumbs, oils, or old spills—is the first step toward an effective solution. Regular maintenance not only improves typing comfort but also extends the life of your device, protecting your investment.
Start today: power down your laptop, gather your supplies, and give your keyboard the attention it deserves. Small efforts now prevent bigger problems later. Share your own cleaning experiences or ask questions in the comments—your insights could help others keep their tech running smoothly.


 浙公网安备
33010002000092号
浙公网安备
33010002000092号 浙B2-20120091-4
Comments
No comments yet. Why don't you start the discussion?