
A sticky laptop keyboard is more than just an annoyance—it can disrupt productivity, affect typing accuracy, and even lead to long-term hardware damage. If you’ve noticed resistance when pressing certain keys or a tacky residue under your fingertips, you're not alone. Millions of users encounter this issue, often without realizing how preventable it is. The causes range from everyday habits like eating near the laptop to environmental factors such as humidity and dust buildup. More importantly, improper cleaning attempts can worsen the problem or permanently damage sensitive components.
This guide dives into the root causes of sticky keys, outlines safe and effective cleaning techniques, and provides practical steps to maintain a clean, responsive keyboard over time. Whether you're using a MacBook, Dell, HP, Lenovo, or any other brand, these methods apply universally and prioritize both safety and efficiency.
Why Laptop Keyboards Become Sticky
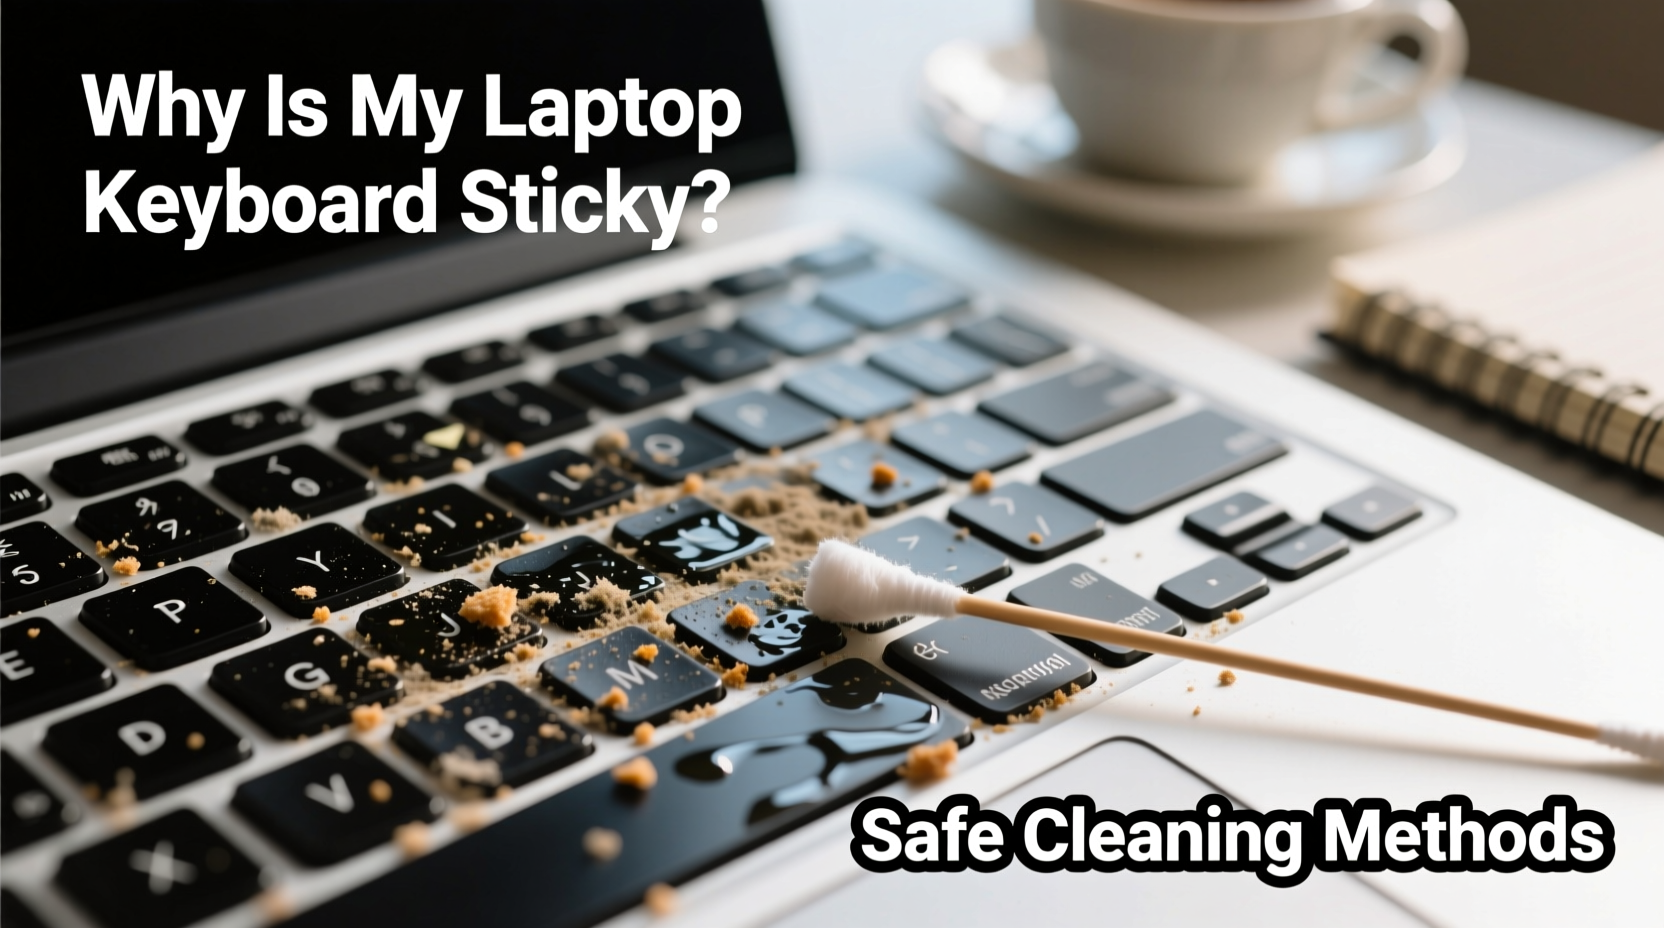
The stickiness in laptop keyboards rarely happens overnight. It's typically the result of gradual accumulation of contaminants beneath and around the keys. Understanding the primary causes helps prevent recurrence after cleaning.
- Food and drink residue: Crumbs, sugary spills, or oily fingers transfer substances onto keycaps and down into the underlying mechanisms.
- Dust and pet hair: These particles mix with moisture and oils from skin, forming a gritty paste that interferes with key movement.
- Skin oils and sweat: Frequent typing deposits natural sebum and perspiration, which oxidize and become tacky over time.
- High-humidity environments: Moisture encourages residue to soften and adhere more strongly to plastic surfaces.
- Accidental liquid exposure: Even minor spills—like water or soda—can leave behind sugars or minerals that dry into sticky films.
Over time, this debris accumulates under the keycaps, especially on frequently used keys like Enter, Spacebar, Shift, and letter clusters (e.g., “ASDF”). When enough gunk builds up, it restricts the scissor mechanism (on most modern laptops) or rubber dome function, causing sluggish response or complete key failure.
Safe Cleaning Methods: Step-by-Step Guide
Cleaning a laptop keyboard requires precision and care. Aggressive tools like metal picks or excessive liquid can break delicate parts. Follow this proven sequence for optimal results without risk.
- Power down and unplug: Shut the laptop completely and disconnect the charger. For models with removable batteries, remove them.
- Tilt and shake gently: Hold the laptop at a 75-degree angle over a trash can and tap the back lightly to dislodge loose debris.
- Use compressed air: Spray short bursts between keys at a 45-degree angle. Move in rows from top to bottom to push out dust and crumbs. Never shake the can upside down, as propellant fluid may spray out.
- Dampen a microfiber cloth: Moisten a corner with distilled water or 70% isopropyl alcohol. Wring thoroughly—only slight dampness is acceptable.
- Wipe keycaps and surface: Gently clean each key’s top and sides using circular motions. Do not pour liquid directly onto the keyboard.
- Clean between keys with cotton swabs: Wrap a swab tip with a small piece of microfiber or use a narrow foam-tipped tool. Dampen slightly with alcohol and carefully trace between stubborn areas.
- Let dry completely: Allow at least 30 minutes before powering on. In humid climates, wait up to 2 hours.
For severe cases where residue persists, consider removing individual keys—but only if your model allows it safely.
When and How to Remove Keys Safely
Many consumer laptops use snap-in keycaps secured by small plastic hinges. Removing them incorrectly can snap the clips. Only proceed if you’re confident and your device supports it.
Check your manufacturer’s support site for specific guidance. For example, some Dell XPS and older Lenovo ThinkPads have detailed keycap removal instructions. Apple’s butterfly-switch MacBooks are best left to professionals due to fragility.
If removal is feasible:
- Use a plastic spudger or dedicated keycap puller (not metal tweezers).
- Lift evenly from both sides of the keycap to avoid breaking retaining clips.
- Photograph the layout first, especially for asymmetric keys like Shift or Enter.
- Clean the exposed base with a dry swab first, then a slightly dampened one.
- Reattach the keycap by aligning the hinges and pressing down firmly until it clicks.
“Improper keycap removal is one of the top reasons for permanent keyboard failure in otherwise repairable laptops.” — Rajiv Mehta, Senior Technician at TechCare Pro Services
Do’s and Don’ts of Keyboard Cleaning
| Do | Don’t |
|---|---|
| Use 70% isopropyl alcohol for disinfecting and dissolving sticky residue | Use household cleaners like Windex or bleach—they can corrode plastics |
| Use compressed air regularly as preventive maintenance | Blow with your mouth—saliva and moisture can worsen the issue |
| Clean your hands before using the laptop to reduce oil transfer | Submerge the keyboard in liquid or use soaking methods |
| Store your laptop in a dust-free environment when not in use | Use sharp objects like pins or knives to scrape under keys |
| Wait for full drying time after cleaning before turning on the device | Apply excessive pressure when wiping or scrubbing |
Real Example: Fixing a Coffee-Spilled Keyboard
Sarah, a freelance writer from Portland, spilled a small amount of sweetened iced coffee on her HP Envy while working remotely. She wiped the surface but didn’t clean between the keys. Within two weeks, the ‘E’, ‘R’, and ‘T’ keys began sticking. After researching online, she followed a cautious cleaning process:
- She powered off the laptop and unplugged it immediately.
- Used compressed air to lift loose sugar crystals.
- Dampened a cotton swab with isopropyl alcohol and cleaned around each affected key.
- Waited 45 minutes before restarting.
The keys regained full function. Sarah now cleans her keyboard every two weeks and keeps drinks on a separate table. Her laptop, nearly three years old, still performs like new.
This case illustrates how timely intervention with the right tools prevents minor accidents from becoming major malfunctions.
Preventive Maintenance Checklist
Sticky keys are largely preventable with consistent habits. Use this checklist monthly to keep your keyboard in optimal condition:
- ✅ Wash hands before extended typing sessions
- ✅ Avoid eating or drinking near the laptop
- ✅ Use compressed air to blow out debris every 2–4 weeks
- ✅ Wipe keycaps with a dry microfiber cloth weekly
- ✅ Perform deep cleaning with alcohol swabs every 2 months
- ✅ Check for firmware updates—some manufacturers include keyboard diagnostics
- ✅ Consider using a silicone keyboard cover (if it doesn’t trap moisture)
Note: While keyboard skins can protect against spills and dust, they may reduce tactile feedback and trap sweat if not removed and cleaned regularly.
Frequently Asked Questions
Can I use hand sanitizer to clean sticky keys?
No. Although hand sanitizer contains alcohol, it also includes fragrances, thickeners, and moisturizers like glycerin that leave behind sticky residues. Stick to pure 70% isopropyl alcohol instead.
Is it safe to use a vacuum cleaner on my keyboard?
Only with extreme caution. Standard vacuums generate static electricity that can damage internal circuits. If you must, use a small handheld vacuum with a brush attachment on low suction, and never place the nozzle directly on the keys.
What should I do if a key stops working after cleaning?
First, ensure the laptop is completely dry—moisture may still be present. Wait several more hours. If the issue persists, inspect whether the keycap is properly reseated. On removable models, check for misaligned hinges or debris blocking the switch. If none apply, the underlying mechanism may be damaged and require professional repair.
Conclusion: Protect Your Investment with Smart Habits
Your laptop keyboard endures daily wear from touch, environment, and accidental exposure. Sticky keys are a warning sign—not just of dirt, but of potential future failure. By understanding the causes and adopting safe, routine cleaning practices, you extend the life of your device and maintain a smoother, more enjoyable typing experience.
Start today: gather a few basic tools, power down your laptop, and give your keyboard the attention it deserves. A few minutes of maintenance can save you hours of frustration—or the cost of a replacement. Small actions compound into significant results over time.


 浙公网安备
33010002000092号
浙公网安备
33010002000092号 浙B2-20120091-4
Comments
No comments yet. Why don't you start the discussion?