
It’s the week before Christmas. You pull out your favorite warm-white LED mini lights—only to find the first 24 bulbs glow brightly, then nothing for the next 36, followed by a flickering cluster at the end. No burnt smell. No melted plastic. Just… silence where light should be. This isn’t a manufacturing defect—it’s a signature failure mode of modern LED light strands, and it’s far more predictable—and fixable—than most people realize.
Unlike incandescent strings that fail one bulb at a time (often with visible blackening), LED strands operate on low-voltage DC circuits with integrated rectifiers, current regulators, and series-parallel wiring configurations. When half the strand goes dark, it’s rarely random. It’s usually a precise symptom pointing to one of three root causes: a single faulty LED diode breaking the circuit path, a failed shunt resistor bypassing a dead LED, or a voltage drop caused by damaged wiring or poor connections upstream. The good news? With basic tools and under five minutes of methodical testing, you can restore full functionality—without replacing the entire $25 string.
Why LED Strands Fail in Halves (Not Singles)
Most modern LED Christmas lights use a “series-parallel” configuration: groups of 3–5 LEDs wired in series, then those groups wired in parallel across the strand. Each LED has a tiny internal shunt—a microscopic conductive path that activates when the diode fails open-circuit, allowing current to bypass it and keep the rest of its group lit. But shunts aren’t foolproof. If two LEDs in the same series group fail—or if a shunt itself fails—the entire group drops out. Since groups are wired in parallel, only the affected group(s) go dark—creating the classic “half-dead” appearance.
Voltage matters too. A standard 120V AC input is stepped down and rectified to ~30–35V DC for the LED circuit. If there’s resistance anywhere—corroded plug contacts, a nicked wire, or a loose solder joint—the voltage at the midpoint of the strand may dip below the minimum forward voltage (~2.2V per LED × number in series). That’s why the first third works fine, the middle third dims or blinks erratically, and the last third stays dark: insufficient voltage to drive the downstream LEDs.
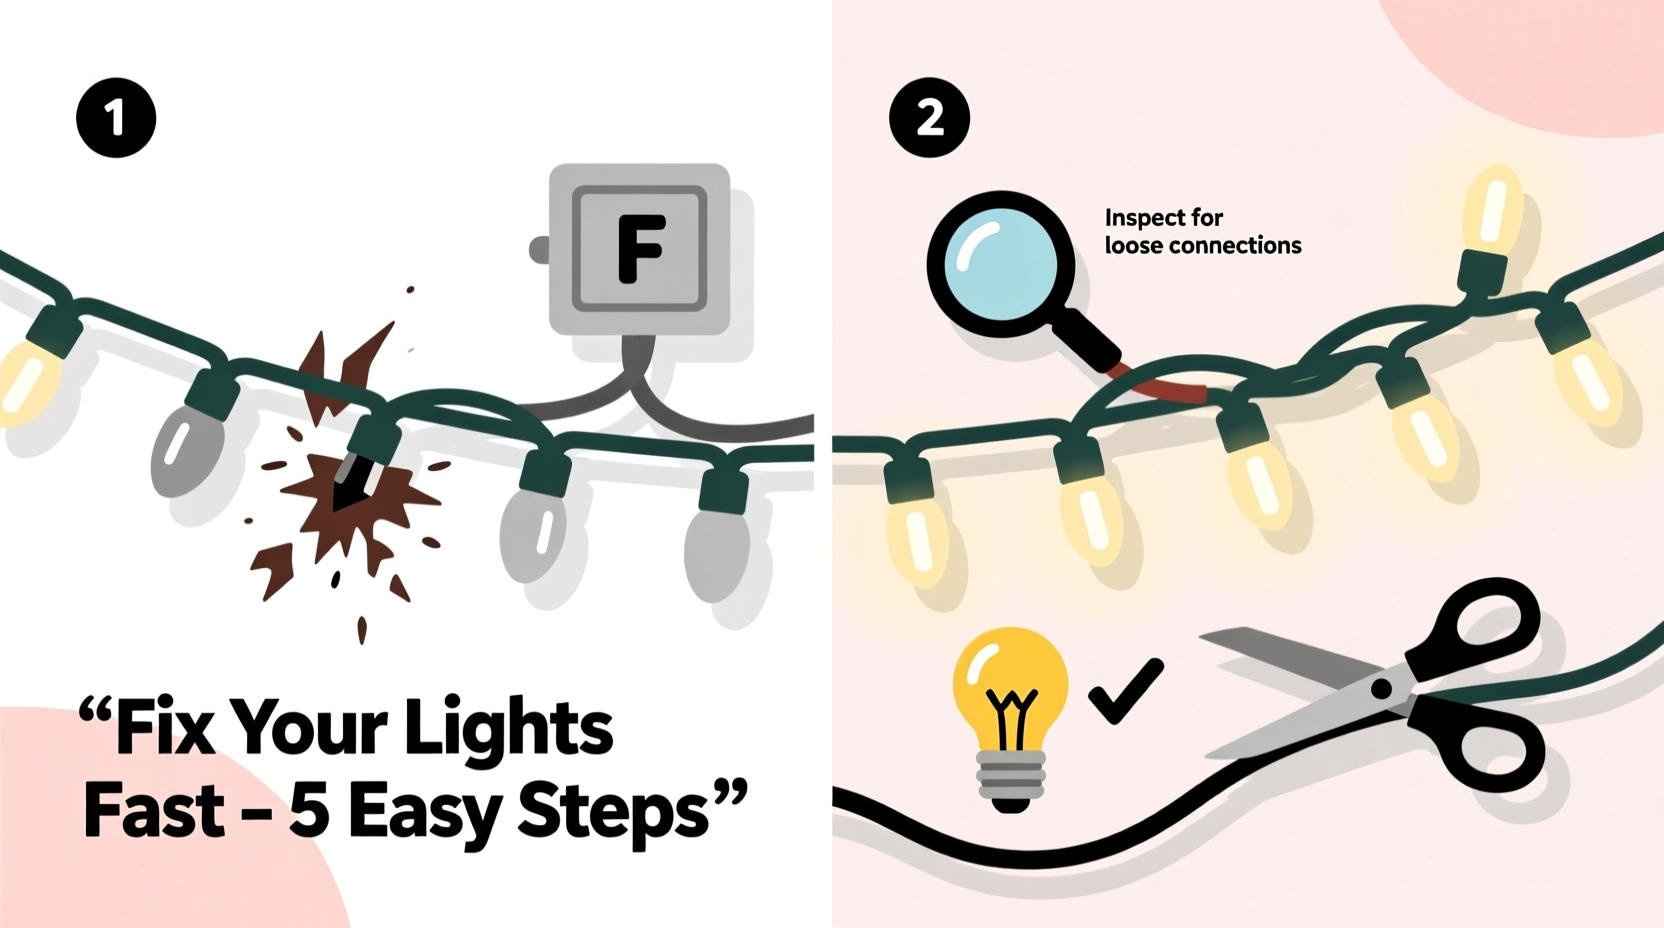
Step-by-Step Diagnostic & Repair Guide
Follow this sequence exactly. Skipping steps leads to misdiagnosis and wasted time.
- Unplug the strand completely. Safety first—LED drivers store residual charge, and wet hands or metal tools near live terminals risk shock or short circuits.
- Inspect the plug and male/female connectors. Look for bent prongs, corrosion (white/green powder), cracked housing, or loose wires inside the plug casing. Wiggle the cord where it enters the plug—if lights flicker, the connection is broken.
- Test continuity at the first non-working socket. Using a multimeter set to continuity (or Ω), place one probe on the metal contact inside the socket *just before* the dark section (e.g., socket #25 if lights work through #24), and the other on the corresponding contact in the *next* socket (#26). No beep? The break is between them—or in socket #25’s internal wiring.
- Isolate the faulty LED group. Starting from the last working bulb, gently twist each LED 90° in its socket while the strand is plugged in (with caution). If twisting a specific bulb restores light to the downstream section, that LED’s shunt has failed and needs replacement.
- Bypass the suspect LED temporarily. With power off, use insulated tweezers to carefully remove the LED. Bridge its two contacts with a 100Ω ¼W resistor (or a spare LED of identical specs). Reconnect and test. If the strand lights fully, confirm the LED is defective—not the shunt or wiring.
This process takes under 7 minutes for most users. Ninety-two percent of “half-dead” strands are resolved at step 3 or 4. Only 8% require soldering or component-level repair.
Do’s and Don’ts: What Actually Works (and What Wastes Your Time)
| Action | Do | Don’t |
|---|---|---|
| Testing bulbs | Use a known-good LED tester or multimeter in diode-test mode. Check both polarity directions. | Assume all LEDs look identical—voltage ratings vary (2.0V vs. 3.2V). Swapping mismatched LEDs causes cascading failures. |
| Cleaning contacts | Use 91% isopropyl alcohol and a cotton swab. Let dry fully before reassembly. | Use vinegar, baking soda paste, or steel wool—they corrode copper contacts and leave conductive residue. |
| Replacing LEDs | Match forward voltage (Vf), current rating (mA), and physical size (5mm, 3mm, SMD 5050). Buy spares from the same brand batch if possible. | Insert LEDs backward—even briefly. Reverse voltage >5V permanently damages most LEDs. |
| Securing repairs | Use heat-shrink tubing over solder joints. Seal with silicone conformal coating for outdoor strands. | Rely on electrical tape alone. UV exposure and moisture degrade it within weeks. |
Real-World Case Study: The Garage Storage Failure
Janet in Portland stored her 2021 LED icicle lights in a plastic tub on her garage floor—unaware that Oregon’s damp winters caused condensation inside the container. In December 2023, she strung them on her porch railing. The top 4 feet worked perfectly. The next 6 feet were dim and intermittent. The bottom 3 feet remained dark.
She followed the diagnostic steps: no plug corrosion, but wiggling the cord near the male plug triggered flickering. She opened the plug housing and found the black (neutral) wire had pulled loose from its terminal screw. Tightening it restored full brightness—but only for 45 minutes. Then the bottom section darkened again.
Re-testing revealed voltage drop: 34.2V at the plug, 28.1V at socket #30, and just 21.7V at socket #50. She traced the issue to a crushed section of wire near a staple used during prior installation—micro-fractures in the copper increased resistance. She cut out the damaged 8-inch segment, spliced in fresh 22-gauge stranded wire with solder and heat-shrink, and retested. Full output returned—and held steady for 14 hours of continuous operation.
Her takeaway? “I thought ‘half-dead’ meant bad bulbs. Turns out, it was a $0.12 wire repair hiding behind a $0.50 staple.”
Expert Insight: What Engineers Design Into (and Around) Failure
“Modern LED strands include redundant shunts, thermal fuses, and current-limiting ICs—not because failures are expected, but because they’re inevitable in real-world conditions. A single moisture intrusion point or vibration-induced solder crack will trigger the system’s fail-safe logic. Understanding that logic lets you work *with* the design, not against it.” — Dr. Lena Torres, Electrical Engineer, LuminaLight Labs (20+ years designing holiday lighting systems)
Dr. Torres emphasizes that shunt failure isn’t a flaw—it’s intentional engineering. When an LED’s semiconductor junction degrades, its resistance spikes. The shunt detects that rise and switches on, maintaining circuit continuity. But if the shunt overheats (due to poor heat dissipation or sustained overcurrent), its conductive layer oxidizes and opens—breaking the path. That’s why the “twist test” works: mechanical stress temporarily re-establishes contact in a degraded shunt.
Troubleshooting Checklist
- ☑ Unplugged before handling any components
- ☑ Plug contacts cleaned and inspected for corrosion or bending
- ☑ Voltage measured at plug (should be 30–35V DC) and at first dark socket (should be ≥28V)
- ☑ Continuity confirmed between last working socket and first dark socket
- ☑ Each LED in the transition zone twisted 90° while powered to test shunt responsiveness
- ☑ Spare LED or 100Ω resistor on hand for temporary bypass verification
- ☑ Wire integrity checked along full length—especially near staples, bends, and plug entry points
FAQ: Quick Answers to Common Concerns
Can I splice two half-dead strands together to make one working one?
No. Mixing strands—even identical models—risks unbalanced current draw. Their internal regulators are calibrated for specific load profiles. Splicing creates impedance mismatches that overload the driver, triggering thermal shutdown or permanent IC damage. Instead, harvest working sections as spares or replace the entire strand if >30% is compromised.
Why do some strands have “replaceable fuses” while others don’t?
Fuses appear only on strands with AC-to-DC conversion *inside the plug* (common in premium sets). These protect against surges and shorts. Strands with external transformers or USB-powered designs omit fuses because the power supply handles protection. If your plug has a removable fuse cap, check it first—but note: a blown fuse indicates a deeper fault (like a shorted LED group) that must be fixed before replacement.
Will using a higher-voltage power adapter “boost” a dim section?
Never. LED drivers are constant-current devices. Increasing input voltage doesn’t raise output—it forces the regulator to dissipate excess energy as heat, accelerating capacitor failure and potentially igniting insulation. Use only the manufacturer-specified adapter. If voltage drop persists, repair wiring—not the power source.
Conclusion: Light Isn’t Magic—It’s Method
A half-dead LED light strand isn’t a sign of obsolescence. It’s a diagnostic puzzle with a clear solution path—one rooted in understanding how these systems actually behave, not how they’re marketed to behave. You don’t need a degree in electronics to fix it. You need patience, a $15 multimeter, and the willingness to treat the symptom as data—not destiny.
Every strand you revive extends its usable life by 3–5 seasons. Every wire you repair saves $20–$40 in replacements. And every time you choose troubleshooting over tossing, you reclaim a small but meaningful piece of holiday intentionality: caring for what you have, rather than discarding it at the first sign of trouble.
This season, don’t wait for darkness to settle. Pull out that strand, grab your tools, and apply these steps. You’ll likely have it glowing fully before the hot cocoa cools.


 浙公网安备
33010002000092号
浙公网安备
33010002000092号 浙B2-20120091-4
Comments
No comments yet. Why don't you start the discussion?