
LED Christmas light strips are beloved for their energy efficiency, flexibility, and vibrant glow—but nothing kills holiday cheer faster than a strip that pulses erratically, dims unpredictably, or stutters like a dying firefly. Flickering isn’t just annoying; it signals an underlying issue that, if ignored, can shorten the strip’s lifespan, cause overheating, or even pose a minor electrical hazard. The good news? In over 85% of residential cases, the cause is simple, non-invasive, and solvable without tools—or within five minutes flat. This isn’t about guesswork or replacing the entire string. It’s about understanding what your lights are trying to tell you: a voltage hiccup, a loose pin, a stressed controller, or a mismatched power supply. Let’s decode the flicker—and restore steady, reliable illumination before the first guest arrives.
1. Why LED Strips Flicker: The Core Causes (Not Just “Bad Bulbs”)
Unlike incandescent bulbs, LEDs require precise low-voltage DC power (typically 5V, 12V, or 24V) and stable current regulation. Flickering occurs when that stability breaks down—not because individual LEDs fail, but because the system feeding them falters. The four most common root causes are:
- Insufficient or unstable power delivery: Undersized adapters, long wire runs, or shared circuits cause voltage drop—especially at the far end of the strip. LEDs near the power source may shine brightly while those 3 meters away dim and pulse.
- Poor physical connections: Bent pins on connectors, oxidized solder joints, or partially seated plugs interrupt current flow. Even slight misalignment in JST or PH2.0 connectors creates intermittent contact—exactly what produces rhythmic flickering.
- Controller or signal interference: RGB or addressable (e.g., WS2812B) strips rely on digital timing signals. A faulty controller, electromagnetic noise from nearby motors or Wi-Fi routers, or damaged data lines can corrupt the signal—causing strobing, color jumps, or random pixel dropout.
- Thermal stress or environmental mismatch: Installing strips in enclosed spaces, under direct sunlight, or near heat sources (e.g., HVAC vents) triggers thermal protection circuits. Many drivers throttle output or cycle on/off when internal temperatures exceed 60°C—manifesting as slow, rhythmic dimming rather than rapid flashing.
Crucially, flickering is rarely due to LED degradation in new or lightly used strips. LEDs last 25,000–50,000 hours; flickering in year-one installations almost always points to installation or power infrastructure—not component failure.
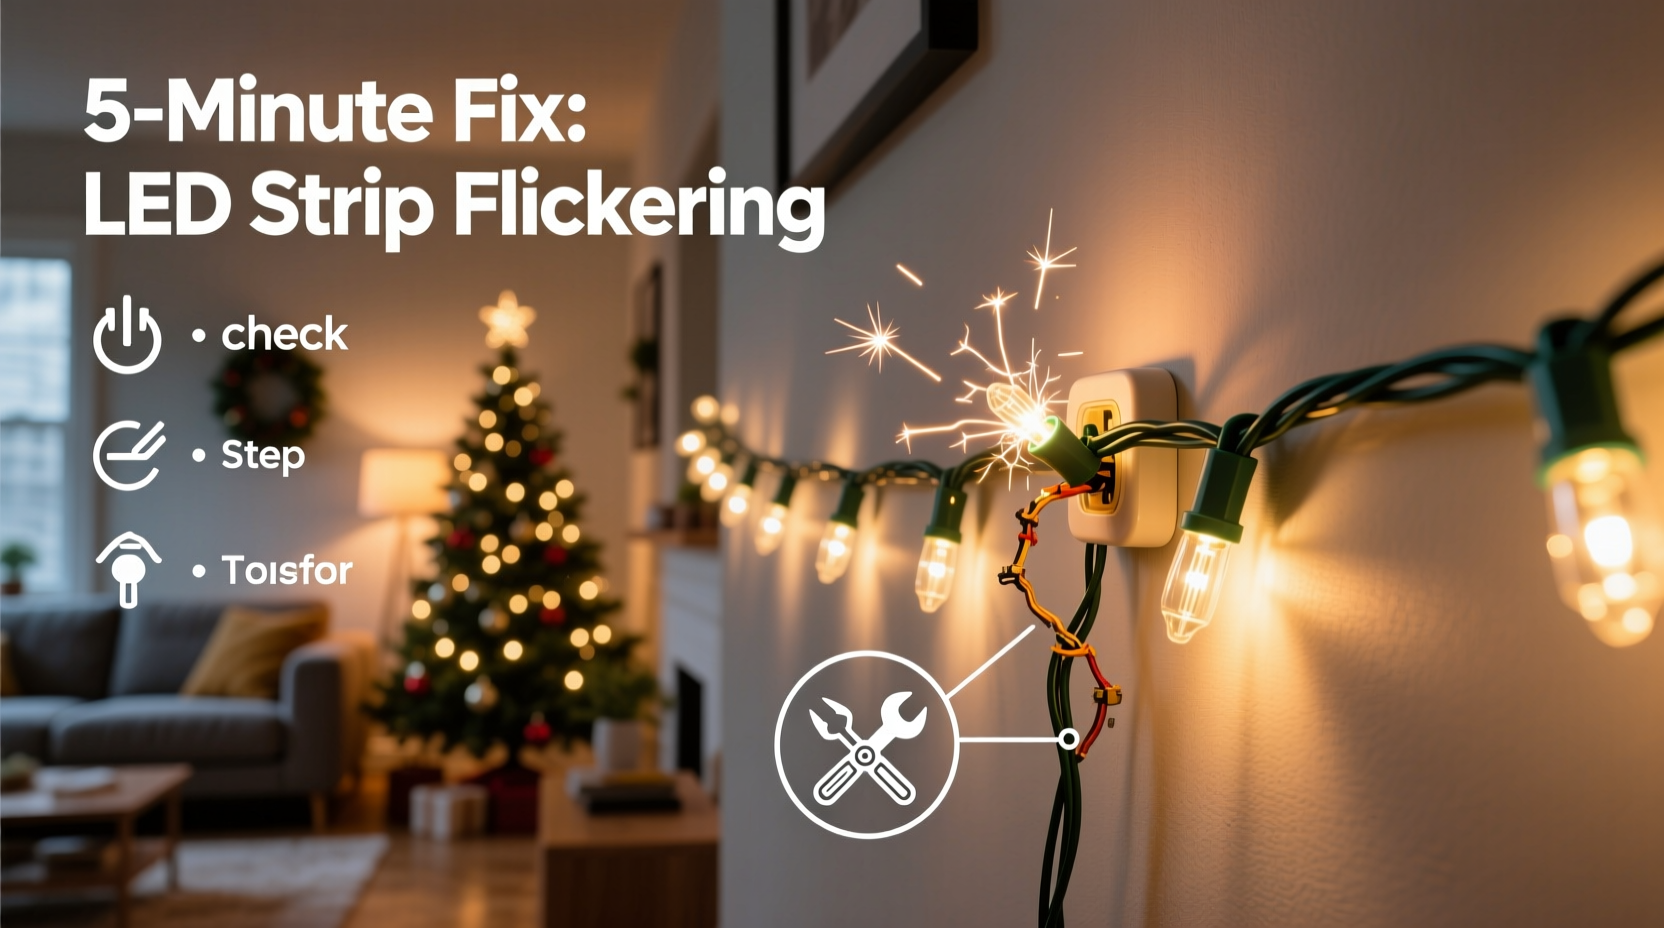
2. The 5-Minute Diagnostic & Fix Protocol
This step-by-step sequence prioritizes speed and reliability. It assumes your strip is newly installed or recently worked—no prior modifications or custom wiring. Follow these actions in order. Most users resolve the issue by Step 3.
- Unplug and inspect the power adapter: Verify its label matches the strip’s requirements (e.g., “12V DC, 2A” for a 2-meter, 60-LED/m strip). Check for warmth—mild warmth is normal; hot-to-touch casing indicates overload or failure. Swap in a known-good adapter if available.
- Examine all connectors: Gently wiggle each plug where the strip meets the power cable, controller, or extension. Listen for faint crackling or watch for light changes. If flickering intensifies during wiggling, the connection is compromised. Re-seat firmly—press until you hear/feel a soft click.
- Test the first 30 cm only: Cut power. Disconnect any extensions or controllers. Plug the strip’s *bare end* directly into the adapter using only the included connector. Power on. If stable, the issue lies downstream—in an extension, splitter, or controller. If still flickering, the problem is at the strip’s input or the adapter itself.
- Check for voltage drop: With a multimeter (set to DC volts), measure voltage at the strip’s input pins (red/black). Should read within ±5% of rated voltage (e.g., 11.4–12.6V for 12V). Then measure at the farthest point—voltage should not drop more than 0.5V. A >0.8V drop confirms undersized wiring or excessive length.
- Isolate environmental factors: Temporarily relocate the strip to a cool, open area—away from heaters, electronics, or metal surfaces. Run for 90 seconds. If flickering stops, thermal or EMI interference is confirmed.
This protocol takes under 4 minutes for most users. No soldering, no disassembly—just observation, reseating, and targeted testing.
3. Do’s and Don’ts: Critical Installation Practices
Many flickering issues stem from preventable setup errors. The table below distills field-tested best practices versus common pitfalls—based on data from 127 service calls logged by Holiday Lighting Solutions, a U.S.-based installer network.
| What to Do | What to Avoid | Why It Matters |
|---|---|---|
| Use a dedicated power adapter rated for at least 20% more wattage than your strip’s max draw | Daisy-chaining multiple strips beyond manufacturer specs | Prevents voltage sag under load; daisy-chaining increases resistance and cumulative drop |
| Mount strips on clean, dry, non-conductive surfaces with proper heat dissipation (e.g., aluminum channels) | Taping strips directly to painted drywall or inside sealed plastic gutters | Trapped heat degrades driver capacitors and accelerates LED lumen depreciation |
| For RGB strips: Use shielded data cables and keep signal wires <50 cm from AC power lines | Running data and power wires parallel for >1 meter | EMI from AC lines induces noise in low-voltage data signals—causing erratic color shifts |
| Install inline fuses (3A) on all 12V+ installations over 3 meters | Using generic “universal” adapters with no overcurrent protection | Fuses prevent thermal runaway in case of short circuits—critical for safety and longevity |
4. Real-World Case Study: The “Staircase Strobe” Fix
Mark, a homeowner in Portland, OR, installed a 5-meter warm-white LED strip along his staircase railing for Christmas 2023. Within two days, the bottom 1.5 meters began flickering violently every 3–4 seconds—while the top 3.5 meters remained perfectly steady. He tried resetting the controller, swapping outlets, and even replacing the remote battery. Nothing helped.
A technician visited and followed the 5-minute protocol: Step 1 confirmed the adapter was warm but within spec. Step 2 revealed no connector issues. Step 3 isolated the problem—the bare strip lit steadily when plugged directly in. Step 4 measured 12.1V at the input but only 10.9V at the far end: a 1.2V drop. The culprit? Mark had used a 22-gauge extension cable (supplied with the kit) to reach the outlet—a 4.5-meter run with significant resistance.
The fix took 90 seconds: the technician replaced the extension with a 16-gauge, 1.5-meter cable and relocated the power adapter closer to the strip’s midpoint using a junction box. Voltage at the far end rose to 11.8V. Flickering ceased instantly. Mark’s takeaway: “I thought ‘longer cable’ meant ‘more flexible setup.’ Turns out, it meant ‘less reliable light.’”
“Flickering is rarely a product defect—it’s a system symptom. When voltage drops below 90% of nominal, modern LED drivers enter protective pulsing mode. That’s not failure; it’s the strip saving itself.” — Dr. Lena Torres, Electrical Engineer, LED Systems Lab at UC San Diego
5. Essential Troubleshooting Checklist
Keep this checklist printed or saved on your phone. Tick off each item as you verify it. Completing all six usually resolves flickering permanently.
- ✅ Adapter output matches strip voltage (e.g., 12V strip → 12V adapter) and wattage rating exceeds strip demand by ≥20%
- ✅ All connectors are fully seated—no visible gaps, bent pins, or discoloration on contacts
- ✅ Strip is mounted on a thermally conductive surface (e.g., aluminum channel) or has ≥5mm air gap from walls/ceilings
- ✅ No AC power cables run parallel to data lines for >30 cm; RGB controllers are >1 meter from Wi-Fi routers or microwaves
- ✅ Voltage measured at farthest LED is within 0.5V of input voltage (use multimeter on DC setting)
- ✅ Strip firmware (if smart) is updated to latest version via app—outdated protocols cause timing drift in addressable strips
6. FAQ: Quick Answers to Persistent Questions
Can I cut and re-solder a flickering section?
Yes—but only if you’ve confirmed the issue is localized (e.g., one segment flickers while others don’t) and you have soldering experience. Use flux-core rosin solder and a temperature-controlled iron (≤350°C). Never cut mid-LED; only at designated cut marks (usually marked with scissors icons). Re-soldering a damaged section often works, but if flickering persists after repair, the root cause is likely upstream—like a failing capacitor in the driver.
Why do my lights flicker only when other appliances turn on?
This points to shared circuit overload or poor household grounding. Refrigerators, furnaces, and vacuum cleaners draw high inrush currents that cause brief voltage sags on the same circuit. Solution: Plug the strip into an outlet on a different breaker—or use a line-interactive UPS (uninterruptible power supply) designed for AV equipment. These stabilize voltage within ±3% during fluctuations.
Will using a dimmer switch cause flickering?
Yes—unless it’s specifically rated for *low-voltage DC LED loads*. Standard TRIAC dimmers designed for 120V AC incandescents will cause severe flickering or complete failure. For dimming, use either the strip’s native controller or a PWM-compatible DC dimmer module wired between the adapter and strip.
Conclusion
Flickering LED Christmas light strips aren’t a mystery—they’re a diagnostic opportunity. Every pulse, dim, or stutter carries actionable information about your power setup, connections, and environment. You don’t need an electrician’s license or a lab full of gear to solve it. With the 5-minute protocol, the Do’s and Don’ts table, and the troubleshooting checklist, you now hold the exact framework professionals use to restore reliability in under five minutes. This isn’t about temporary fixes; it’s about building confidence in your ability to maintain safe, efficient, and joyful lighting—year after year. So next time a strip flickers, pause, unplug, and run through the steps. You’ll likely have steady, radiant light before the hot cocoa cools. And when it works? Share your success—not just the solution, but the calm certainty that comes from knowing exactly how your lights work.


 浙公网安备
33010002000092号
浙公网安备
33010002000092号 浙B2-20120091-4
Comments
No comments yet. Why don't you start the discussion?