
Every holiday season, the moment you unbox your LED Christmas light strips from storage should be filled with anticipation—not frustration. Yet many homeowners plug in their lights only to find them dim, flickering, or completely dead. The good news: most post-storage failures aren’t due to permanent damage. With a methodical approach, you can identify and resolve the root cause, restoring your festive glow without buying replacements.
Moisture, physical stress, voltage inconsistencies, and poor storage habits all contribute to LED strip failure. Understanding these factors—and how to counteract them—can save time, money, and seasonal cheer.
Common Causes of Post-Storage LED Strip Failure
LED light strips are delicate electronic systems. Unlike traditional incandescent bulbs, they rely on low-voltage DC power, precise circuitry, and sensitive semiconductor components. When stored improperly or exposed to environmental extremes, even high-quality strips can malfunction.
- Moisture damage: Humidity during storage can corrode copper circuits and solder points, especially if lights were packed while damp.
- Physical trauma: Bending, kinking, or crushing during coiling can break internal traces or disconnect LEDs.
- Power supply degradation: Transformers and adapters degrade over time, particularly when left plugged in or stored near heat sources.
- Oxidation of connectors: Metal contacts tarnish when exposed to air, reducing conductivity.
- Insect infestation: Rodents or insects may chew through wires or nesting materials can short circuits.
- Voltage mismatch: Using an incorrect or underpowered adapter stresses the system, leading to premature failure.
These issues often compound during long-term storage, especially in attics, basements, or garages where temperature and humidity fluctuate.
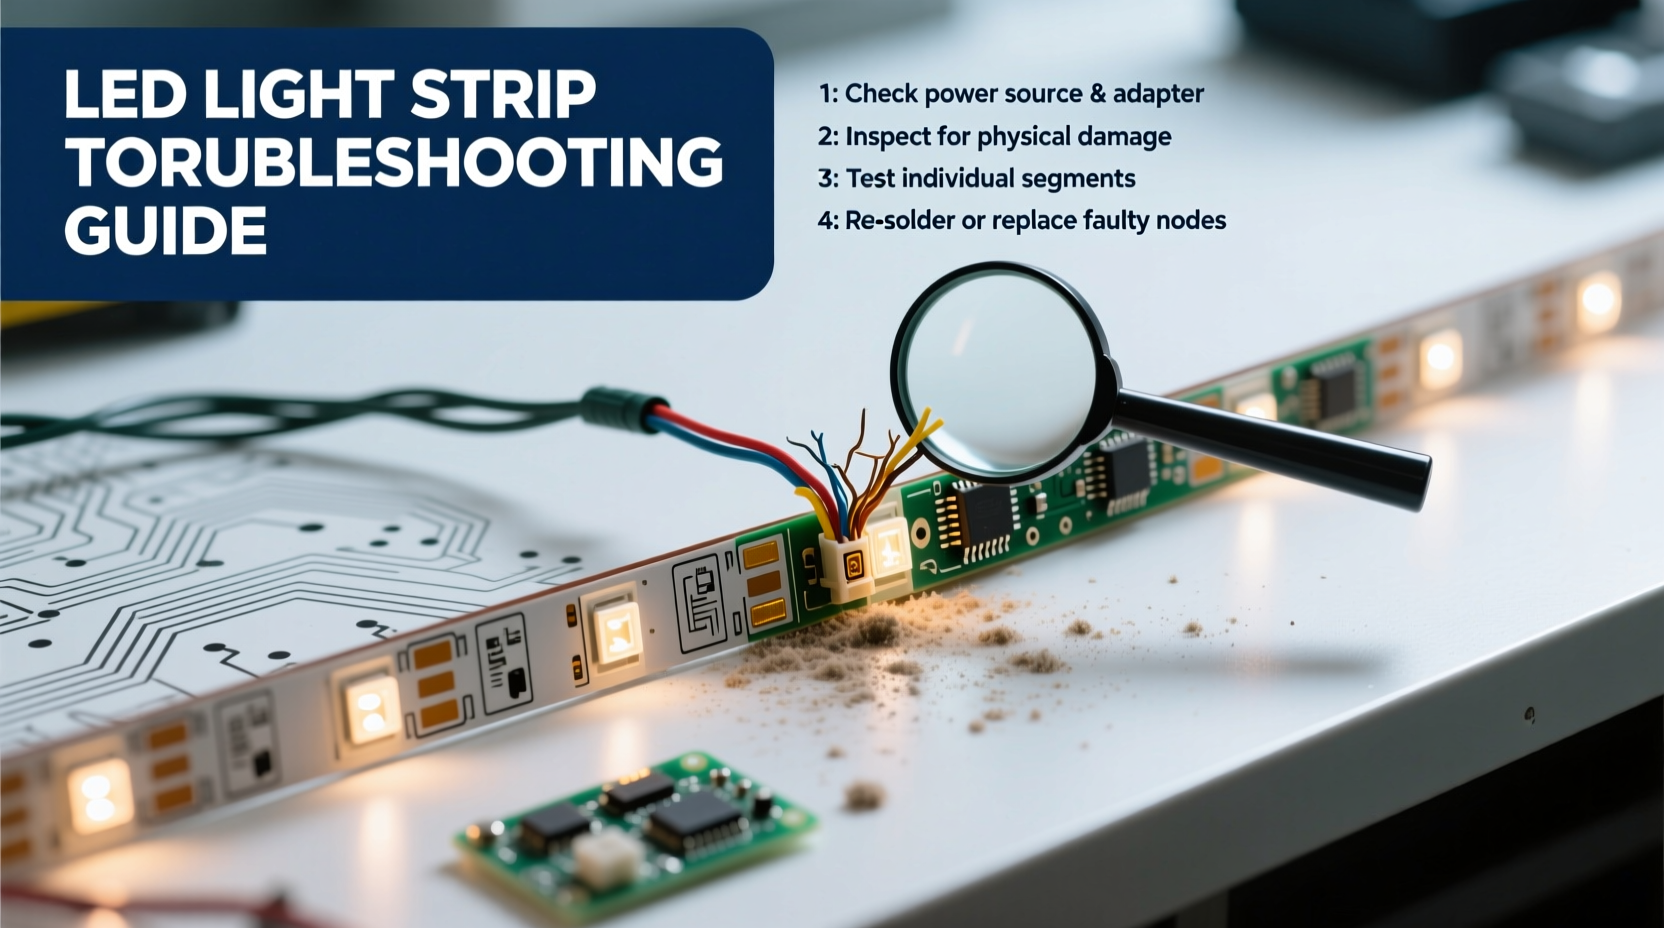
Step-by-Step Troubleshooting Guide
Follow this systematic process to isolate and resolve the issue. Start simple and progress to more complex diagnostics.
- Inspect the power source: Plug the adapter into a known-working outlet. Use a multimeter to test output voltage. Most LED strips require 12V or 24V DC. If the adapter reads significantly below specification (e.g., 5V on a 12V unit), it’s faulty.
- Check the fuse (if applicable): Some adapters have replaceable fuses. Open the fuse compartment and inspect for discoloration or broken filaments.
- Examine the strip visually: Look for dark spots, burn marks, or visible breaks in the flexible circuit board. Pay attention to cut points or connector joints—common weak zones.
- Test continuity at connection points: If the strip uses connectors, disconnect and reseat them. Corrosion or misalignment can interrupt current flow.
- Segment testing: If the strip has multiple sections or cut lines, test each independently using a known-good power supply. This helps locate dead zones.
- Use a known-working adapter: Borrow a compatible power supply to rule out adapter failure.
- Check for shorts: Look for frayed wires touching metal surfaces or conductive debris lodged in the strip housing.
If one section of the strip lights up but another doesn’t, the issue is likely localized—a broken trace or failed LED segment. Full-strip failure usually points to power delivery problems.
Tips for Reviving Damaged Strips
Not every failure requires replacement. Many issues can be repaired with basic tools and patience.
For broken circuit traces, use a fine-tip soldering iron to bridge the gap with thin-gauge wire. Clean the area with isopropyl alcohol first, then apply flux and solder. Cover the repair with heat-shrink tubing or electrical tape to prevent future shorts.
If connectors are corroded, disassemble them carefully and clean contacts with a cotton swab dipped in rubbing alcohol. Let dry completely before reconnecting.
In cases where the strip has been cut incorrectly (not at designated cut lines), the circuit may be severed beyond repair. However, if only one electrode is damaged, you may still jumper it externally using wire and solder.
When to Replace vs. Repair
While repairs are possible, consider the cost and safety implications. Extensive soldering or patchwork wiring may create fire hazards if not done properly. Evaluate based on:
- Extent of damage (single LED vs. entire section)
- Age of the strip (older units may have degraded insulation)
- Warranty status
- Difficulty accessing the installation site (e.g., behind crown molding)
For minor issues, repair makes sense. For widespread failure or older models, replacement ensures reliability and often comes with improved efficiency and color quality.
Preventative Storage Checklist
Avoid next year’s frustration with proactive storage practices. Follow this checklist every post-holiday season:
“Over 60% of LED strip failures after storage stem from avoidable environmental exposure.” — Dr. Alan Zhou, Electrical Systems Engineer, Smart Home Institute
- Turn off and unplug all strips before removal.
- Clean gently with a dry microfiber cloth; never wash unless rated IP67 or higher.
- Allow to air-dry fully in a warm room for 24 hours if exposed to snow or rain.
- Coil loosely—avoid tight wraps that crease the circuit board.
- Use cardboard spools or dedicated light reels to maintain shape.
- Store in labeled, sealable plastic bins with desiccant packs.
- Keep away from rodents—consider using natural deterrents like cedar blocks.
- Store power adapters separately in anti-static bags.
- Label each strip with voltage, length, and adapter specs.
- Keep in a climate-controlled space (ideal: 50–70°F, under 50% humidity).
| Do | Don’t |
|---|---|
| Coil loosely around a wide cylinder | Wrap tightly around small objects like hangers |
| Use silica gel to absorb moisture | Store in damp basements or hot attics |
| Label strips by location and voltage | Mix different voltage strips together |
| Inspect for pests before storage | Leave outdoors or in garages uncovered |
| Test operation before storing | Store without verifying functionality |
Real-World Case: The Garage-Stored Lights That Wouldn’t Light
Mark from Denver stored his 16-foot LED strip lights in a plastic bin in his garage after the holidays. The following November, he unpacked them for a pre-season check—only to find two strips completely unresponsive, while a third flickered erratically.
He began by testing the adapters: one showed no output, another read 8V instead of 12V. Replacing both with new 12V/2A units resolved the flickering strip. But the dead ones remained dark.
Upon closer inspection, he noticed greenish corrosion near the male connectors. After cleaning the terminals with alcohol and a toothbrush, one strip powered on. The final strip had a hairline crack near a bend point. Using a soldering iron, Mark bridged the break with a 30-gauge wire. The repair held, and all lights worked perfectly for the season.
His key takeaway? “Testing before storage would’ve saved me three hours of troubleshooting. Now I do a full system check every January.”
Frequently Asked Questions
Why do only half of my LED strip lights work after storage?
This typically indicates a broken circuit trace, usually at a bend or connector point. LED strips operate in series segments. If one trace fails, downstream LEDs lose power. Inspect visually for gaps or damage near non-working sections.
Can cold temperatures damage LED light strips in storage?
Extreme cold alone rarely damages electronics, but repeated freeze-thaw cycles promote condensation inside housings. This moisture leads to corrosion over time. Always store in a stable environment and allow lights to acclimate to room temperature before powering on.
Is it safe to cut and reconnect LED strips after storage damage?
Yes, if done correctly. Only cut at marked lines (usually every 2–4 inches). Use proper connectors or solder with care. Ensure insulation is complete to prevent shorts. Never splice strips with different voltages or densities.
Expert Recommendations for Long-Term Reliability
Industry professionals emphasize preventive care over reactive fixes. According to lighting designer Lena Tran, “The lifespan of an LED strip isn’t just about the LEDs—it’s about the weakest link in the chain. That’s usually the power supply or the storage method.”
“Treat your LED strips like precision electronics, not disposable decor. A $20 investment in proper storage containers pays for itself in avoided replacements.” — Lena Tran, Architectural Lighting Consultant
She recommends investing in weatherproof cases with foam inserts for high-end installations. For budget setups, even a simple tote with bubble wrap and desiccant makes a significant difference.
Additionally, consider upgrading to higher IP-rated strips (e.g., IP65 or IP67) if storing in less-than-ideal conditions. These are better sealed against dust and moisture, making them more resilient over time.
Conclusion: Restore, Prevent, Enjoy
Your LED Christmas light strips don’t have to be victims of seasonal neglect. With a clear understanding of common failure points and a disciplined approach to storage and maintenance, you can ensure reliable performance year after year.
Start today by testing your lights before putting them away. Clean, coil, and store them properly. Label everything. And keep spare adapters on hand. These small actions eliminate the most common causes of post-storage failure.
Don’t let another holiday season begin with a string of darkness. Take control now—inspect, repair, and protect your lights so they’re ready to shine when the festivities return.


 浙公网安备
33010002000092号
浙公网安备
33010002000092号 浙B2-20120091-4
Comments
No comments yet. Why don't you start the discussion?