
There’s nothing more frustrating during the holiday season than hanging up your festive LED Christmas light strip, plugging it in, and discovering that only half of it lights up. The glow you were counting on for a cozy ambiance stops abruptly halfway down the string, leaving an awkward dark gap. While this issue may seem mysterious or even terminal, it's actually quite common — and usually fixable.
LED light strips are engineered for efficiency and longevity, but they rely on consistent electrical flow and intact circuitry. When part of the strip fails to illuminate, it typically signals a disruption in current, a manufacturing flaw, or physical damage. Understanding the root causes and knowing how to methodically diagnose them can save both time and money. More often than not, you won’t need to replace the entire set — just apply the right troubleshooting steps.
Understanding How LED Light Strips Work
Before diving into fixes, it helps to understand the basic design of LED light strips. Most modern LED Christmas light strips are either low-voltage DC (commonly 12V or 24V) or line-voltage AC (120V). They consist of a series of LEDs mounted along a flexible circuit board, connected in segments or series-parallel configurations.
In many designs, especially cheaper models, LEDs are grouped into small circuits powered sequentially. If one LED or connection fails, it can break the path of electricity, causing all downstream LEDs to go dark. This “daisy-chain” effect is why half the strip might remain lit while the other half doesn’t — the fault lies somewhere between the last working LED and the first dead one.
Additionally, some strips use shunt wires — tiny bypass circuits within each LED — designed to keep current flowing if one diode burns out. However, not all LED strips have this feature, particularly budget-friendly holiday strings. Without shunts, a single failed LED can shut off the rest of the segment.
“Most partial-lighting failures in LED strips stem from voltage drop, broken traces, or failed solder joints — not the LEDs themselves.” — Rajiv Mehta, Electrical Engineer & Lighting Systems Designer
Common Causes of Half-Lit LED Strips
Several factors can lead to only half of your LED Christmas light strip illuminating. Identifying the cause is the first step toward resolution.
- Voltage drop: Especially in longer strips, power diminishes over distance. If the strip exceeds recommended length without additional power injection, the far end may not receive enough voltage to light properly.
- Physical damage: Bent, pinched, or crushed sections can sever internal conductive traces. Even minor kinks during storage or installation can disrupt continuity.
- Water or moisture ingress: Outdoor strips exposed to rain or snow may develop corrosion at connection points, increasing resistance or breaking the circuit.
- Poor solder joints: Factory defects or aging can cause weak connections at LED nodes or where wire leads attach to the strip.
- Overheating: Running the strip continuously at high brightness or in enclosed spaces may degrade components unevenly.
- Power supply issues: An underpowered or failing adapter may deliver inconsistent voltage, affecting performance across the strip.
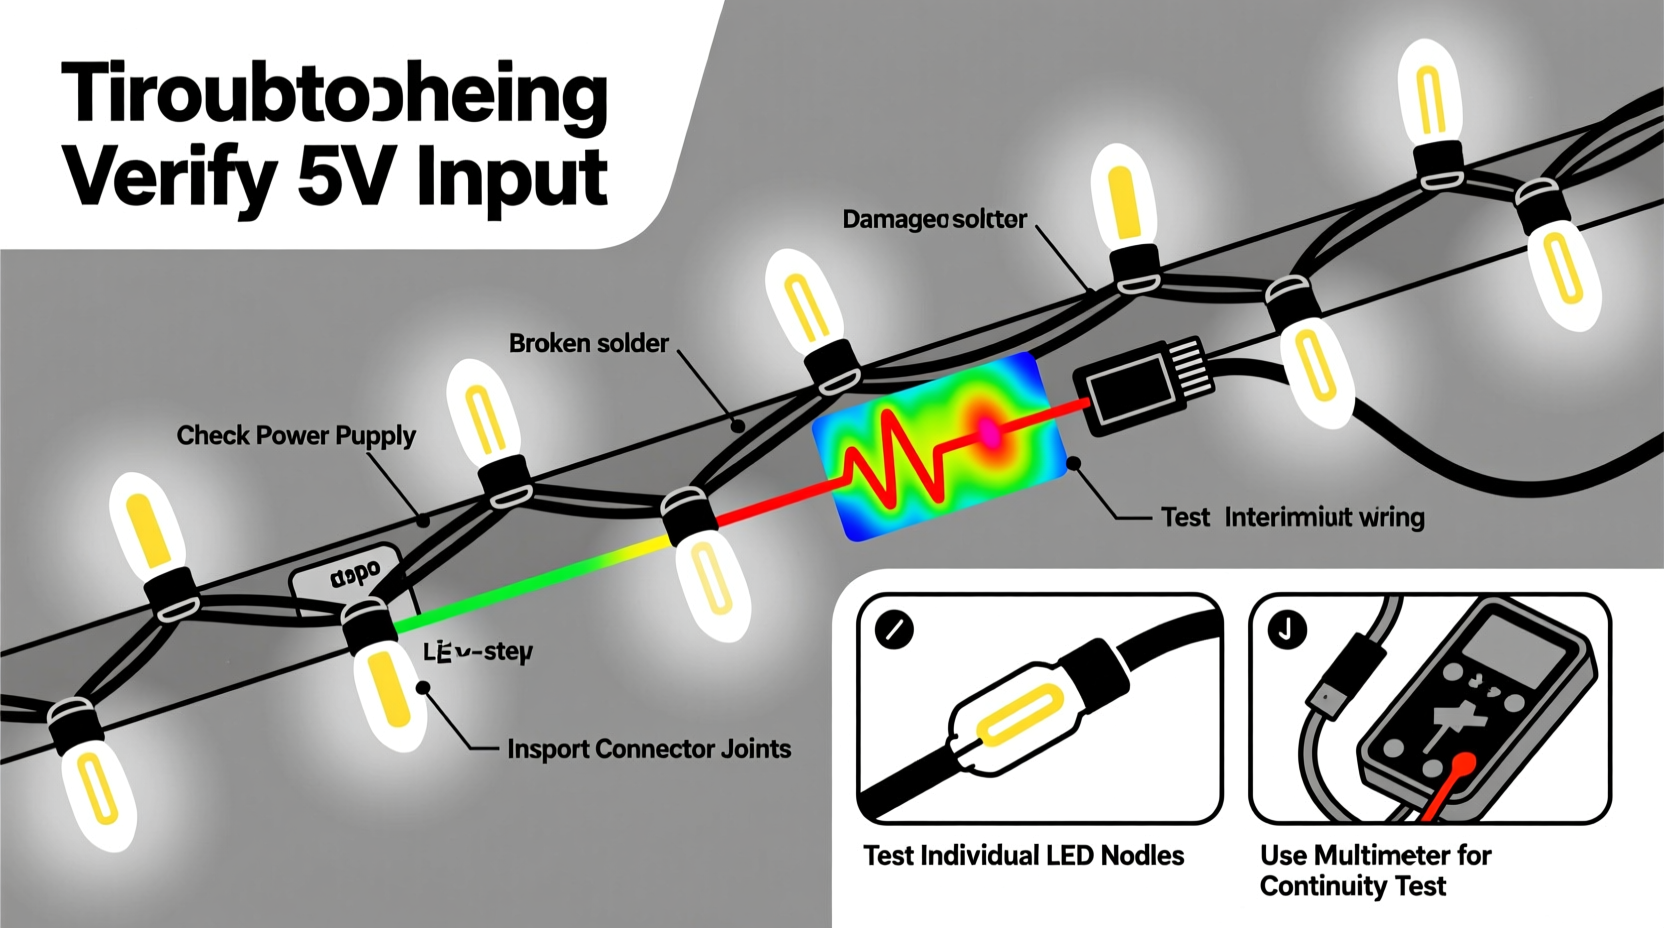
Step-by-Step Troubleshooting Guide
Follow this systematic approach to identify and resolve the issue causing your LED strip to be only half lit.
- Unplug and visually inspect the entire strip. Look for obvious signs of damage: cuts, discoloration, bent connectors, or swollen capacitors near the power source. Pay close attention to the transition point between lit and unlit sections.
- Check the power supply. Use a multimeter to measure the output voltage of the adapter. It should match the strip’s requirements (e.g., 12V DC). A reading significantly below specification indicates a failing power supply.
- Test continuity at the midpoint. Set your multimeter to continuity mode. Place one probe at the end of the lit section and the other at the beginning of the dark section. No beep means a break in the circuit.
- Inspect solder joints and connections. Examine the pads where wires connect to the strip. Look for cracks, lifted traces, or corroded contacts. Re-solder any suspect joints using rosin-core solder and a fine-tip iron.
- Clean contact points. If the strip uses clip-on connectors or has visible terminals, clean them with isopropyl alcohol and a cotton swab to remove oxidation or debris.
- Bypass the damaged section (if possible). For non-waterproof strips, you can cut out the faulty segment and rejoin the working ends using compatible connectors or by soldering new jumper wires. Ensure polarity (+ and -) is matched correctly.
- Add supplemental power injection. For long runs, run a separate power cable from the adapter to the middle or far end of the strip to prevent voltage drop.
Troubleshooting Checklist
- ✅ Unplugged the light strip before inspection
- ✅ Visually checked for physical damage or kinks
- ✅ Verified power supply output with multimeter
- ✅ Tested continuity across the dark section
- ✅ Cleaned connectors and terminals
- ✅ Re-soldered loose or cracked joints
- ✅ Considered cutting and reconnecting if damage is localized
- ✅ Evaluated need for power injection for long strips
Do’s and Don’ts When Repairing LED Strips
| Do | Don’t |
|---|---|
| Use a multimeter to test voltage and continuity | Assume the entire strip is dead without testing |
| Handle the strip gently; flex slowly to avoid cracking traces | Bend sharply or twist the strip forcefully |
| Match voltage and polarity exactly when reconnecting | Reverse polarity or use mismatched power supplies |
| Clean contacts with isopropyl alcohol | Use water or household cleaners that may corrode circuits |
| Cut only at designated cut points (marked with scissors icon) | Cut randomly through LEDs or traces |
Real Example: Fixing a 16-Foot Outdoor Strip
Sarah installed a 16-foot waterproof LED strip along her porch railing. After two seasons, she noticed that only the first 8 feet lit up. She followed the troubleshooting process: unplugged the strip, inspected visually, and found no external damage. Using a multimeter, she confirmed the power supply delivered 12.1V — within range.
She tested continuity at the junction where the lights stopped and found no connection between the positive rails. Upon closer inspection with a magnifier, she spotted a hairline crack in the copper trace near a mounting hole — likely caused by thermal expansion over time. Since the strip was silicone-coated, she carefully slit the cover with a utility knife, re-soldered the broken trace with a thin jumper wire, sealed it with heat-shrink tubing, and applied waterproof epoxy.
After reassembly, the full strip lit up evenly. Sarah also added a second power feed at the midpoint to prevent future voltage drop. The repair took less than an hour and saved her $35 in replacement costs.
When to Replace vs. Repair
Not every half-lit LED strip is worth fixing. Consider these guidelines:
- Repair if: The damage is isolated, accessible, and involves simple fixes like re-soldering or cleaning.
- Replace if: The strip is old, multiple sections are failing, or it lacks cut points/connectors for safe modification.
- Upgrade if: You're frequently troubleshooting the same strip. Higher-quality strips with shunted LEDs, better insulation, and power-injection options offer greater reliability.
For seasonal decorations used only a few weeks per year, replacement may be more cost-effective than investing in tools and time. But for permanent installations — under cabinets, behind TVs, or architectural lighting — repair makes excellent financial and environmental sense.
Frequently Asked Questions
Can I splice two LED strips together to replace the dark half?
Yes, but only if both strips are identical in voltage, density, and color temperature. Use proper connectors or solder carefully, ensuring polarity alignment. Avoid mixing different models or batches, as this can cause flickering or uneven brightness.
Why do only certain colors work on RGB strips?
If your RGB strip shows red and green but not blue (or only half the strip changes color), the issue is likely a broken data line or failed controller channel. Test the controller separately, and check solder joints on the data input pad. Some RGB strips use a 4-wire system (red, green, blue, common), so a break in one color channel affects only that hue.
Is it safe to cut and reconnect an LED strip?
Yes, as long as you cut only at designated cut lines — usually marked with a scissor symbol — and reconnect using compatible connectors or precise soldering. Never cut through an LED or mid-segment, as this will destroy the circuit. Always disconnect power before making modifications.
Final Tips for Long-Term LED Strip Care
Preventing future failures starts with proper handling and installation. Wind strips loosely when storing — never wrap tightly around sharp edges. Keep connections elevated and dry, especially outdoors. Use surge protectors for AC-powered systems, and consider timers to limit daily runtime.
If installing long runs, plan for power injection from the start. Feeding power at both ends or every 16–20 feet maintains brightness and reduces strain on the initial segment. For indoor decorative use, choose addressable or shunted LED strips, which tolerate single-diode failures better than standard series-wired versions.
“The best LED maintenance strategy is proactive: inspect annually, clean contacts, and address minor issues before they cascade.” — Lena Torres, Smart Home Integration Specialist
Conclusion
A half-lit LED Christmas light strip isn’t necessarily a lost cause. With basic tools and a logical approach, most issues can be diagnosed and resolved in under an hour. Whether it’s a broken trace, failing power supply, or simple corrosion, the solution often lies in careful inspection and targeted repair.
By understanding how LED strips function and following structured troubleshooting steps, you gain control over your lighting setup — saving money, reducing waste, and keeping your holidays bright. Don’t toss that dimming decoration just yet. Plug in, test, and take action. Your perfectly lit display is closer than you think.


 浙公网安备
33010002000092号
浙公网安备
33010002000092号 浙B2-20120091-4
Comments
No comments yet. Why don't you start the discussion?