
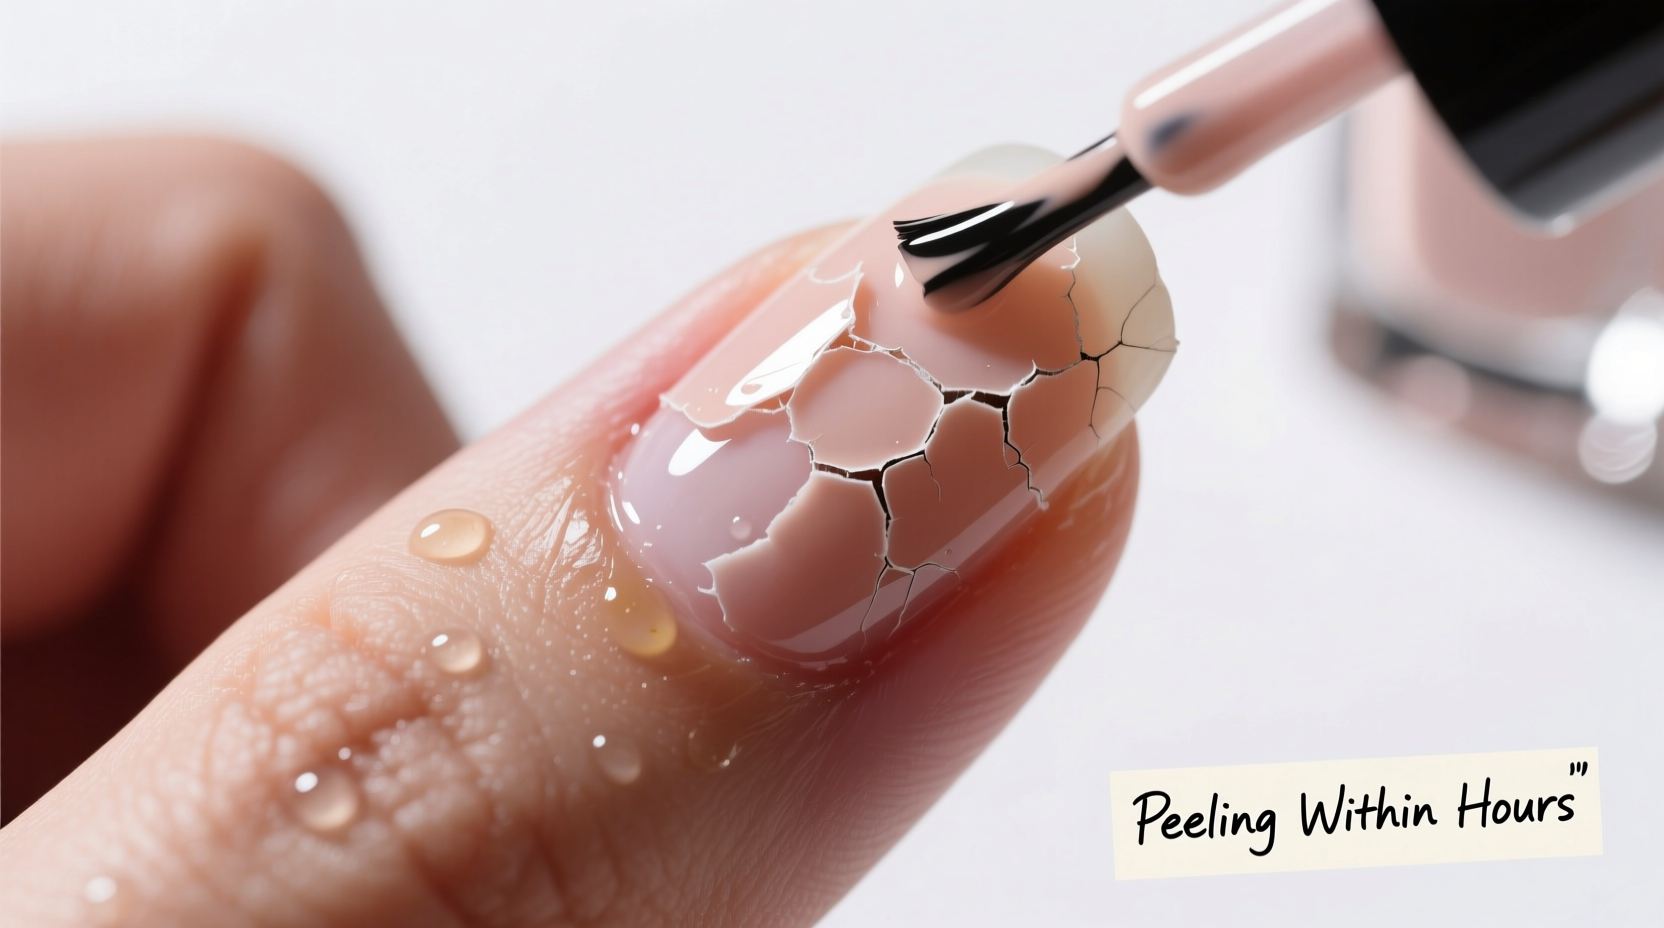
Nail polish that chips or peels just hours after application can be incredibly frustrating—especially when you've taken time to prep, paint, and wait for each layer to dry. You're not alone. Many people experience premature wear despite their best efforts. The truth is, most early peeling isn’t due to poor product quality but rather preventable mistakes during the application process. From improper nail prep to skipping essential steps, small oversights can drastically reduce wear time. Understanding these errors—and how to fix them—can transform your manicure from lasting a day to surviving a full week.
The Root Causes of Early Nail Polish Peeling
Peeling doesn't happen randomly. It typically begins at the edges or around the cuticles, where adhesion is weakest. When polish lifts prematurely, it’s usually because it never properly bonded to the nail plate in the first place. Factors like oil residue, uneven surfaces, or environmental exposure compound the issue. But more often than not, human error plays the biggest role. Common culprits include applying polish too close to the cuticle, using thick coats, or failing to seal the tips. These habits create weak points where moisture and friction easily break down the polish film.
Nails are porous and naturally contain oils and moisture. Without proper preparation, polish sits on top of this unstable surface instead of adhering securely. Over time, movement and daily activity cause stress on poorly bonded areas, leading to cracks and eventual peeling. Recognizing that the problem lies in technique—not just luck—empowers you to make changes that yield real results.
5 Critical Application Mistakes That Cause Peeling
1. Skipping Nail Preparation
One of the most common reasons for fast peeling is neglecting nail prep. Nails accumulate oils, lotions, and dust throughout the day—even if they look clean. Applying polish over this residue prevents proper bonding. A quick cleanse with a lint-free wipe soaked in pure acetone removes contaminants and creates a \"clean slate\" for polish to grip.
2. Pushing Cuticles Too Far or Leaving Skin Residue
If cuticles aren’t gently pushed back and any hanging skin is left intact, polish applied near the base will adhere to loose tissue instead of the nail. As that skin moves or flakes off, it pulls the polish with it. This leads to immediate lifting at the cuticle line. Use a cuticle pusher made of wood or rubber (not metal) to avoid micro-tears, and trim only dead skin with sterile nippers.
3. Applying Thick Coats
Thick layers may seem efficient, but they trap solvents and extend drying time. Worse, thick polish shrinks as it dries, creating internal tension that causes cracking and peeling. Thin, even coats dry faster and bond better. Aim for two thin color coats rather than one heavy one. Let each layer dry completely before adding the next—rushing leads to soft, vulnerable polish.
4. Not Sealing the Free Edge
The fingertip edge is the most exposed part of the nail and bears the brunt of daily contact. If polish doesn’t wrap slightly over the tip, it leaves a raw edge prone to chipping. After each coat—including the base and top—lightly run the brush along the free edge to seal it. This creates a protective cap that resists wear.
5. Using Old or Poor-Quality Top Coat
A top coat acts as armor. Without a fresh, high-quality one, even perfectly applied color won’t last. Over time, top coats thicken and lose their flexibility, becoming brittle and ineffective. Replace your top coat every 4–6 weeks if used weekly. Look for formulas labeled “quick-dry” or “long-wear” for optimal protection.
“Most clients who complain about peeling haven’t changed their polish brand—they’ve changed their prep routine.” — Lila Torres, Master Nail Technician & Educator
Step-by-Step Guide to a Long-Lasting Manicure
Follow this professional-grade routine to maximize wear time and minimize peeling:
- Remove old polish completely with acetone-based remover. Avoid moisturizers at this stage.
- Shape nails with a fine-grit file (180+ grit), filing in one direction to prevent splitting.
- Dehydrate the nail by wiping each nail with a lint-free pad soaked in 100% acetone or nail prep solution.
- Push back cuticles gently using a wooden stick. Remove only loose skin; don’t force or cut live tissue.
- Apply base coat in a thin, even layer. Extend slightly over the free edge to seal the tip.
- Wait 2 minutes for the base coat to set before applying color.
- Apply first color coat thinly, avoiding the cuticle and sidewalls. Let dry 3–4 minutes.
- Apply second color coat the same way. Seal the tip again.
- Wait 5–7 minutes before adding top coat to prevent wrinkling.
- Apply top coat, ensuring full coverage and sealed tips. Reapply every 2–3 days for extended wear.
Do’s and Don’ts: Quick Reference Table
| Do’s | Don’ts |
|---|---|
| Use a base coat to protect nails and improve adhesion | Skip base coat to save time |
| Apply thin, even coats of polish | Apply thick layers to cover in one go |
| Seal the free edge with every coat | Leave the nail tip uncoated |
| Reapply top coat every 2–3 days | Assume one top coat lasts all week |
| Wipe nails with acetone before painting | Paint over lotion or oily residue |
| Wear gloves when cleaning or gardening | Expose bare nails to harsh chemicals |
Real-Life Example: Sarah’s Week-Long Manicure Fix
Sarah, a teacher in her early 30s, loved doing her own nails but was frustrated that her polish always started peeling by the next morning. She blamed the brand until she visited a local nail technician for advice. After observing her technique, the technician noticed Sarah applied polish immediately after washing her hands—leaving invisible moisture and soap residue. She also used an old top coat and skipped the base coat entirely.
She was advised to change three things: wipe nails with acetone before starting, invest in a new ridge-filling base coat, and reapply top coat every third day. Sarah followed the steps meticulously. Her next manicure lasted nine full days with only minor tip wear. The transformation wasn’t due to expensive products—it came from correcting simple, overlooked habits.
Essential Checklist for Flawless, Long-Wearing Polish
- ✅ Wash and dry hands thoroughly
- ✅ Remove old polish with acetone
- ✅ Shape nails with a fine file
- ✅ Gently push back cuticles
- ✅ Wipe each nail with acetone-soaked pad
- ✅ Apply a thin layer of base coat (seal the edge)
- ✅ Wait 2 minutes before color
- ✅ Apply two thin color coats with drying time in between
- ✅ Seal the free edge with each coat
- ✅ Wait 5–7 minutes, then apply top coat
- ✅ Reapply top coat every 2–3 days
- ✅ Wear gloves during chores involving water or cleaners
Frequently Asked Questions
Why does my nail polish peel even when I use a base and top coat?
Using both coats is essential, but incorrect application can still lead to failure. If the base coat isn’t allowed to set, or if the top coat has thickened over time, adhesion suffers. Also, applying polish over oily residue or pushing too close to wet cuticles undermines even the best products. Ensure your prep is thorough and your tools are fresh.
Can hydration ruin my manicure?
Yes—hydrating your hands *before* polishing introduces oils and moisture that block adhesion. Instead, moisturize *after* the top coat has fully dried (wait at least 15–20 minutes). For cuticle care, apply oil nightly after your day’s activities, not before painting.
How long should I wait between coats?
Wait 2–3 minutes between base and first color coat. Allow 3–4 minutes between color coats. Wait 5–7 minutes before applying top coat to prevent bubbling or wrinkling. Rushing layers traps solvents, weakening the finish.
Final Tips for Consistent, Durable Results
Long-lasting polish isn’t magic—it’s method. The difference between a one-day and seven-day manicure often comes down to seconds spent wiping a nail or waiting for a layer to dry. Build these habits into your routine: always dehydrate the nail surface, use thin coats, seal the tips, and refresh the top coat midweek. Store your polishes upright in a cool, dark place to preserve their consistency. And remember, no polish lasts forever—even perfect application benefits from touch-ups.
Peeling is rarely inevitable. More often, it’s a signal that something in your process needs adjustment. Once you identify and correct those subtle mistakes, you’ll see dramatic improvements in wear time and appearance.


 浙公网安备
33010002000092号
浙公网安备
33010002000092号 浙B2-20120091-4
Comments
No comments yet. Why don't you start the discussion?