
There’s nothing more frustrating during the holiday season than a festive outdoor light display that won’t stay steady. Just as you’ve spent hours untangling strings, mapping out layouts, and securing clips along gutters and trees, a few flickering bulbs can ruin the magic. Flickering isn’t just an aesthetic issue—it can signal deeper electrical problems or safety risks. Understanding why your outdoor Christmas lights flicker—and how to fix it—is essential for both peace of mind and a flawless seasonal presentation.
Flickering can stem from something as simple as a loose bulb to issues with voltage supply or weather damage. While some fixes are quick and DIY-friendly, others may require professional intervention. This guide breaks down the most likely culprits, offers step-by-step solutions, and includes expert-backed advice to keep your display shining brightly all season long.
Common Causes of Flickering Outdoor Lights
Flickering in outdoor Christmas lights is rarely random. Most cases trace back to one or more identifiable factors, often related to power delivery, component wear, or environmental exposure. Identifying the root cause early prevents further damage and reduces fire risk.
- Loose or improperly seated bulbs: In older incandescent mini-lights, a single bulb not fully screwed into its socket can interrupt the circuit, causing partial or full string flickering.
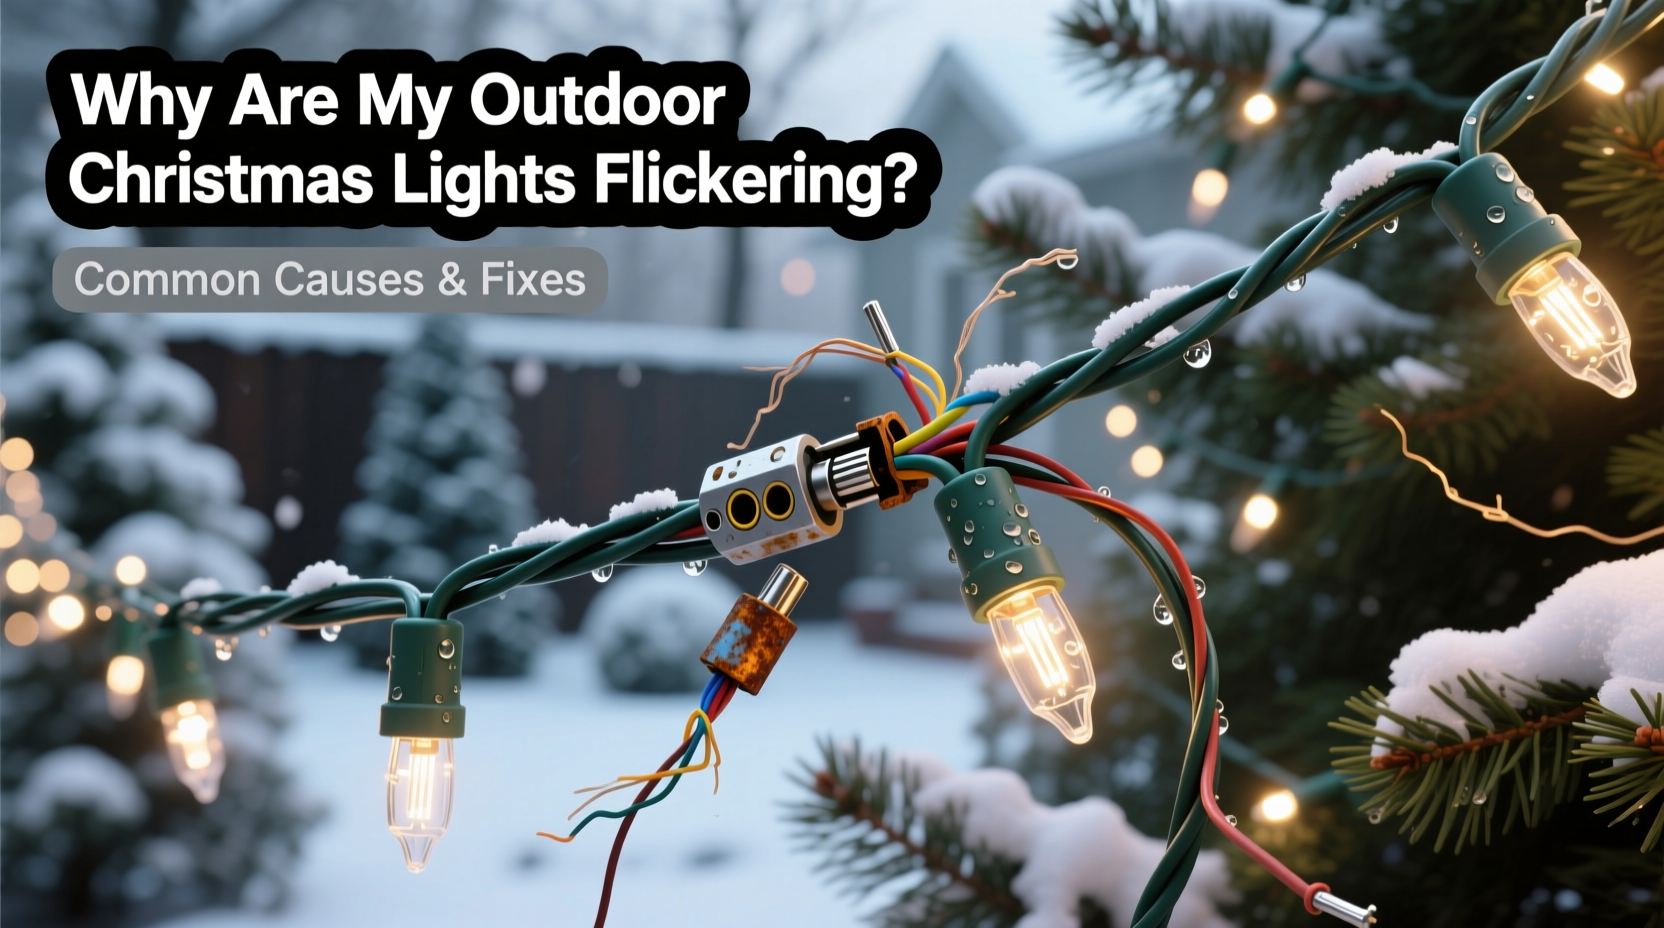
- Damaged wiring or insulation: Cracked or frayed wires—especially at plug ends or where lights bend around corners—can create intermittent connections.
- Overloaded circuits: Connecting too many light strings to one outlet or extension cord can exceed safe amperage limits, leading to voltage drops and inconsistent brightness.
- Moisture intrusion: Rain, snow, or condensation inside sockets or connectors can cause shorting or resistance fluctuations.
- Incompatible controllers or dimmers: Using non-dimmable LEDs with smart timers or dimmer switches leads to erratic behavior.
- Power source instability: Voltage fluctuations from aging outdoor outlets, faulty GFCI breakers, or shared household loads (e.g., refrigerators cycling) affect light consistency.
- End-of-life components: LED strings degrade over time; internal drivers or resistors may fail intermittently before total burnout.
Step-by-Step Troubleshooting Guide
Systematic troubleshooting saves time and ensures no potential issue is overlooked. Follow this sequence to isolate and resolve flickering efficiently.
- Unplug the entire display. Safety first. Disconnect all strings from power sources before beginning any inspection.
- Inspect each bulb visually. Look for darkened filaments (in incandescents), cracked lenses, or signs of arcing. Gently press each bulb to ensure it’s seated fully.
- Check connectors and plugs. Examine male and female ends for corrosion, bent prongs, or melted plastic—common after repeated outdoor use.
- Test individual light strings. Plug one string at a time into a known-working indoor outlet. If it flickers indoors, the problem lies within the string itself.
- Verify GFCI functionality. Press the “Test” button on your outdoor outlet or breaker panel, then reset it. A failing GFCI may allow power but deliver unstable voltage.
- Measure circuit load. Add up the wattage of all connected strings. Most standard outdoor circuits support 1,440 watts (15 amps × 120 volts). Stay below 80% capacity (1,150 watts) for safety.
- Replace suspect extension cords. Use only cords rated for outdoor use (look for “W-A” or “W” on the jacket) and avoid daisy-chaining more than three together.
If flickering persists after these steps, consider using a multimeter to test continuity across wire segments or consult a licensed electrician—especially if you suspect buried cable damage or main panel issues.
Do’s and Don’ts When Fixing Flickering Lights
Avoid common mistakes that worsen flickering or introduce hazards. The table below outlines best practices versus risky behaviors.
| Do | Don’t |
|---|---|
| Use UL-listed, outdoor-rated extension cords | Use indoor-only cords outside, even temporarily |
| Replace damaged strings entirely instead of splicing | Tape over cracked insulation or exposed wires |
| Install lights with insulated gutter hooks or clip mounts | Nail or staple through wires to secure strands |
| Group LED and incandescent lights on separate circuits | Mix different light types on the same controller |
| Store lights coiled loosely in climate-stable containers | Leave lights bunched tightly in damp garages over summer |
“Many homeowners don’t realize that voltage drop over long cord runs can be enough to make LEDs strobe. Always calculate total distance and upgrade wire gauge accordingly.” — Rafael Nguyen, Electrical Systems Technician, 18 years experience
Real-World Example: A Suburban Display Rescue
Consider the case of Linda M. in Columbus, Ohio, who noticed her front yard light display began flickering erratically two weeks into December. She had installed 18 strands of new LED icicle lights across her eaves, all powered through a single heavy-duty extension cord running from a side patio outlet.
Initially, she assumed a bulb was loose. After checking every strand without success, she tested each string individually indoors—none flickered. That ruled out manufacturing defects. Next, she reset the GFCI outlet, which tripped immediately upon reconnection. Further inspection revealed moisture had seeped into the junction box due to a missing weatherproof cover.
After replacing the cover and drying the receptacle, the display worked briefly—but resumed flickering during a thaw. A local electrician diagnosed excessive voltage drop caused by running 100 feet of 16-gauge extension cord. He recommended upgrading to 12-gauge outdoor cable and splitting the load across two circuits. Once implemented, the flickering stopped completely, and the display remained stable through January.
This scenario highlights how multiple factors—moisture, circuit design, and wire gauge—can interact to create persistent flickering. Solving it required methodical elimination, not just guesswork.
When to Replace vs. Repair Light Strings
Not all flickering lights are worth fixing. Some repairs compromise safety or offer only temporary relief. Knowing when to walk away helps prevent future headaches.
Replace the entire string if you observe:
- Melted or warped sockets indicating overheating
- Bare copper wires exposed anywhere along the run
- Frequent tripping of GFCI when plugged in
- Visible mold or water residue inside sealed connectors
- Strings older than 5–7 years, especially if previously stored poorly
Minor issues like a single dead bulb or corroded end plug may be repairable with replacement parts sold by major brands (e.g., GE, Holiday Living). However, manufacturers increasingly discourage user repairs due to warranty and liability concerns. For modern LED strings with built-in fuses or IC drivers, attempting internal fixes often does more harm than good.
Preventative Checklist for Future Seasons
Keep next year’s display trouble-free with proactive habits. Use this checklist annually before installation.
- ✔️ Inspect all cords, plugs, and housings for cracks or brittleness
- ✔️ Test each string individually using a portable outlet tester
- ✔️ Confirm GFCI outlets are functional and weather covers are intact
- ✔️ Plan circuit loads to stay under 80% capacity per outlet
- ✔️ Use thick-gauge (12–14 AWG), outdoor-rated extension cords for long runs <6>✔️ Install drip loops where cords enter buildings or connect to lights
- ✔️ Avoid daisy-chaining more than three light strings unless explicitly rated for it
- ✔️ Mount controllers and power supplies under eaves or in ventilated enclosures
- ✔️ Take photos of complex setups for faster reassembly next year
- ✔️ Store lights in labeled, rigid containers—not cardboard or plastic bags
Frequently Asked Questions
Can cold weather cause Christmas lights to flicker?
Cold temperatures alone don’t cause flickering, but they exacerbate existing weaknesses. Brittle wires crack more easily in freezing conditions, and thermal contraction can loosen connections. LED efficiency also drops slightly in extreme cold, which may appear as dimming or pulsing if drivers are marginal.
Why do only half my light string flicker?
This typically indicates a broken circuit within the string. Many mini-light sets are wired in series sections. If one bulb burns out or becomes dislodged, it breaks the path for that segment. Some newer strings include shunt wires to bypass dead bulbs, but these can fail over time. Use a light tester to locate the faulty bulb or section.
Is it safe to leave flickering lights on overnight?
No. Flickering often signals arcing, overheating, or insulation failure—all fire hazards. The U.S. Consumer Product Safety Commission estimates over 7,000 home fires annually start with decorative lighting. Unplug any flickering display until the cause is identified and resolved.
Conclusion: Shine Bright and Stay Safe
A flickering Christmas light display doesn’t have to spell the end of your holiday vision. With careful diagnosis and informed action, most issues are solvable using basic tools and common-sense electrical principles. The key is acting promptly, respecting safety protocols, and knowing when a string has reached the end of its service life.
As seasonal displays grow larger and more complex—with programmable LEDs, music sync, and app control—the need for reliable infrastructure becomes even more critical. Invest in quality components, maintain disciplined storage habits, and never underestimate the importance of proper circuit management.


 浙公网安备
33010002000092号
浙公网安备
33010002000092号 浙B2-20120091-4
Comments
No comments yet. Why don't you start the discussion?